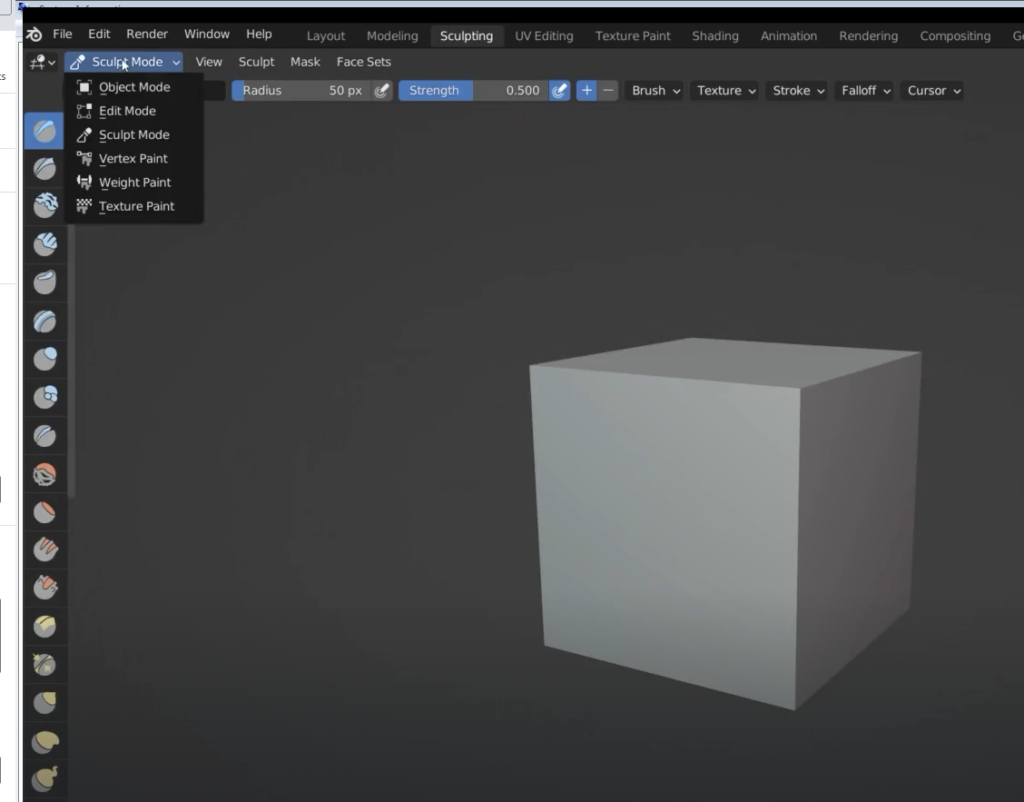

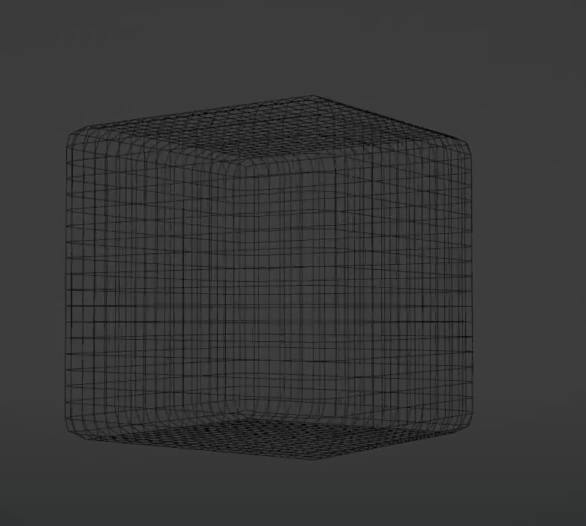
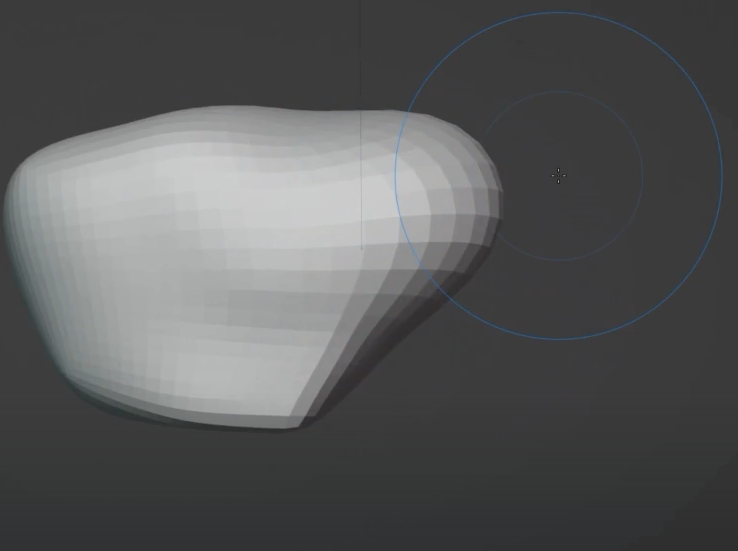
I need more vertexes to play with

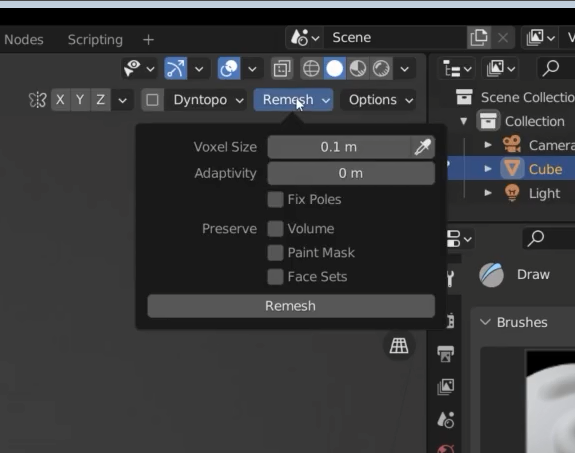
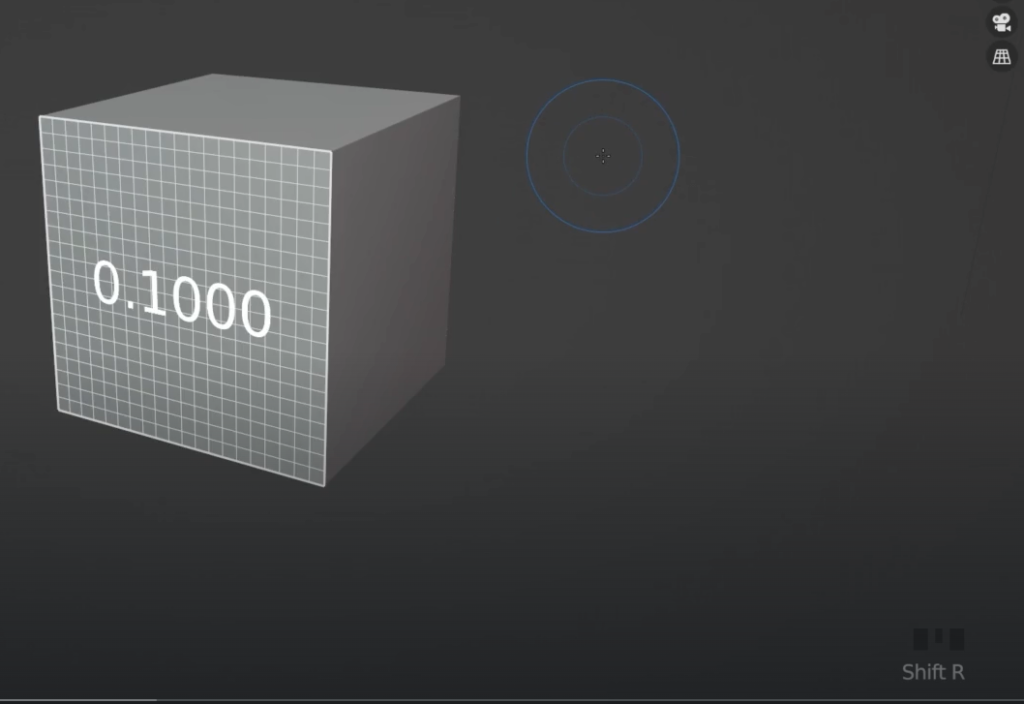
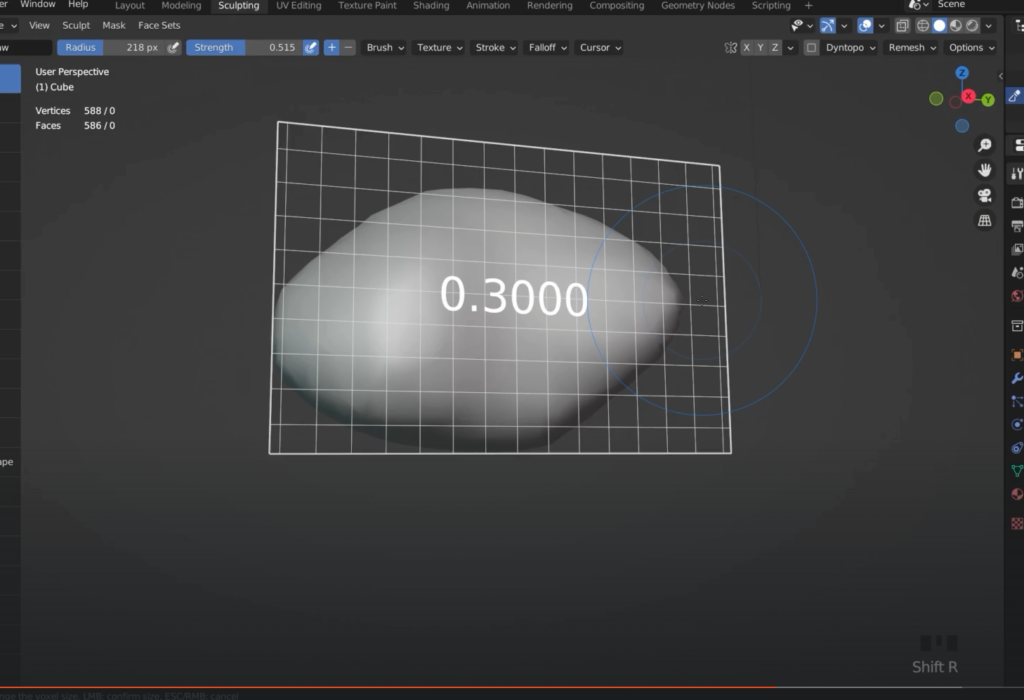
Remesh = shift + R
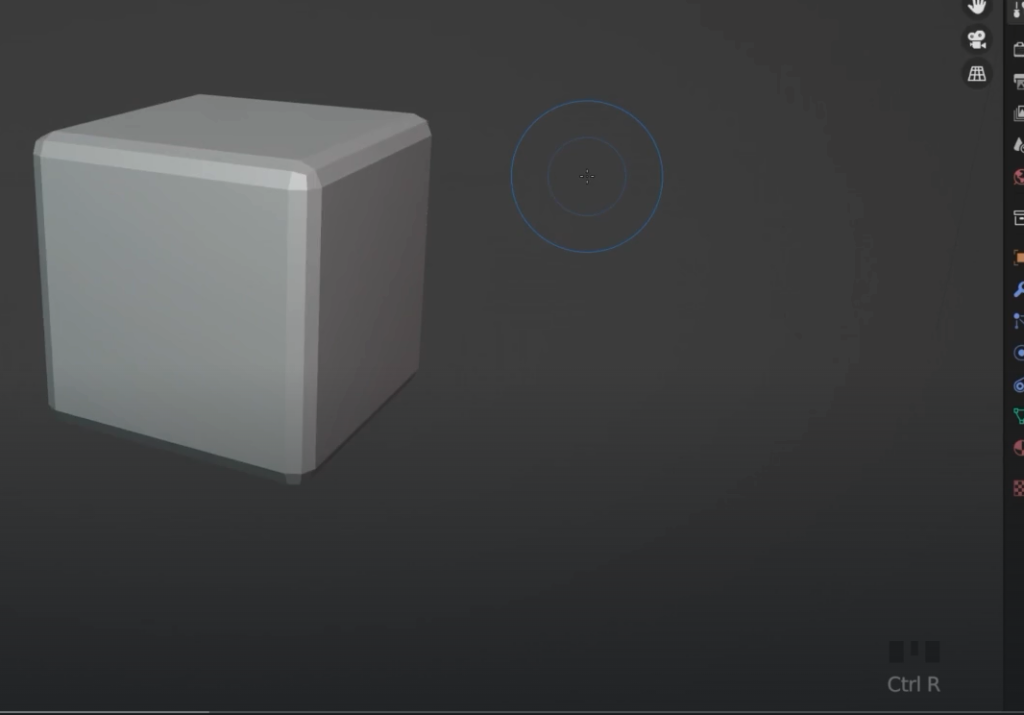
Control + R to remesh
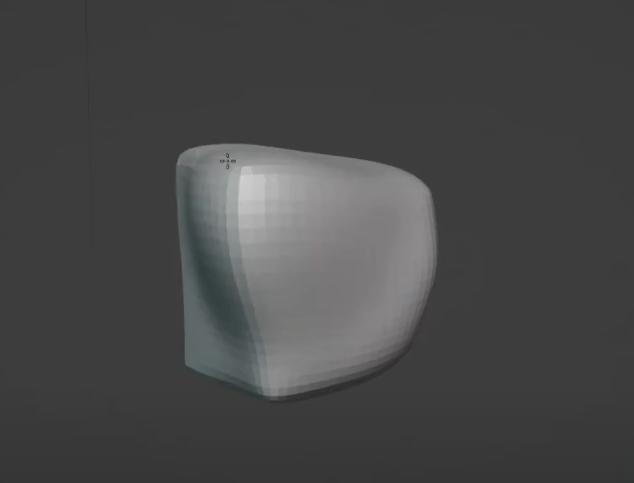
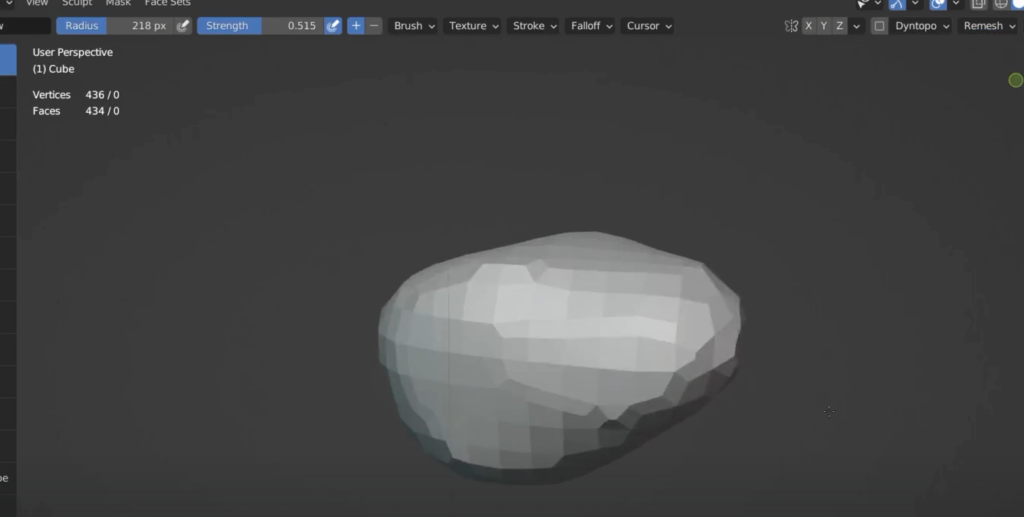
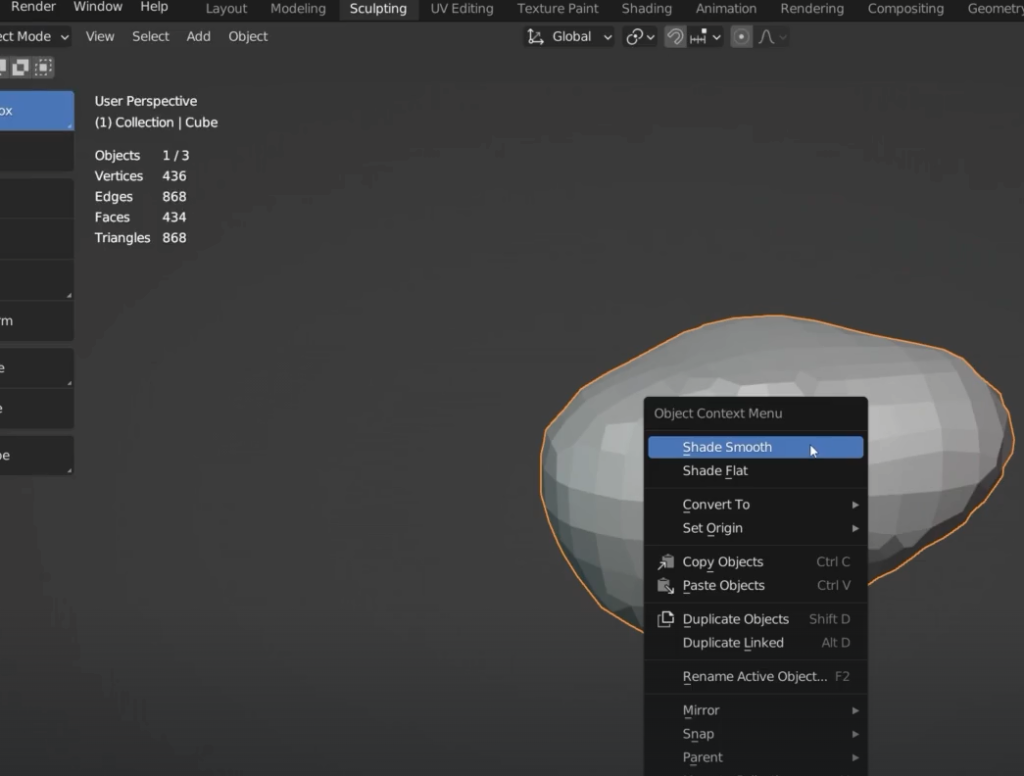
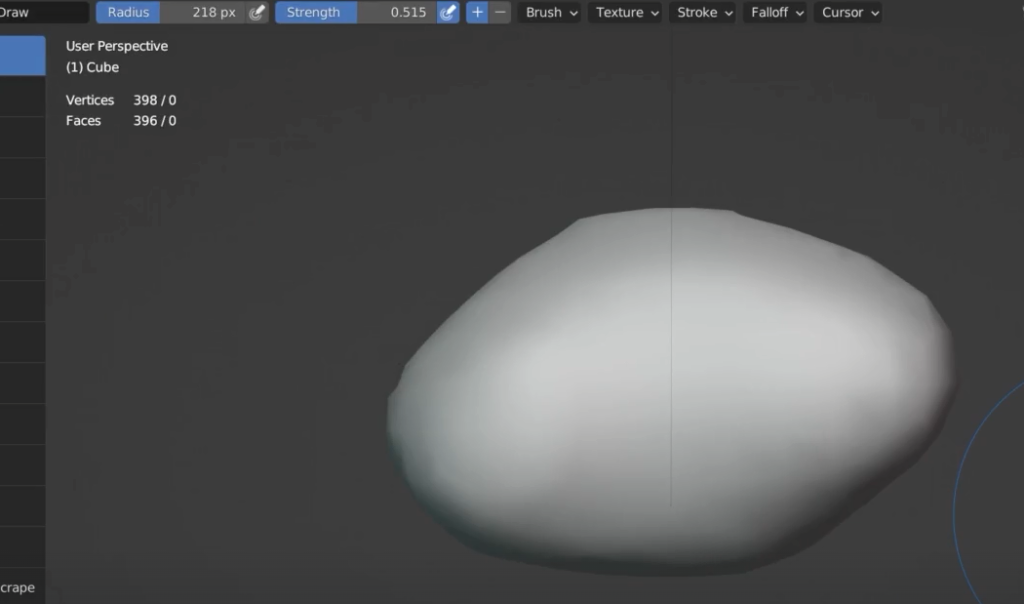
now I can start sculpting
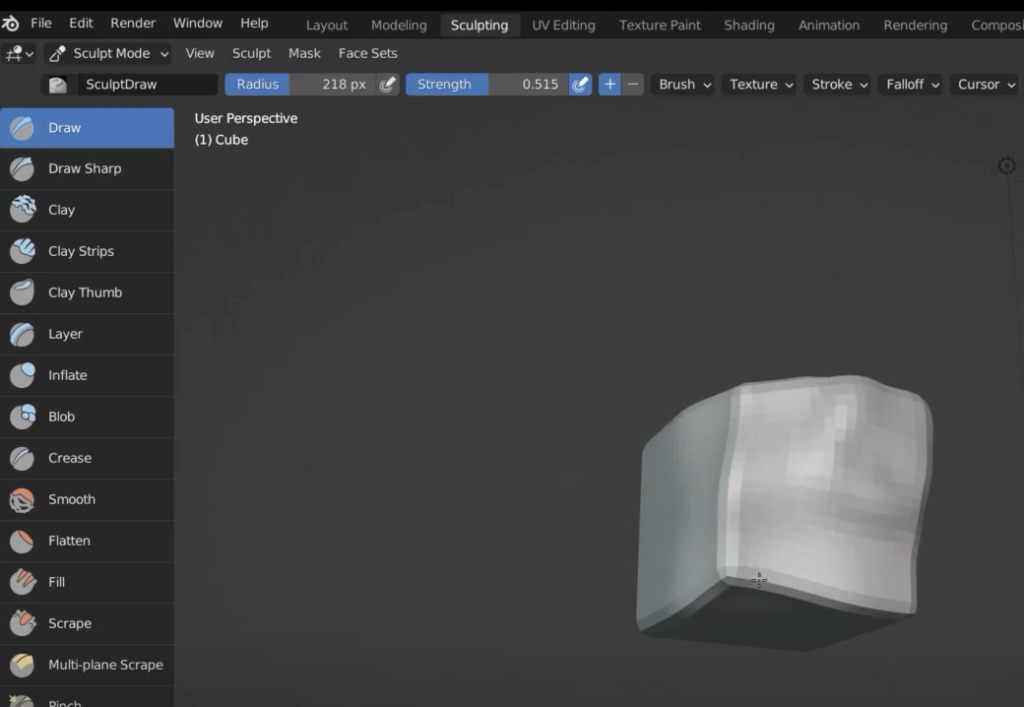
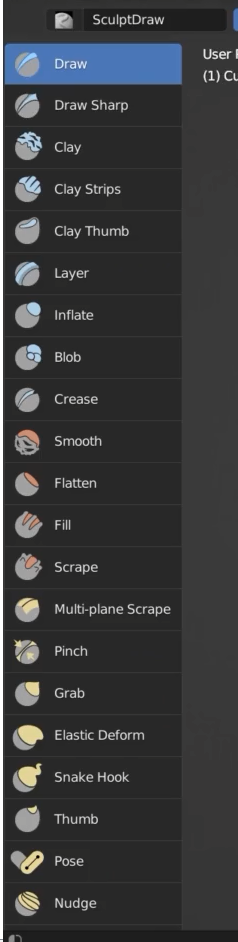
to dig into the mesh I can hold down Control; In this way I do the reverse of the brush
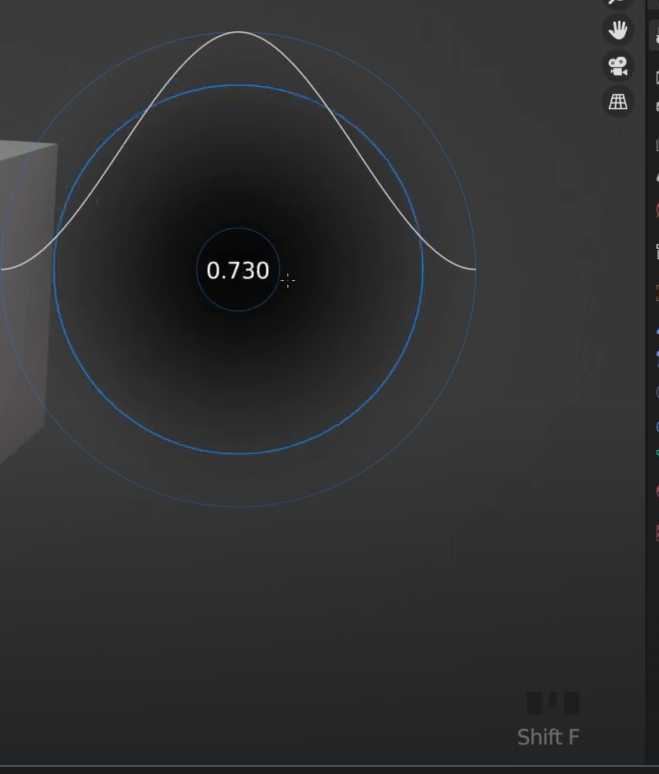
If I hold Shift + left click I smooth the shape
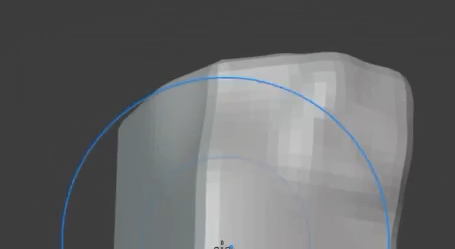
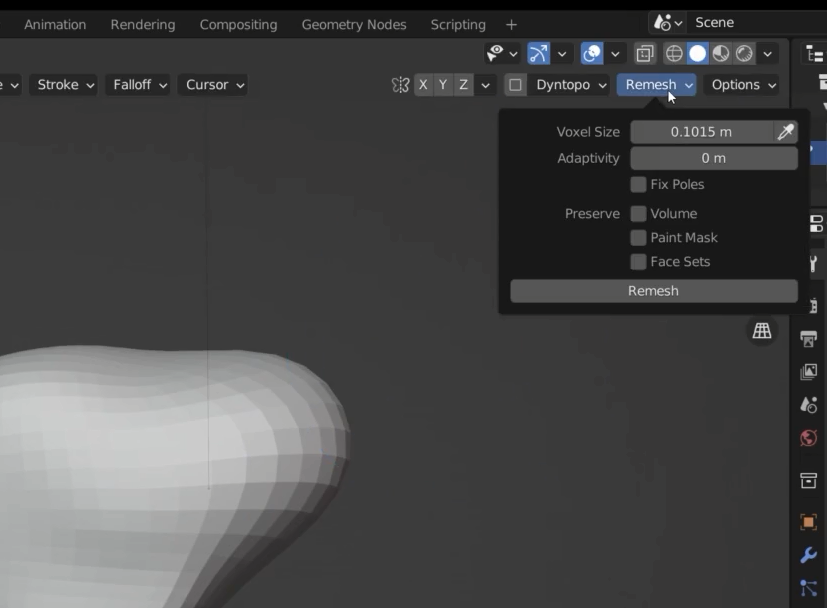
The mesh is now streched. If I want to remesh I can do that = Control +R

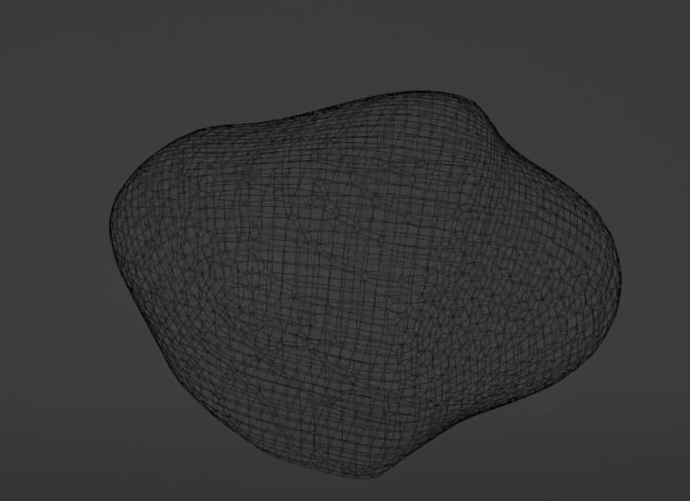
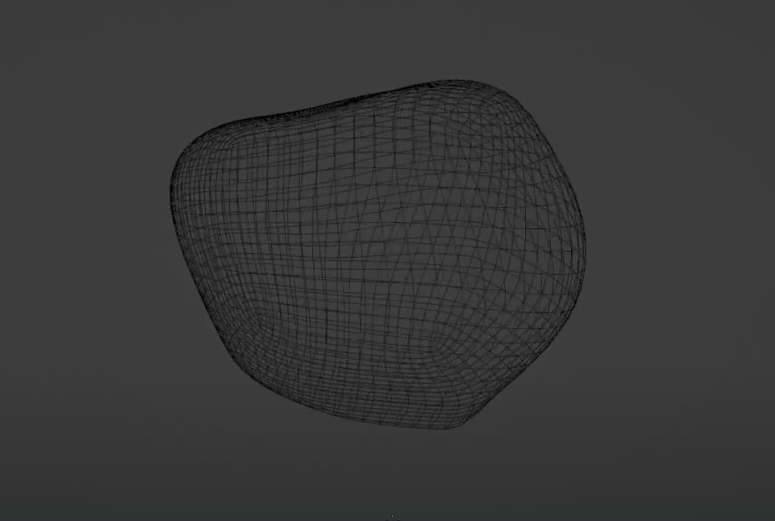
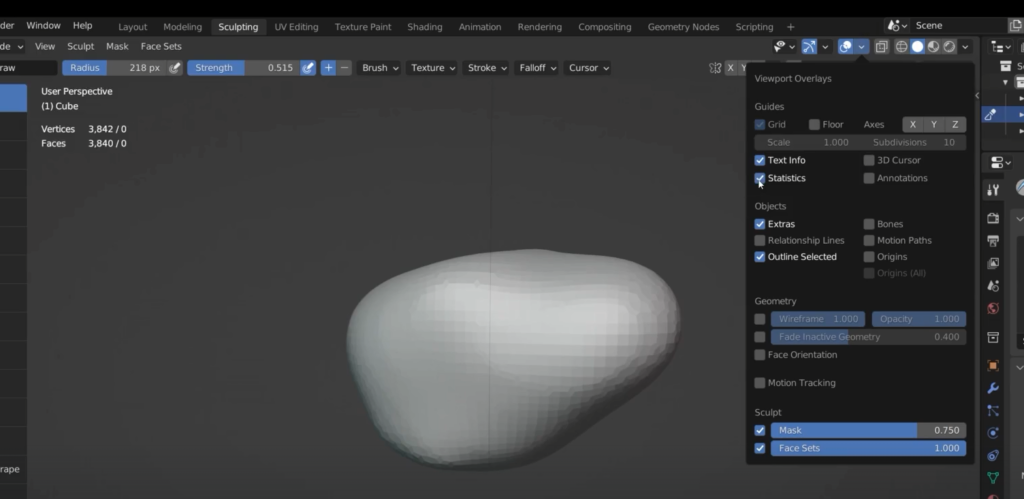
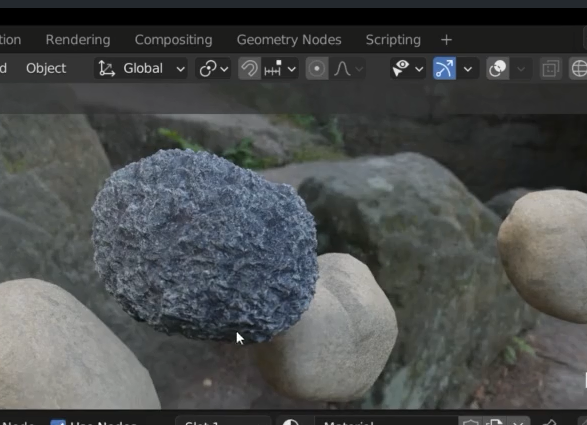
The rock is now having lots of poly, we can enable the statistics
Lets remesh with a bigger number
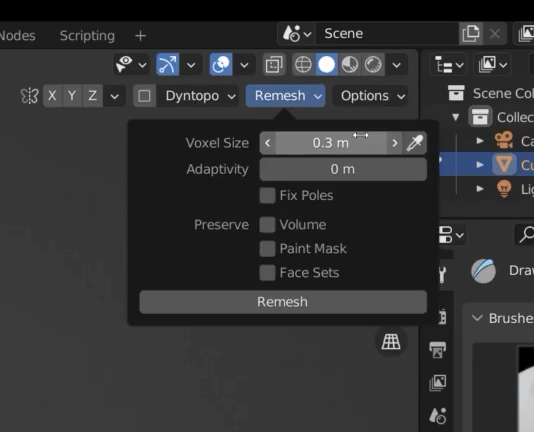
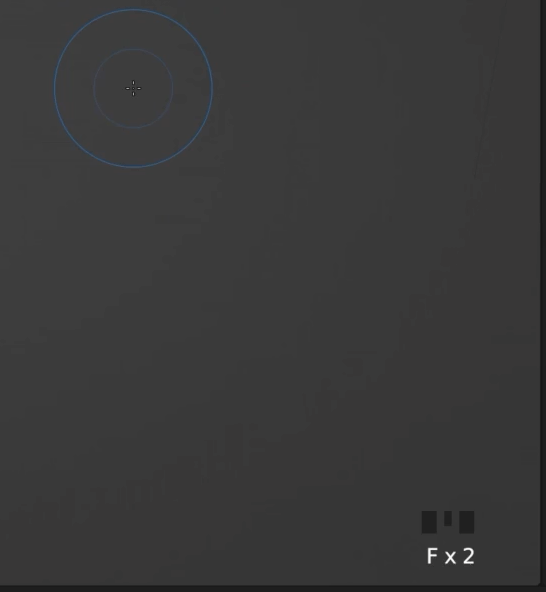
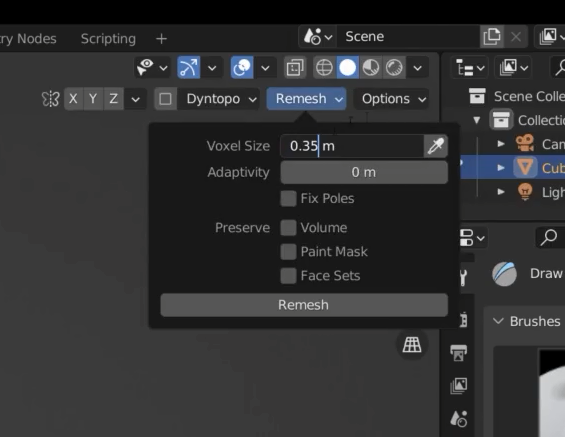
Shift + R to show the voxel size; it doesn’t adapt to the size of the rock
If the rock has grown up we might end up by re sizing the mesh up
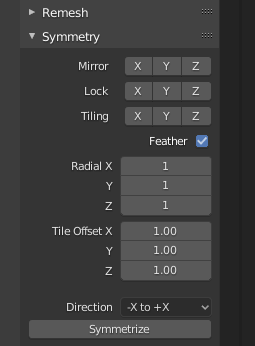
To remove brush symmetry
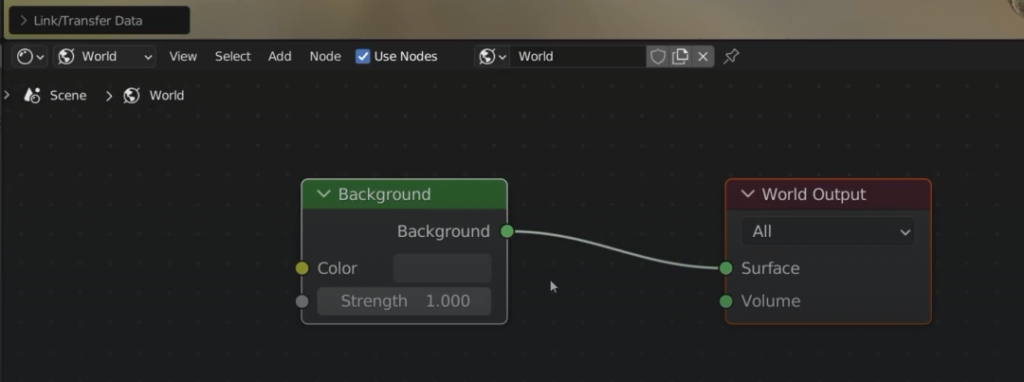
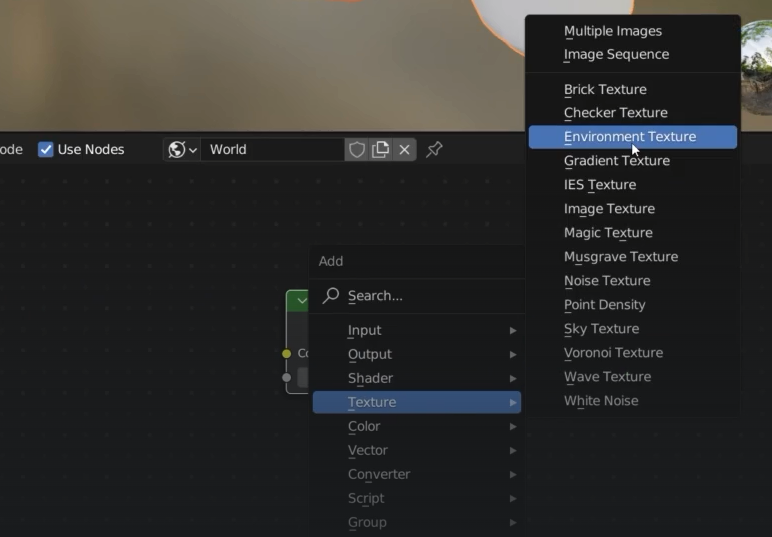
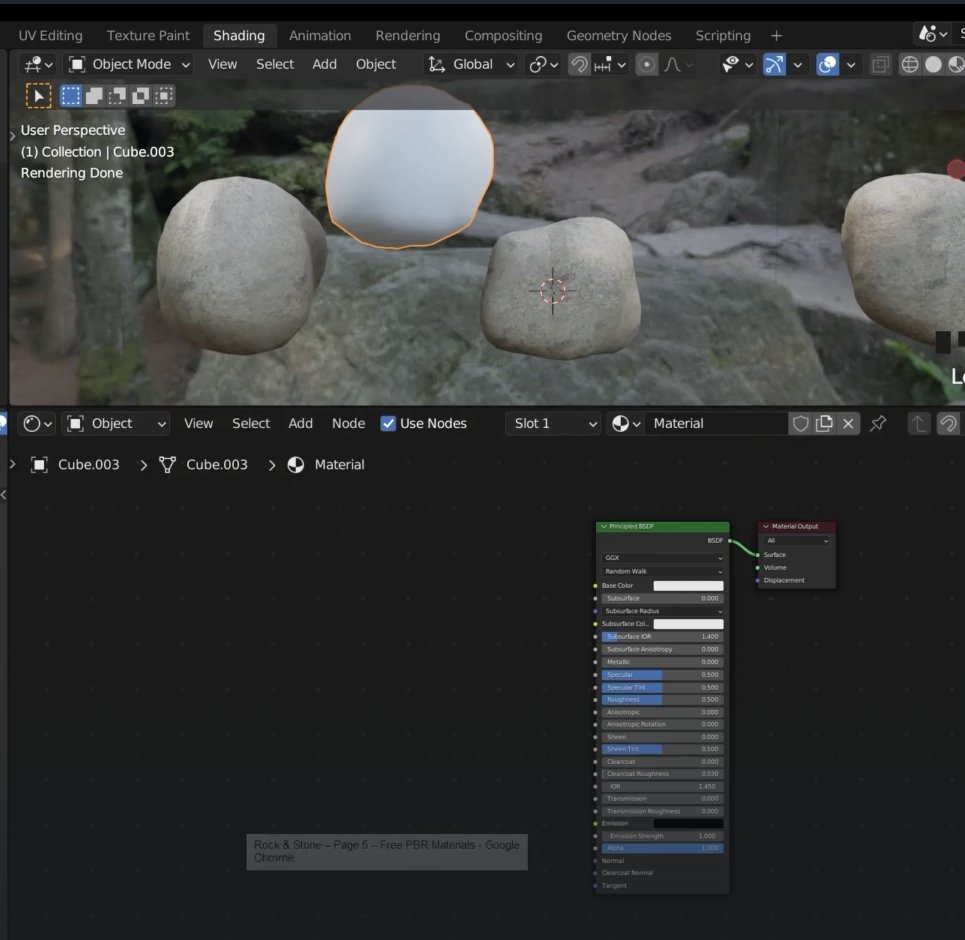
Lets add new HDRI
Press home key to center the shaders if not visible
Add environmental texture
Go to render mode
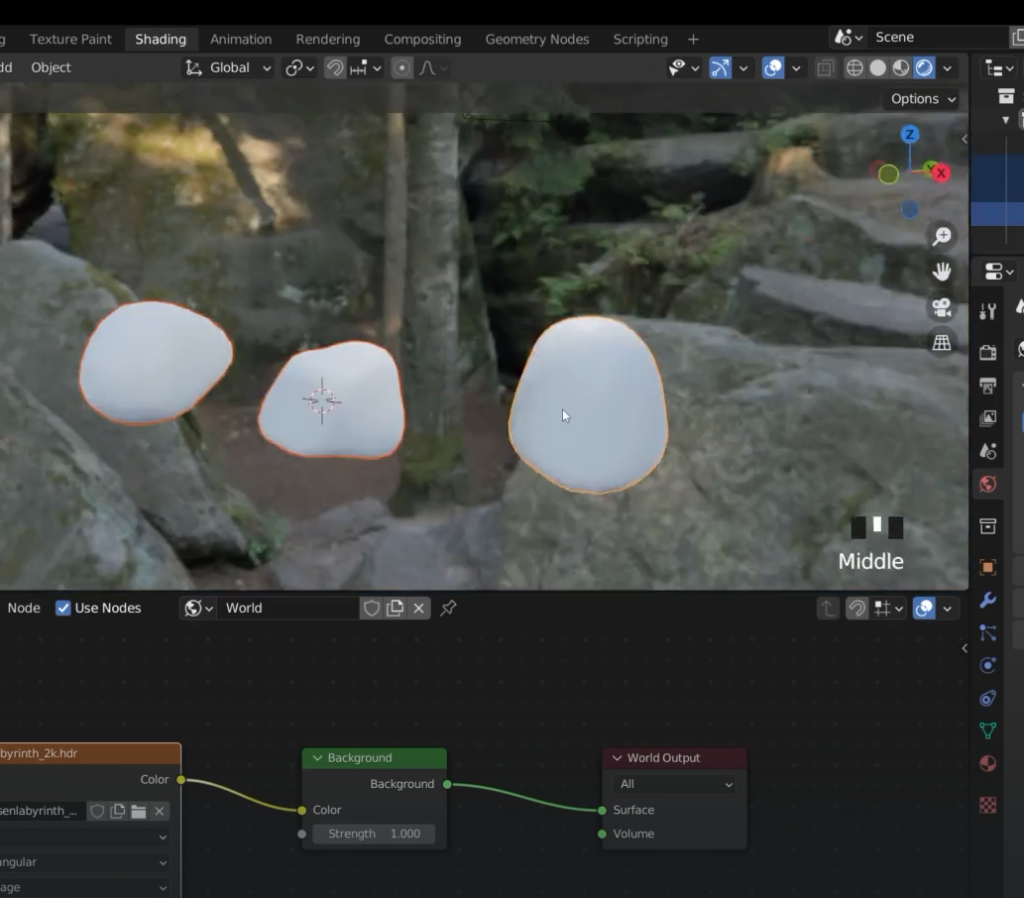
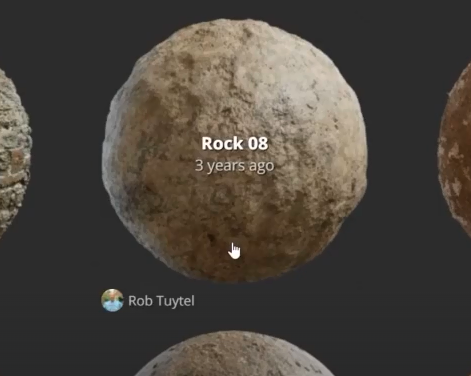
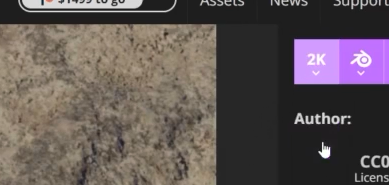
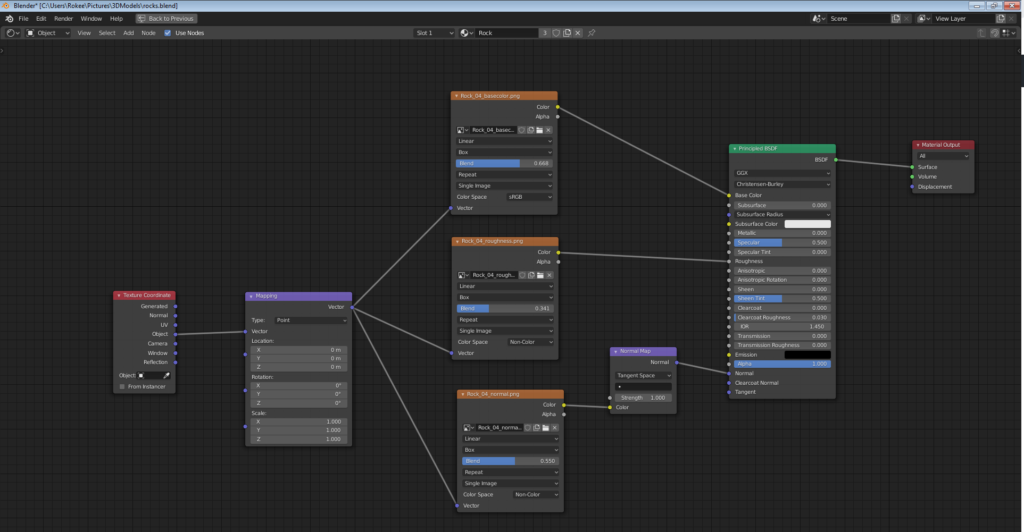
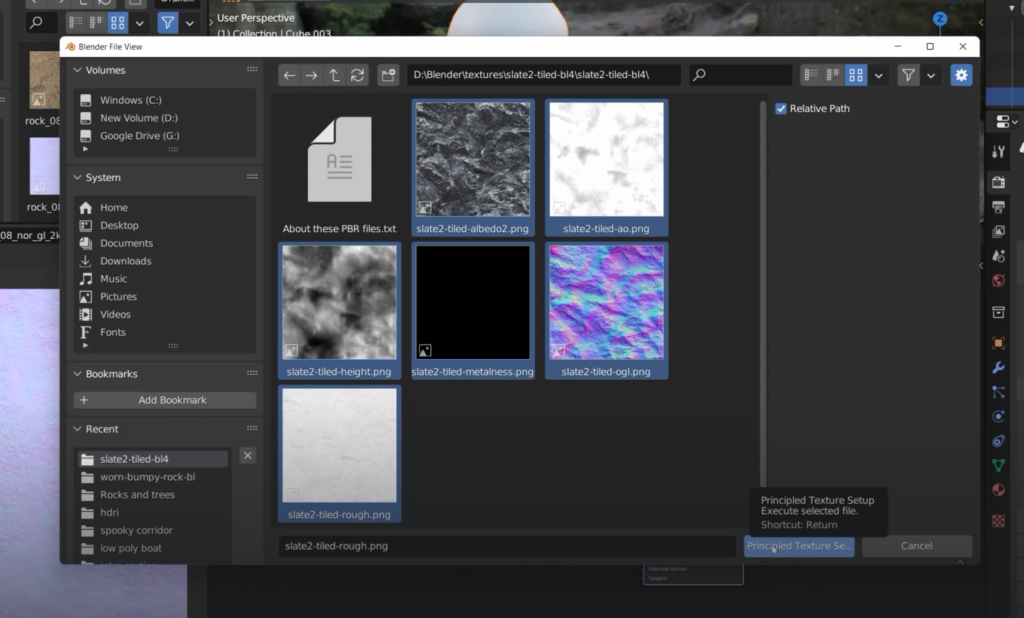
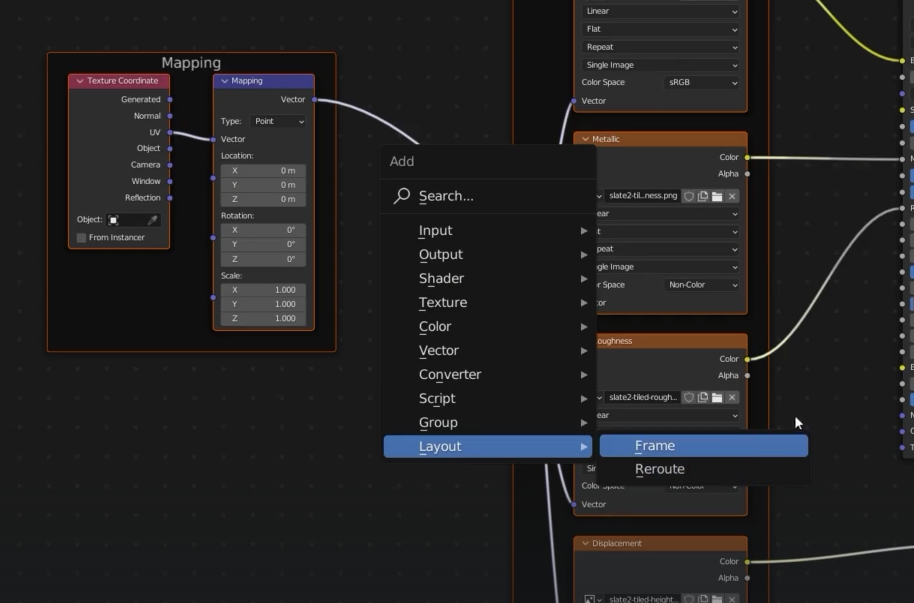
We grab PBR from polyhaven

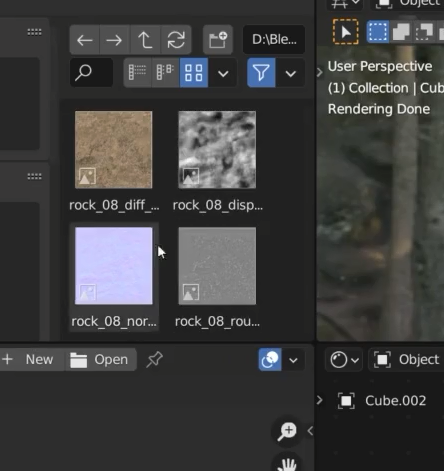
we unzip the files downloaded and they look like this
Enable the wrengler
With the wrengler in I can select the texture shader and then press Control + T to auto complete
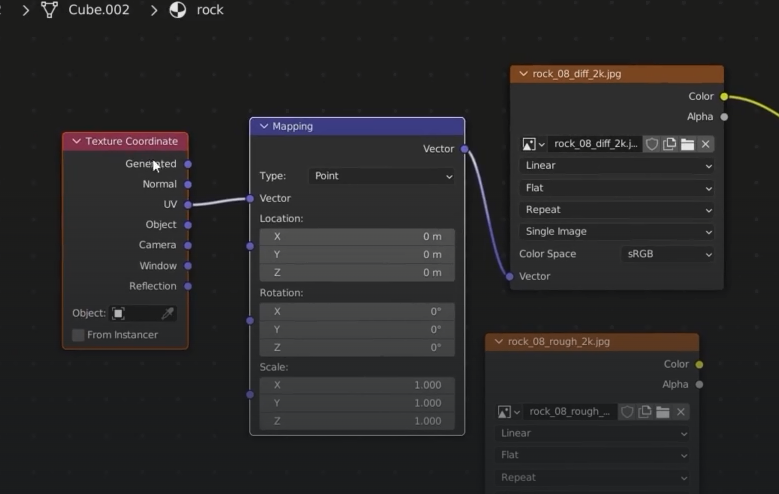
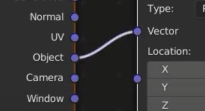
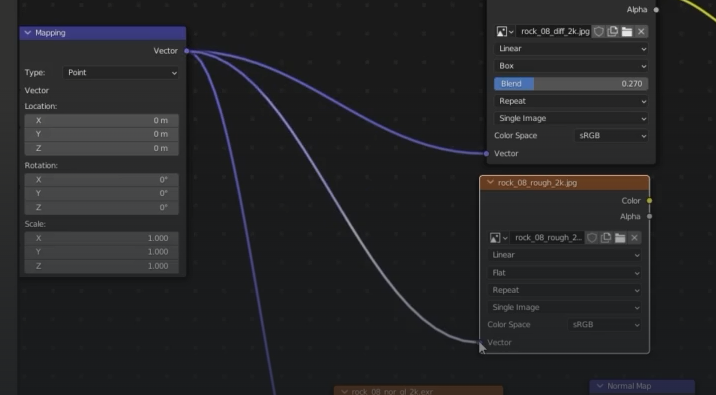
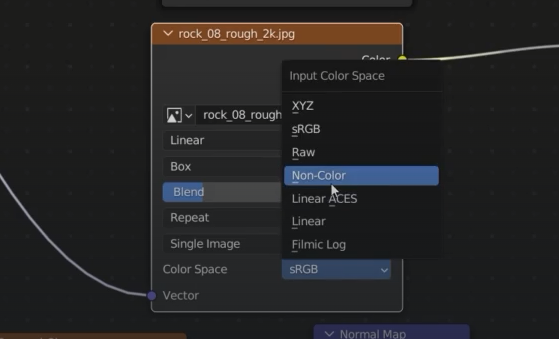
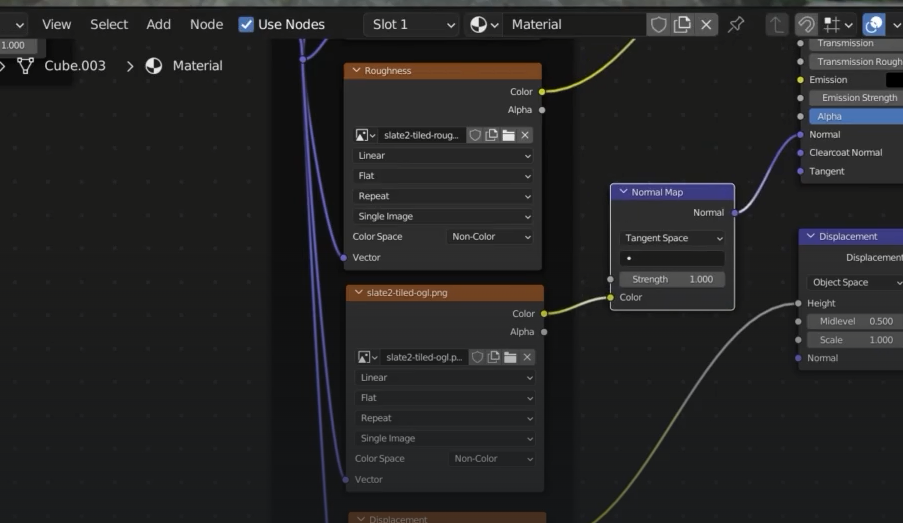
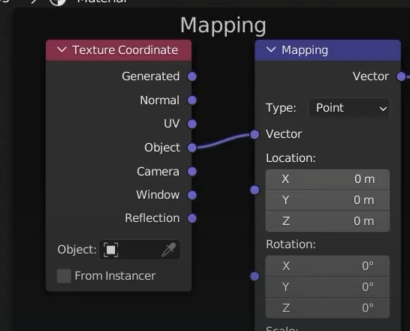
change the coords from UV to Objects

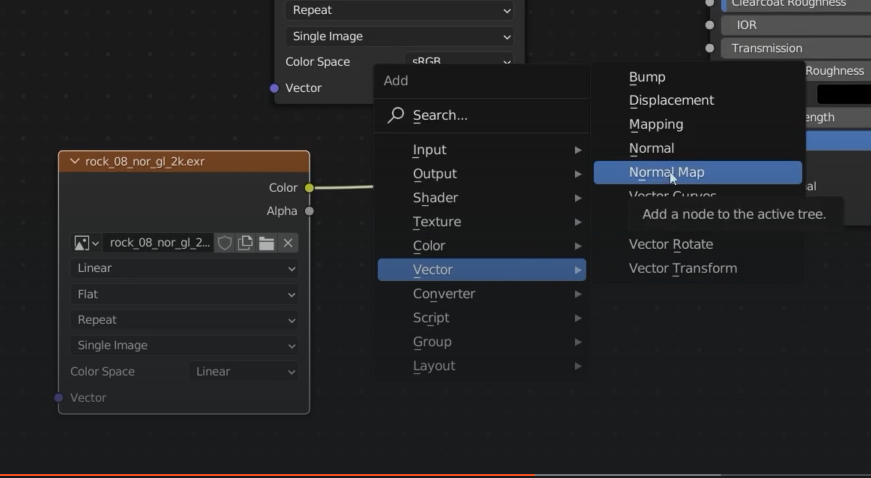
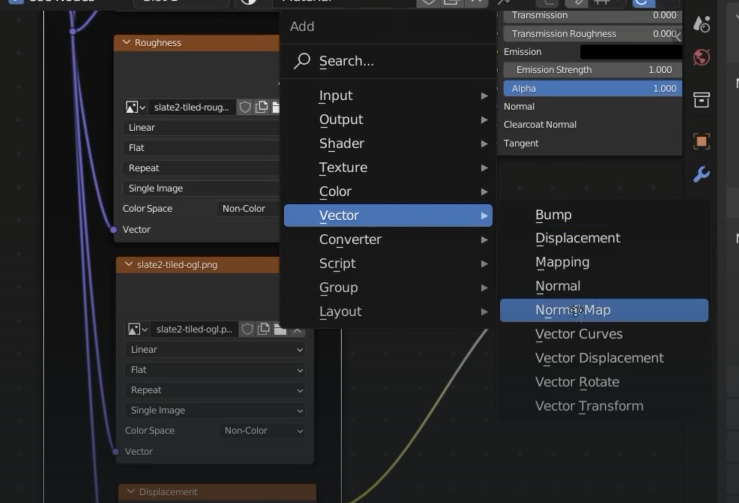
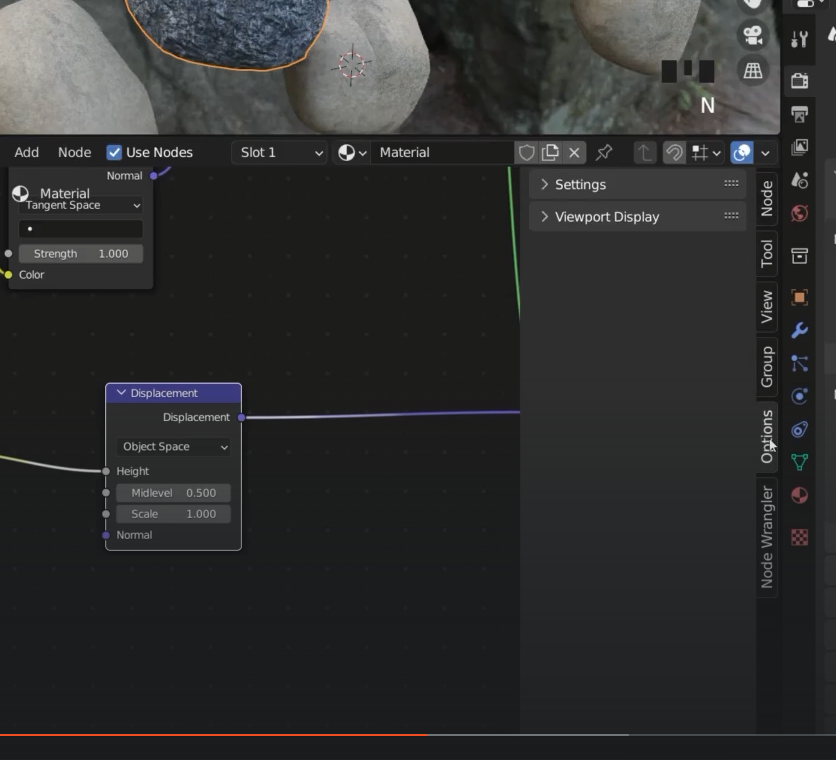
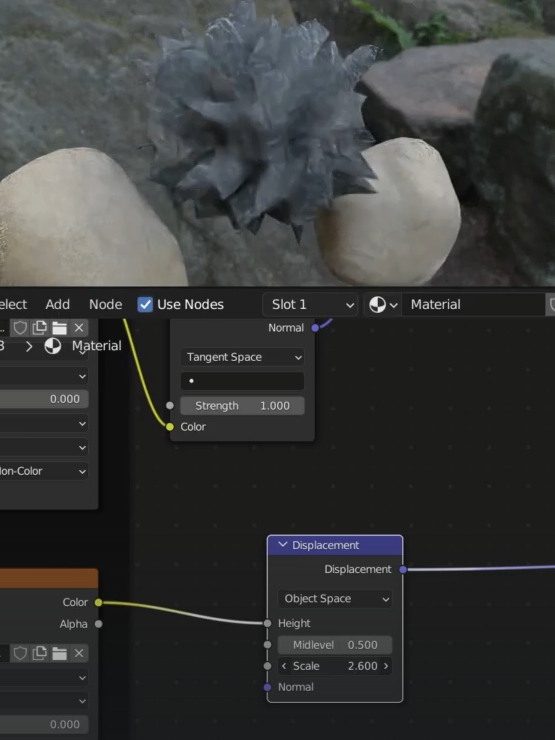
Normals
I can’t connect the normal shader to the basic colour shader. As you can see from the picture below the two nodes have different dot colour yellow vs purple. This means I need something in between
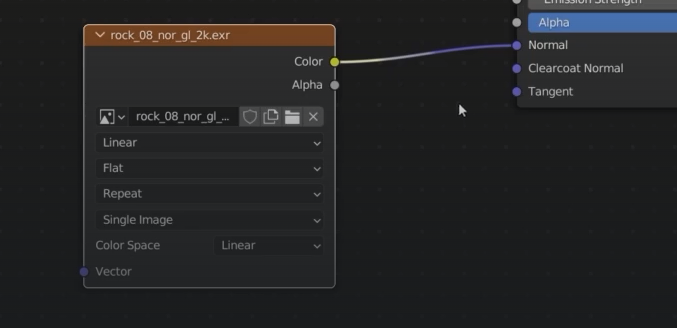
We need a normal map
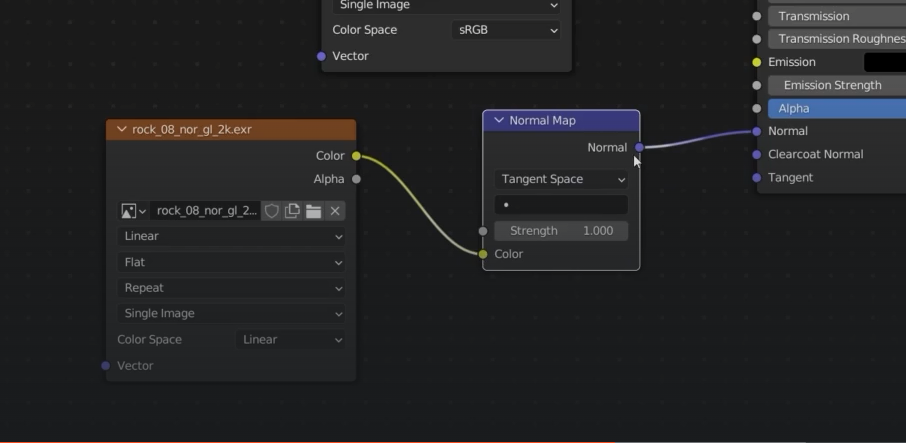
Connect the map coords to the normal shader
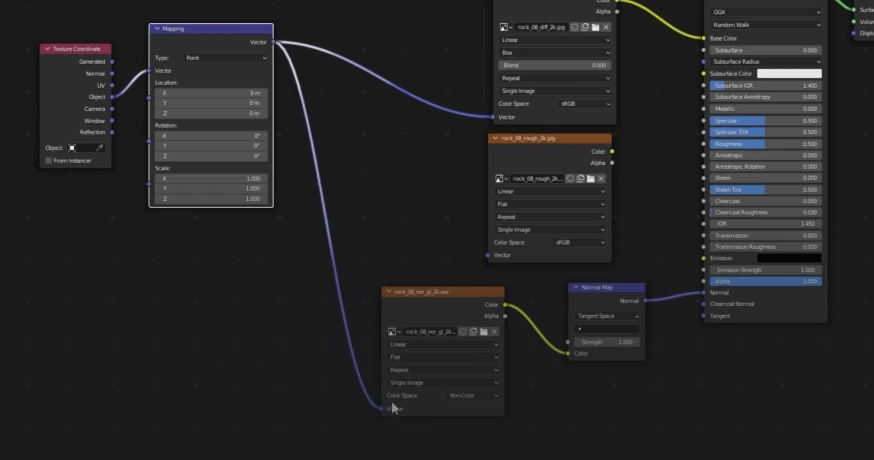
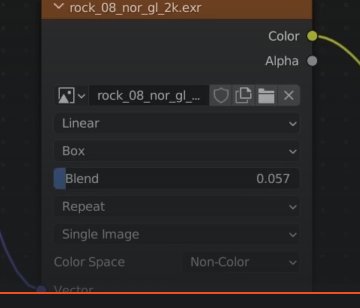
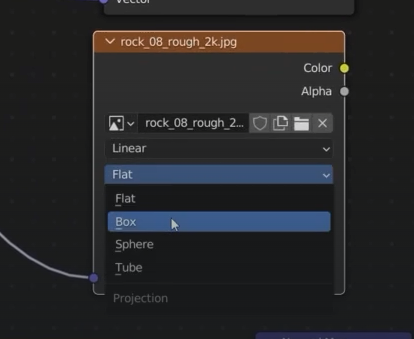
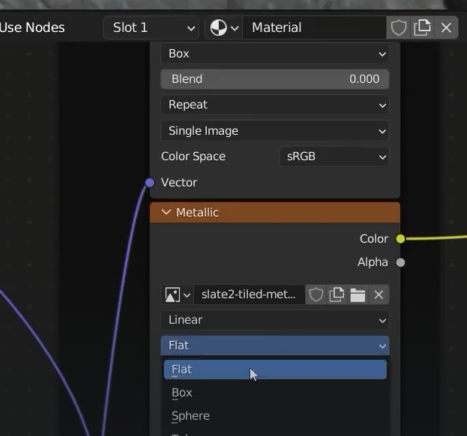
change the normal shader to Box from flat and increase the blend
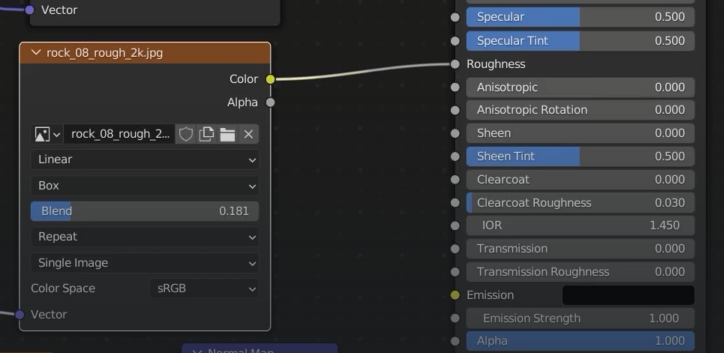
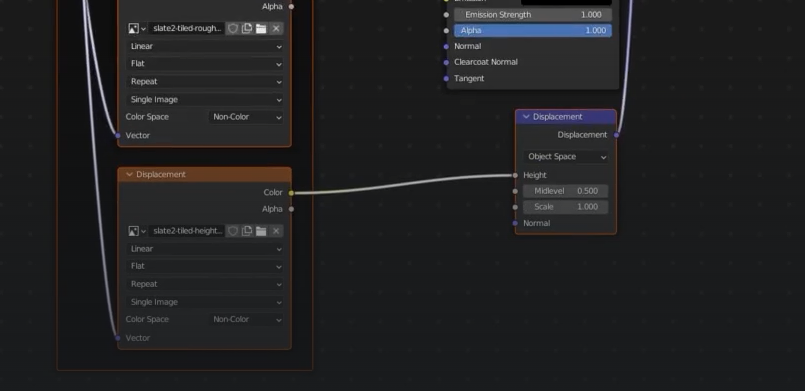
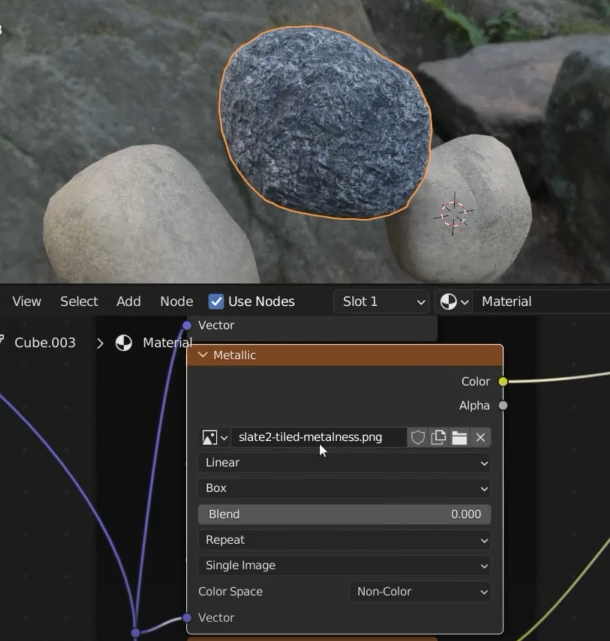
Now we need to hook up the roughness
remeber a roughness of 1 = full white
roughness 0 = full black
Let’s plug the roughness in
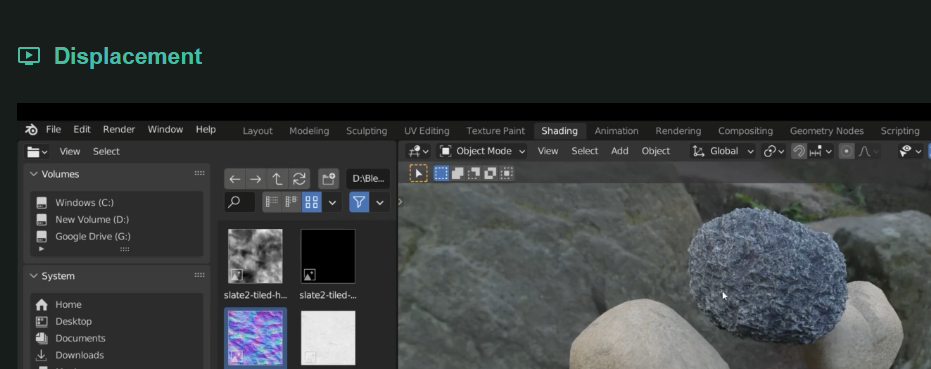
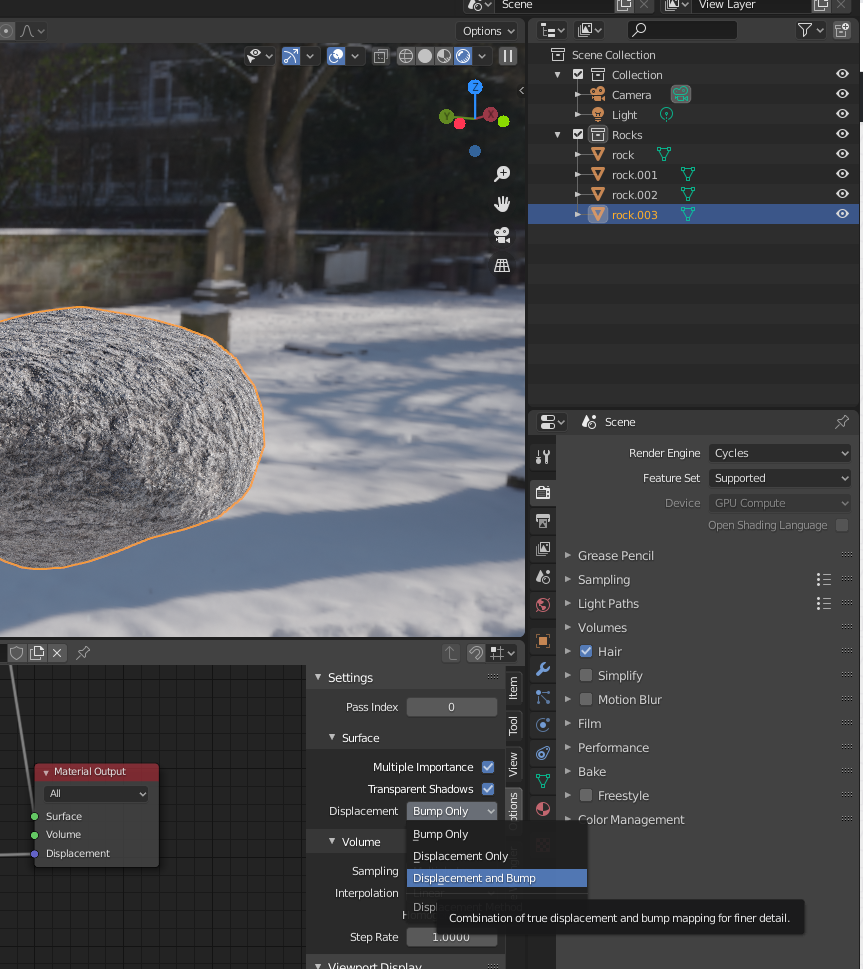
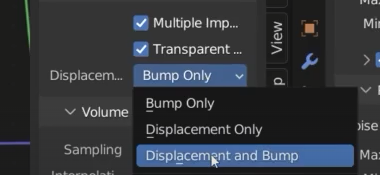
Displacement
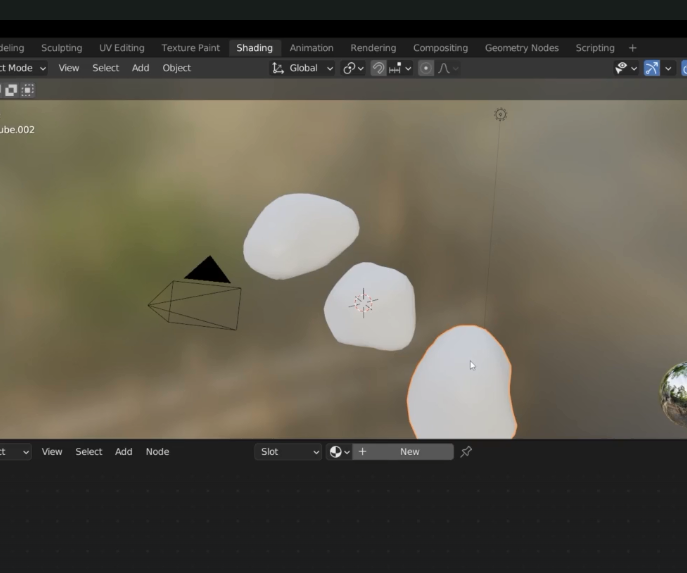
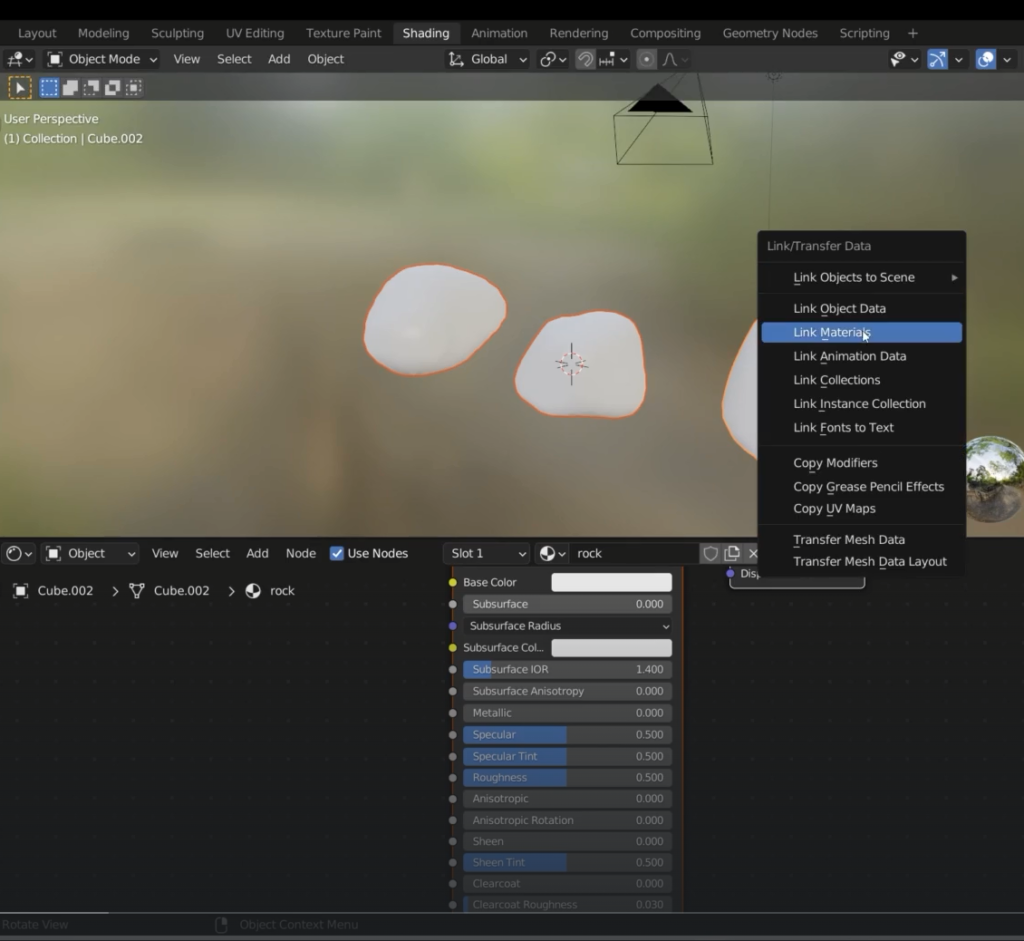
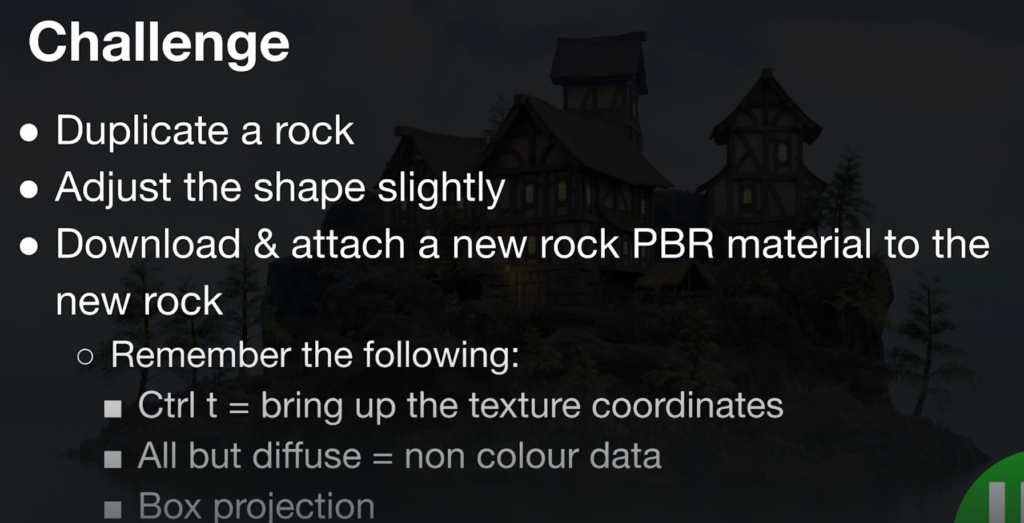
Lets create a new rock from a pre existing one and lets use a new brush in the yellow section
yellow: deform, push and pull around section
blue section: add and take away
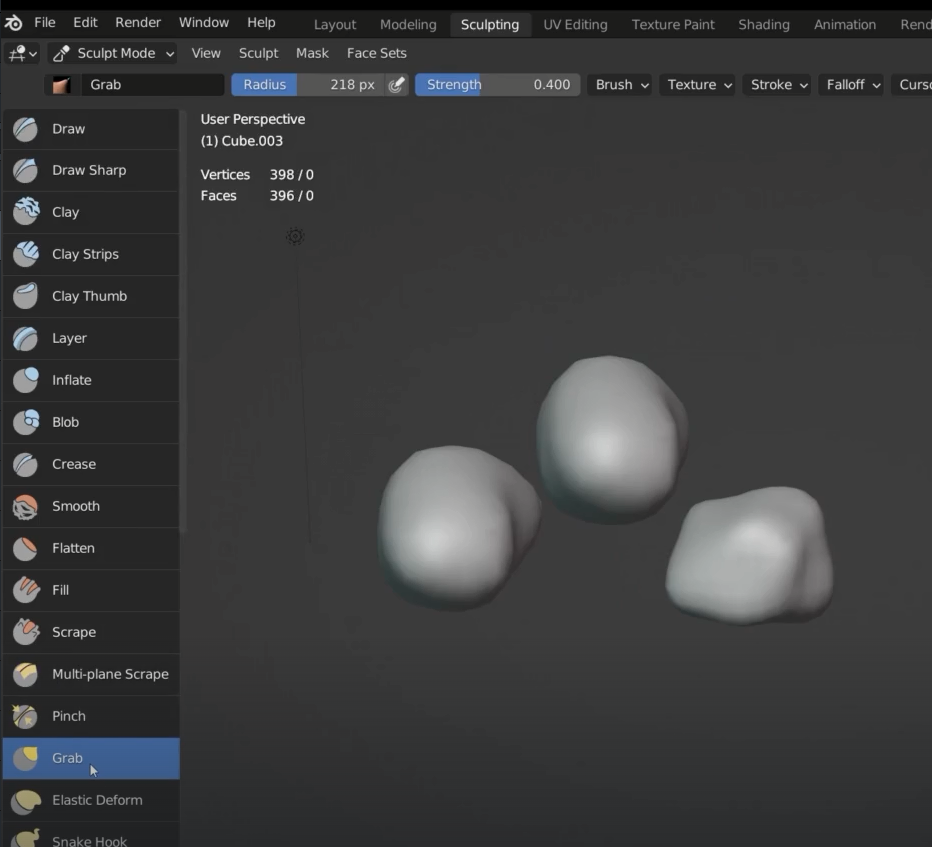
remesh when finifhed

Select the principled texture and : Control + Shit +T
The wrengler will automatically fill the shader page
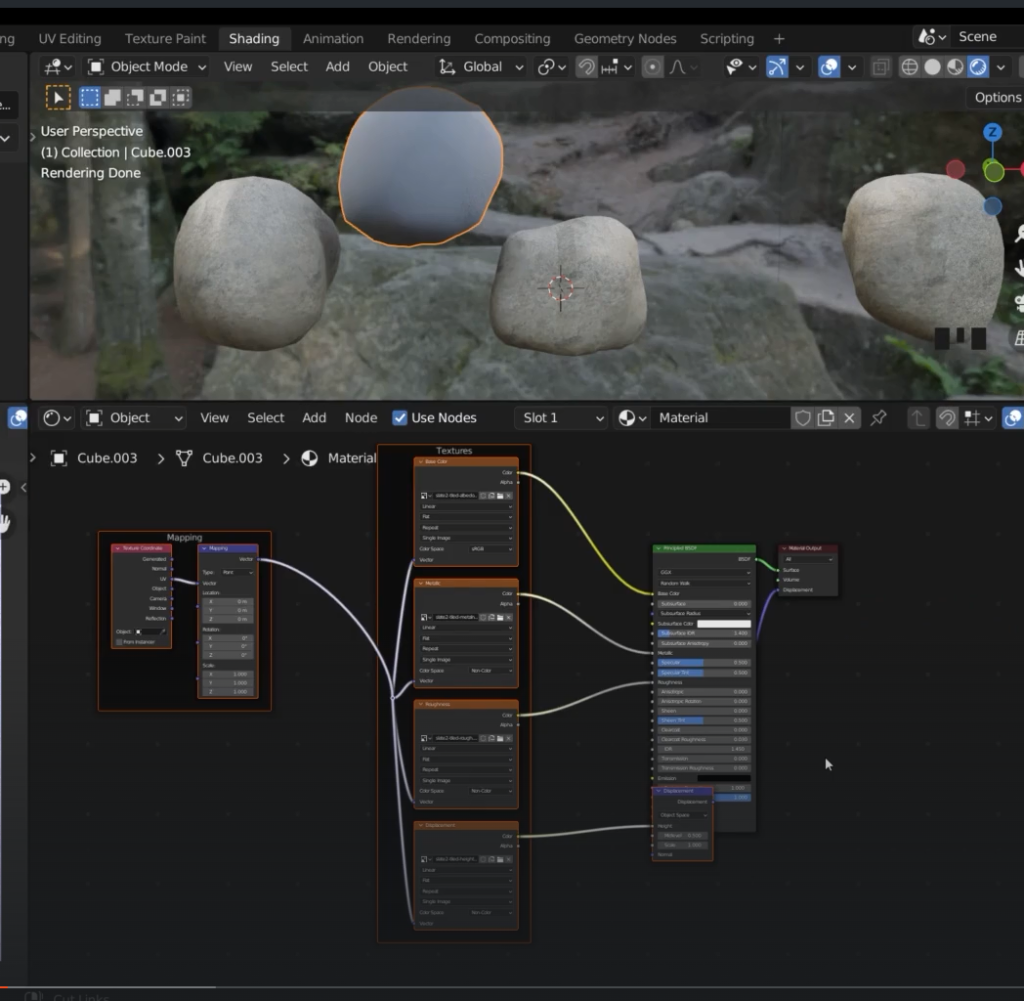
The displacement is at the bottom
That node is called reroute
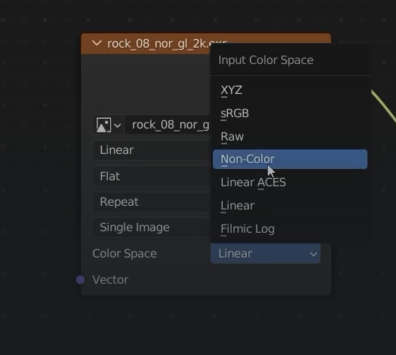
the normal map is missing, we can add it manually
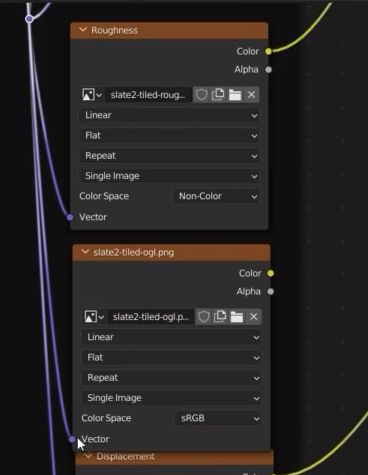
Change from uv to object
change all projection to Box instead of flat
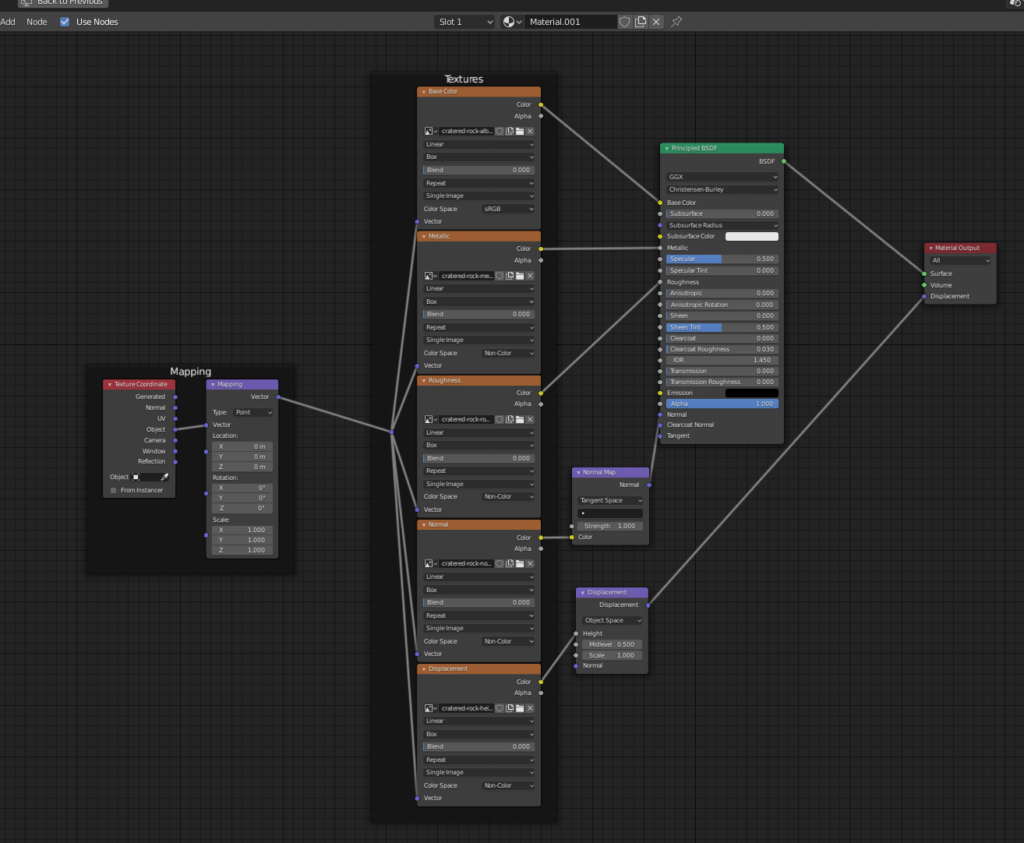
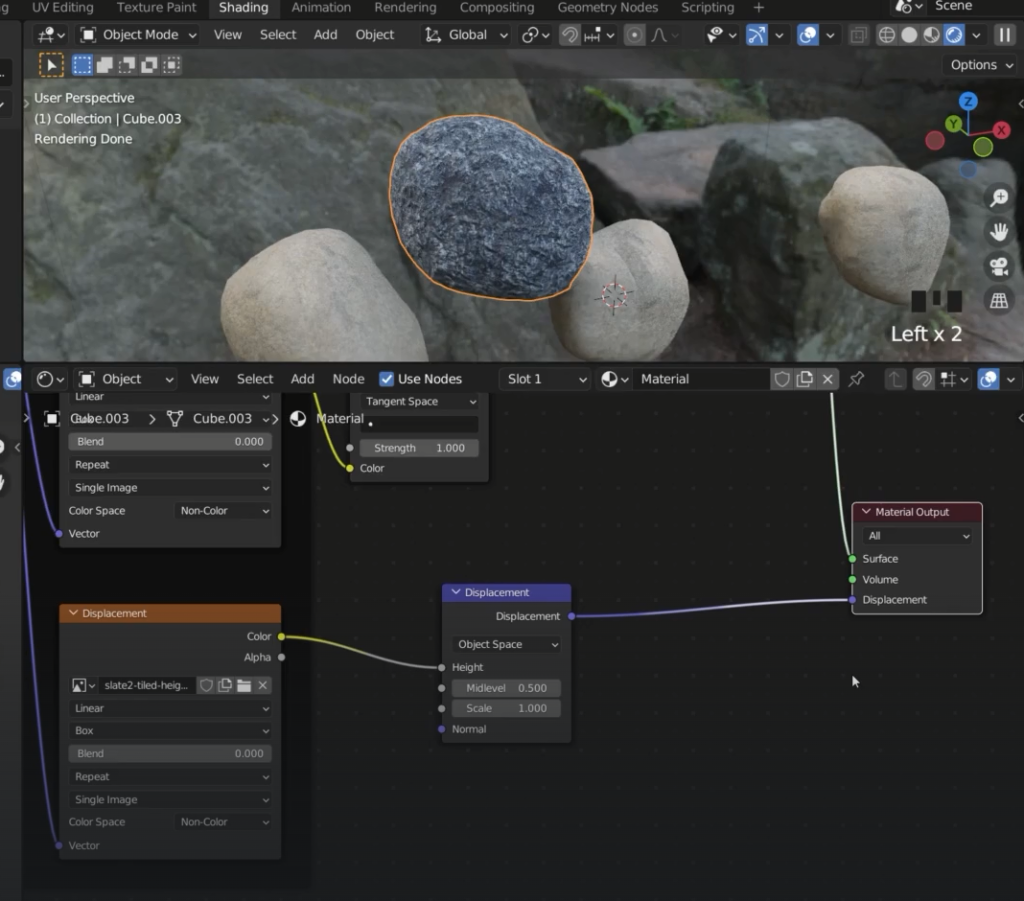
We need to activate the displacement
Press N and option
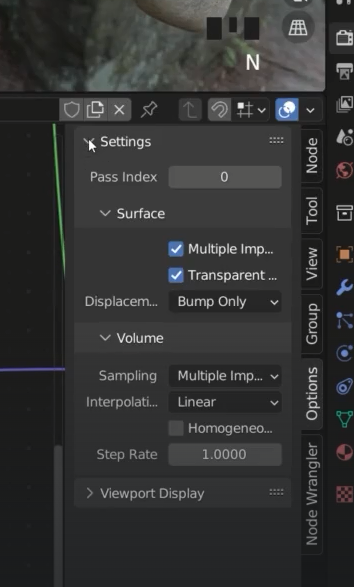
You need to be in renderer cycles

Change now the scale of the displacement to see the effects

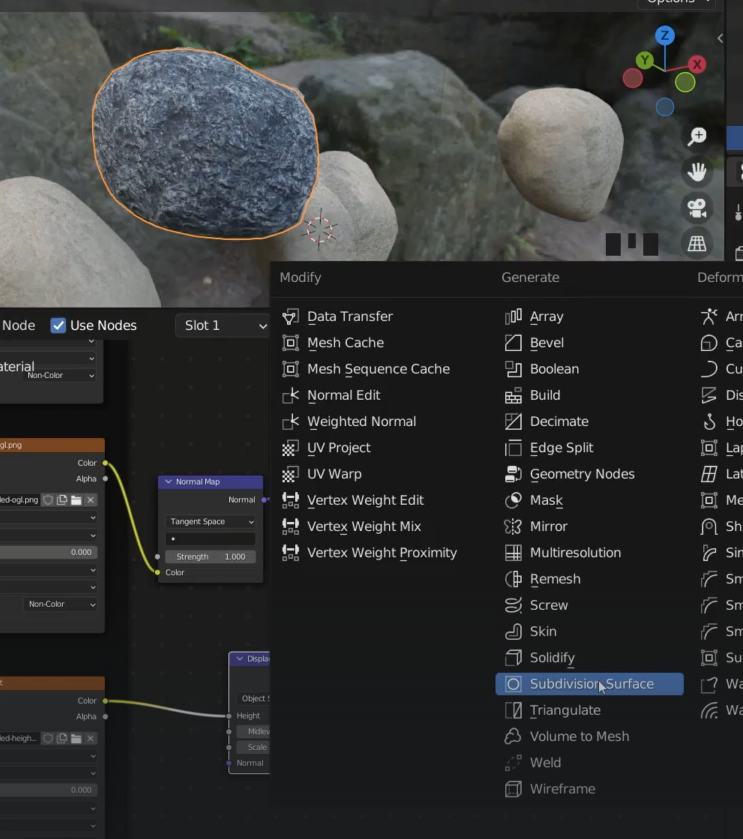
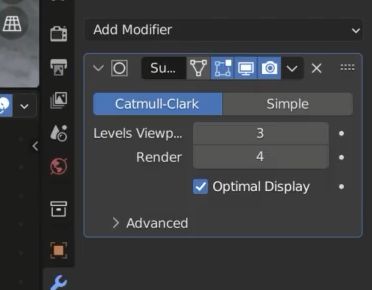
I can now increase the level of the mesh
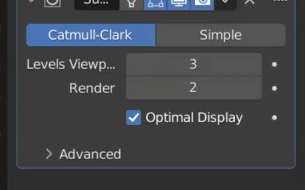
For better game performances render > levels