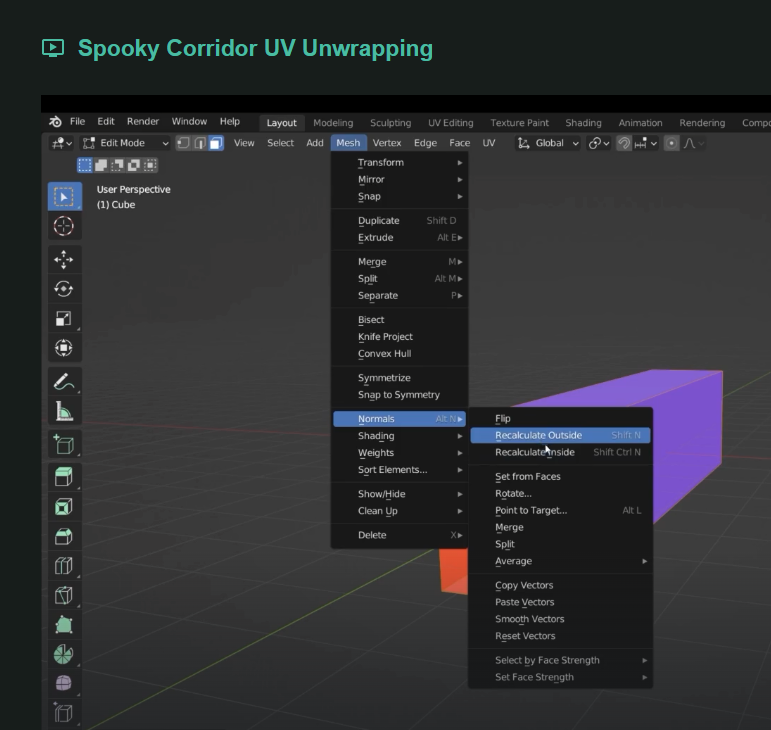
back face culling
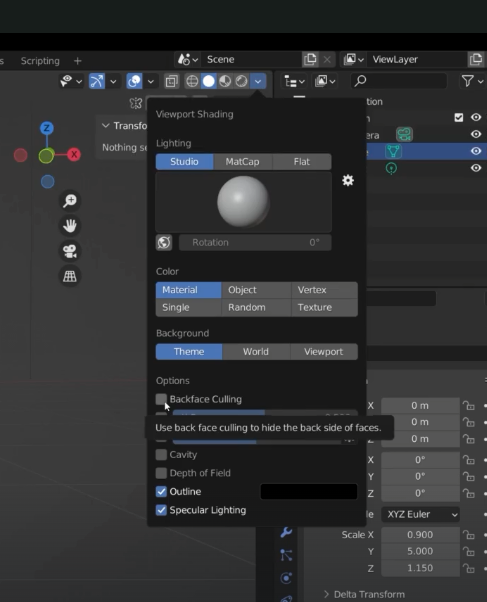
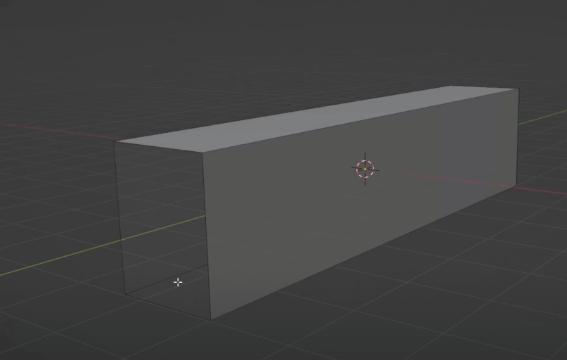
face orientation

if we turn off back culling again
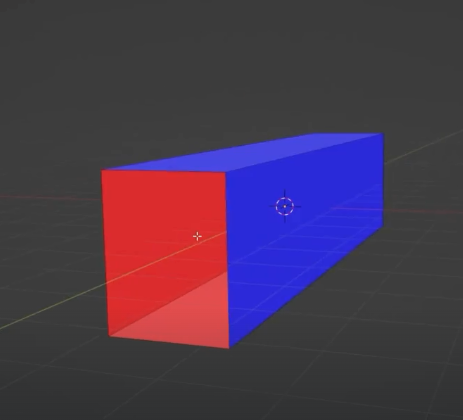
shift + N to ricalculate normals
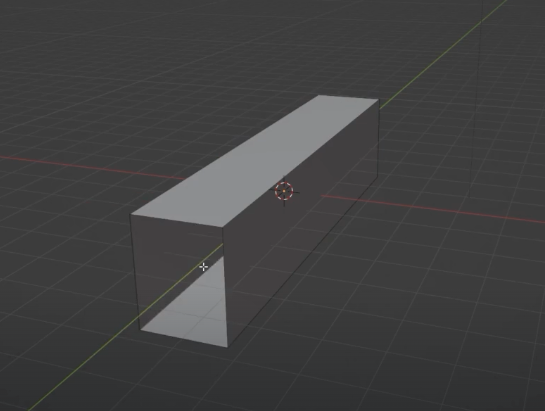
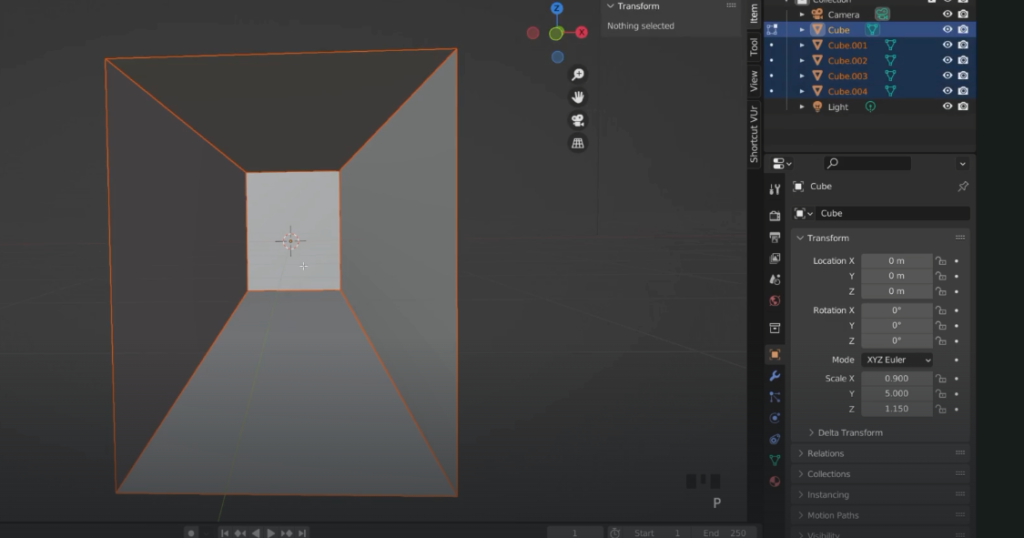
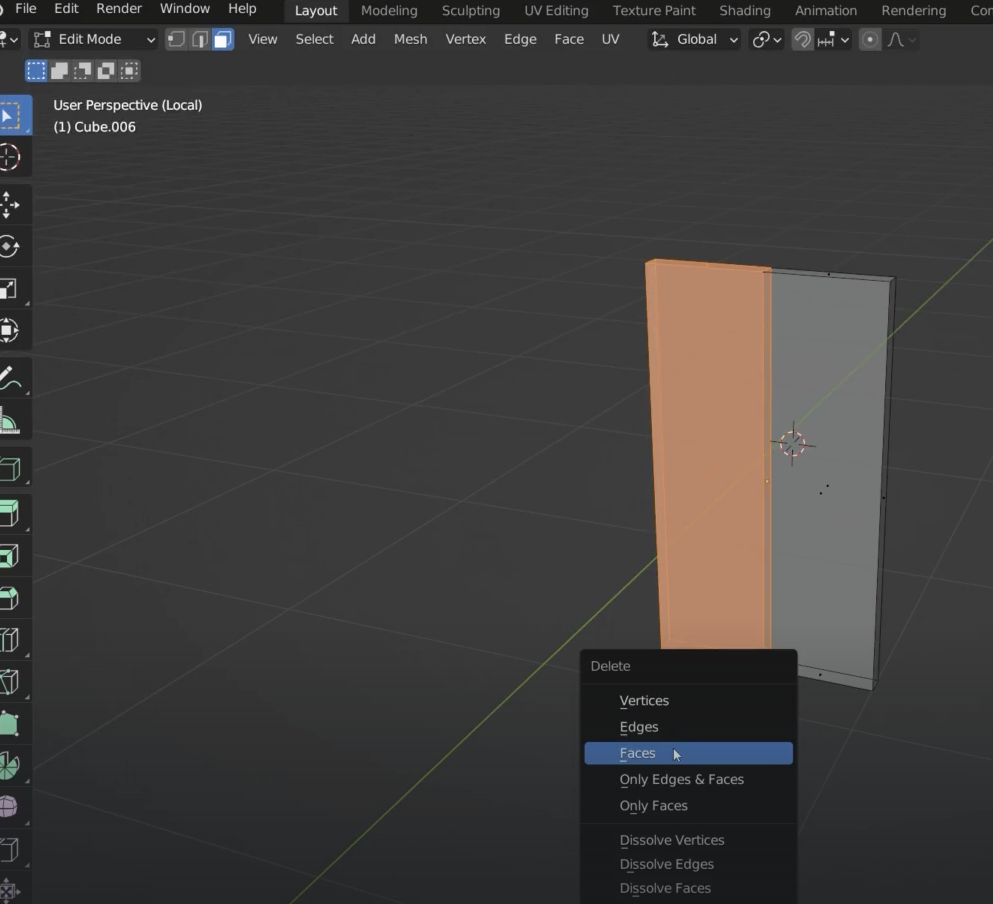
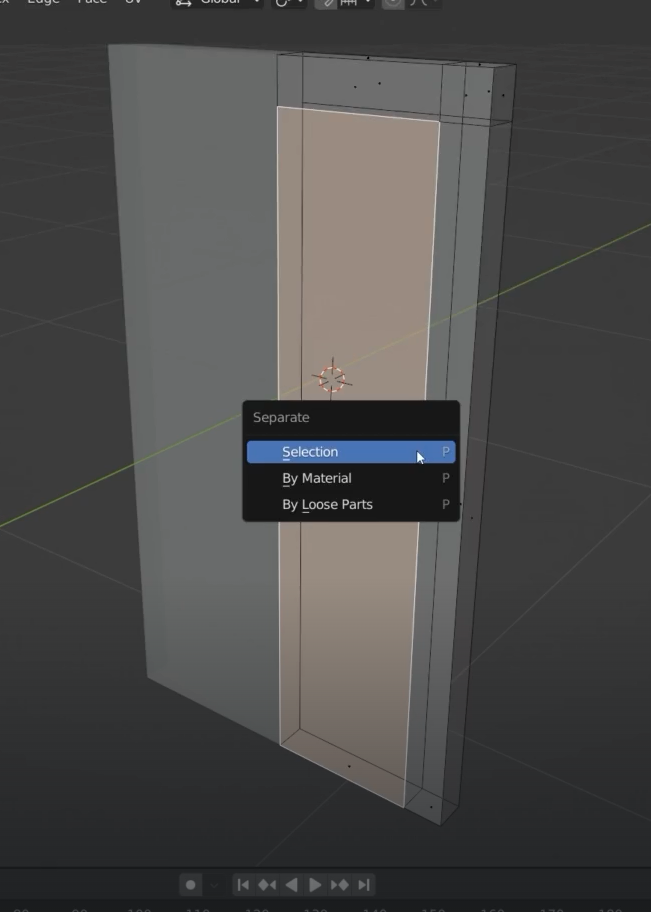
separate faces with P
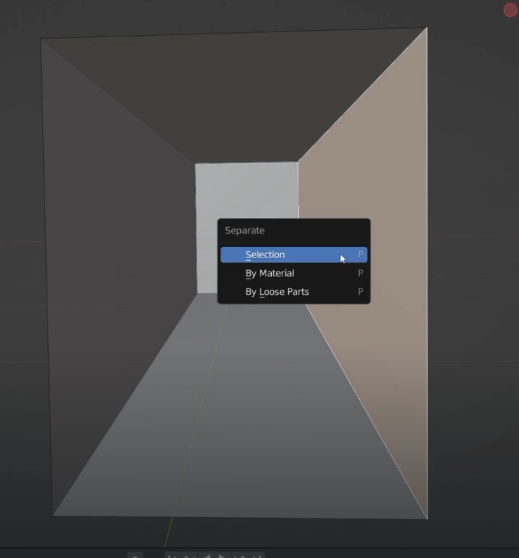
each face is now a new object
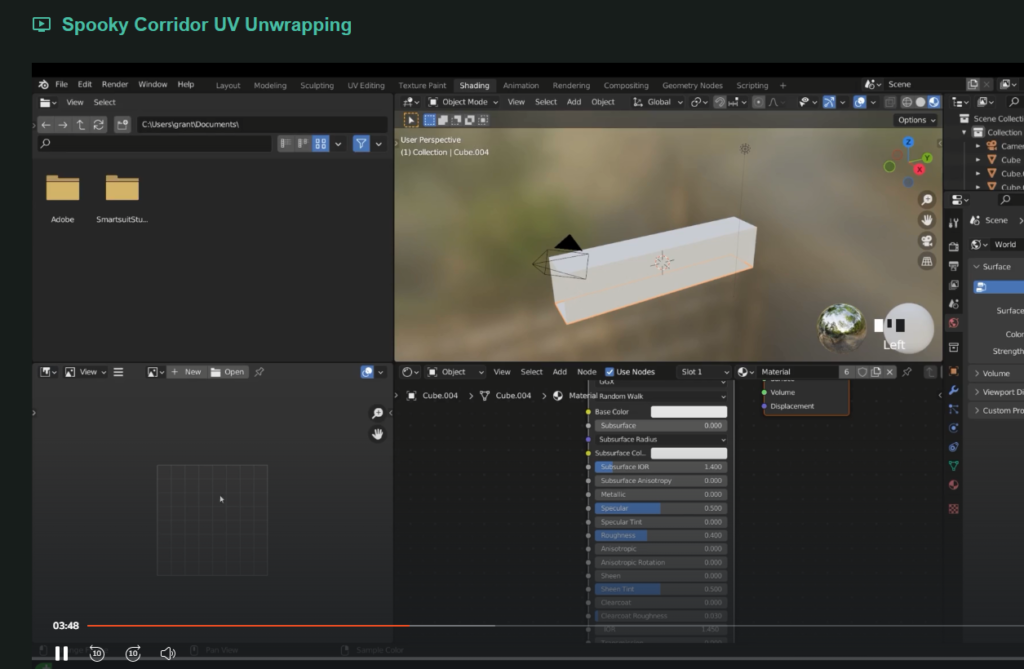
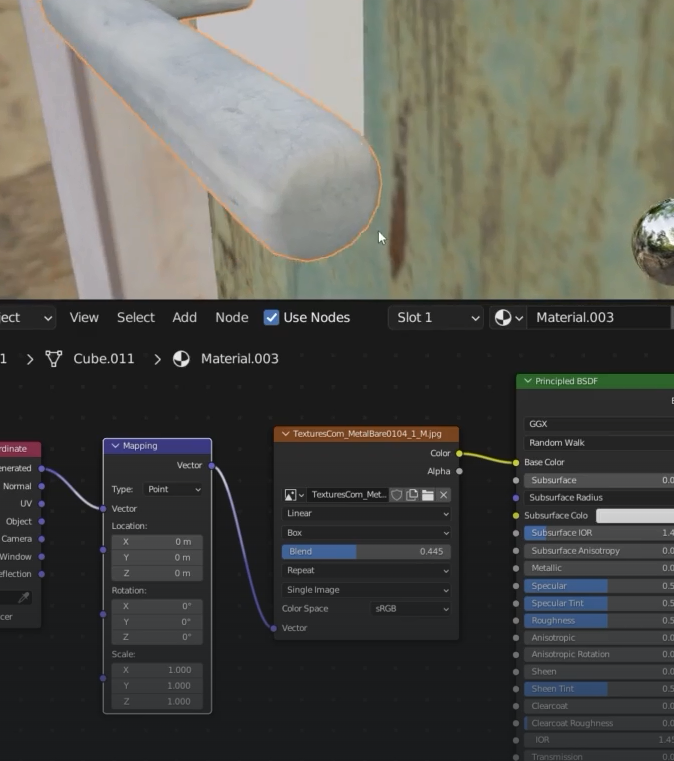
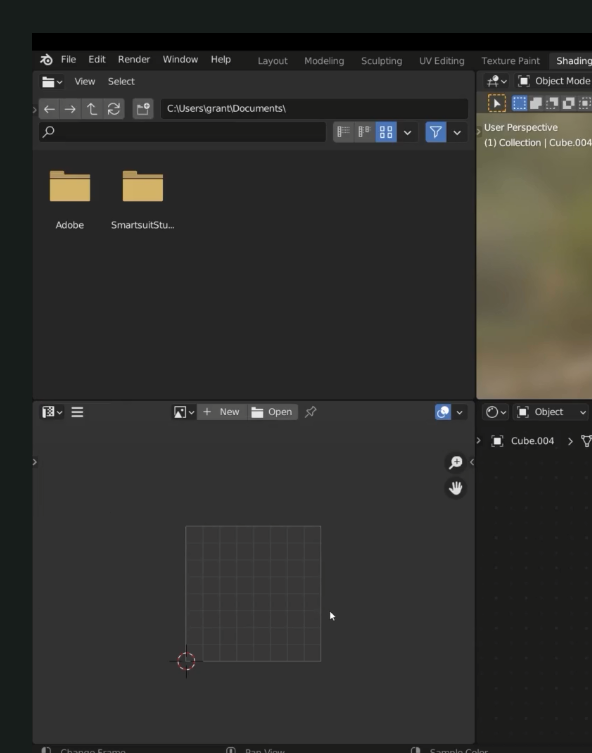
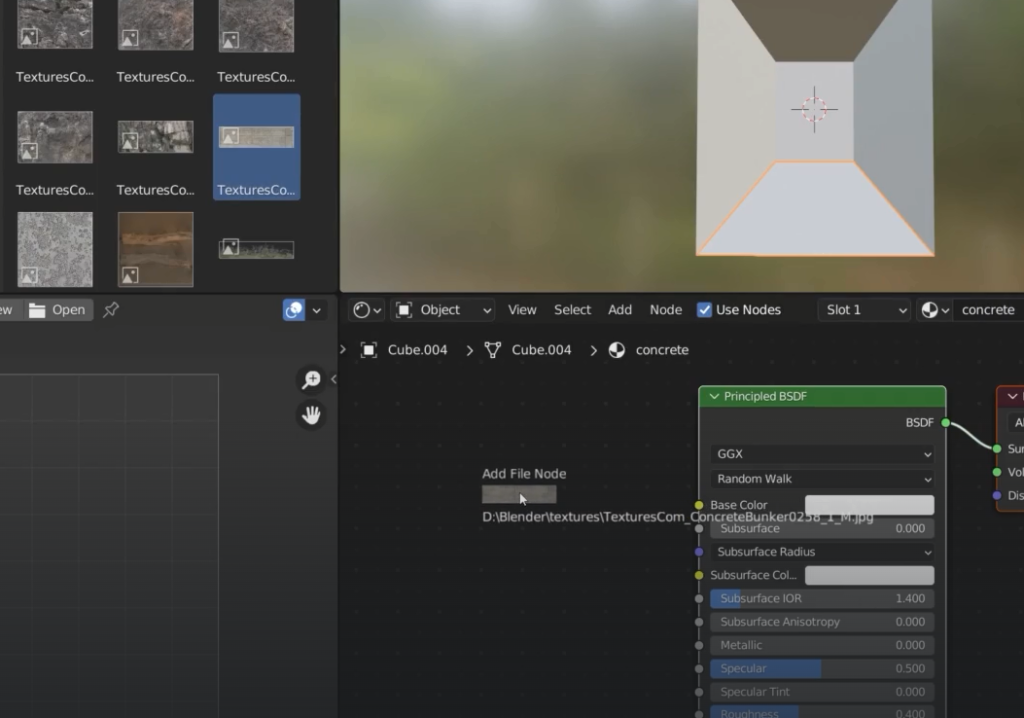
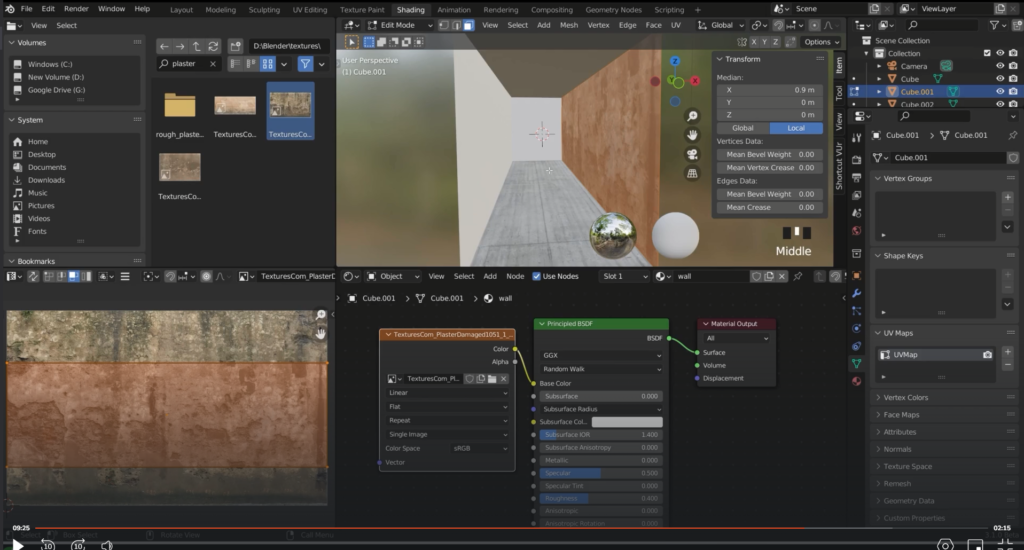
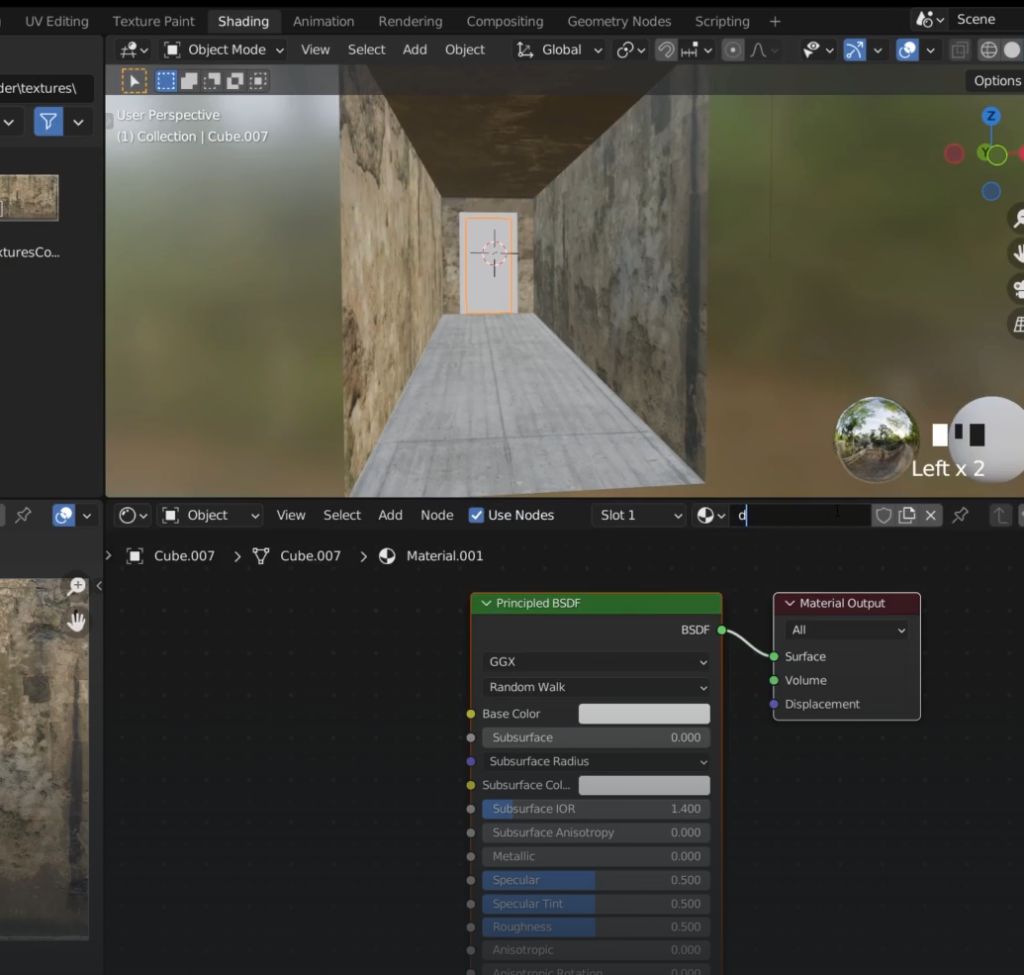
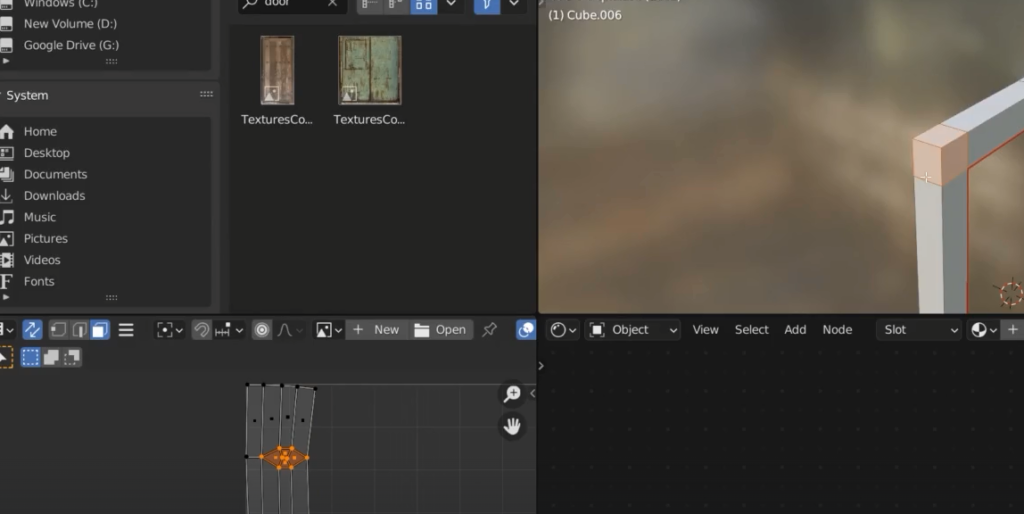
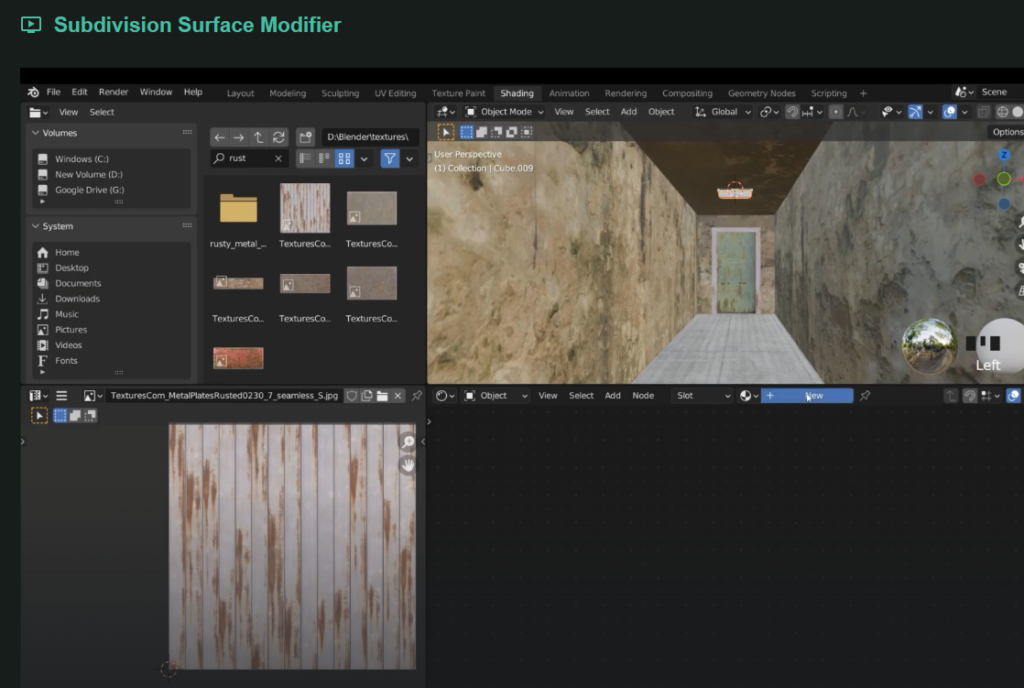
in the shading we change from image editor to uv editor
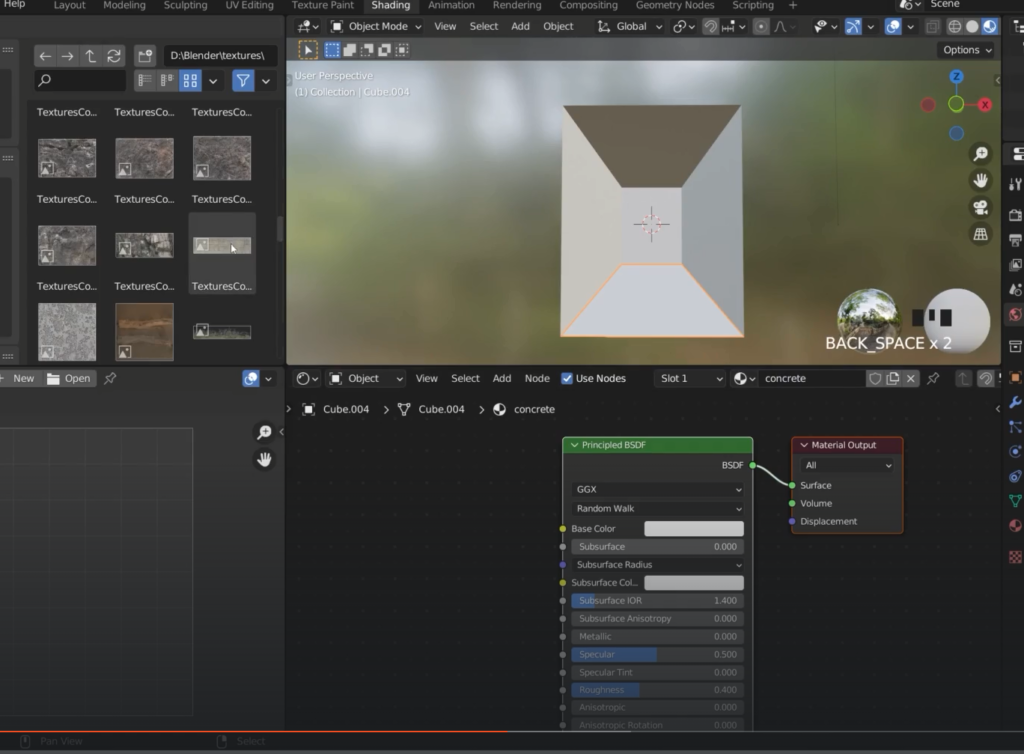
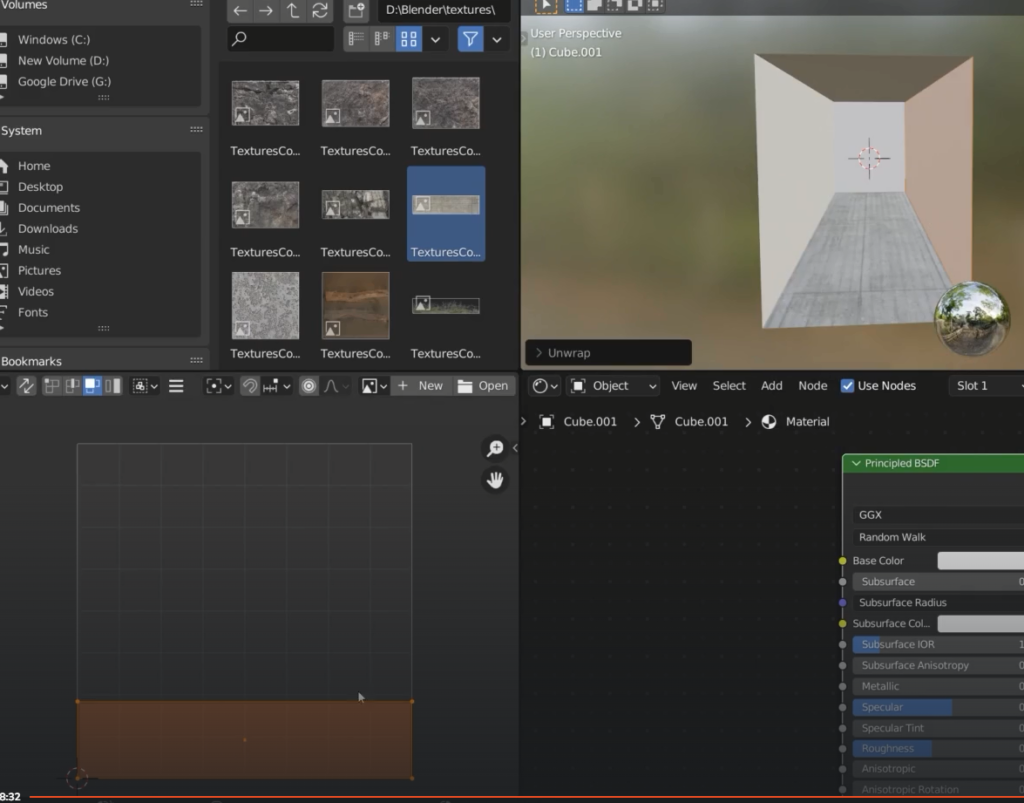
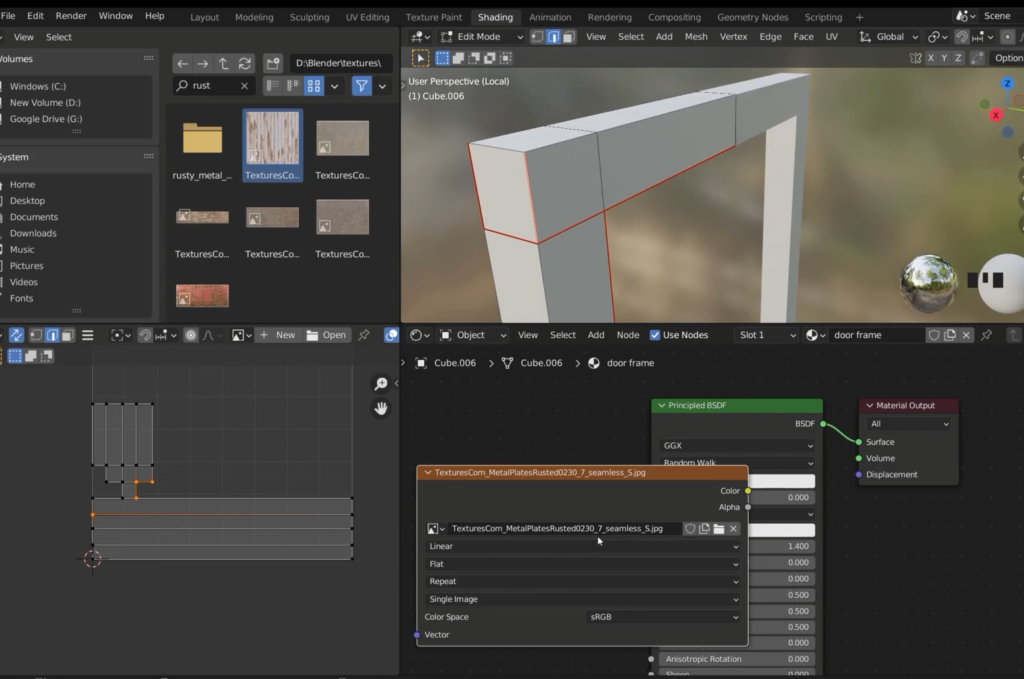
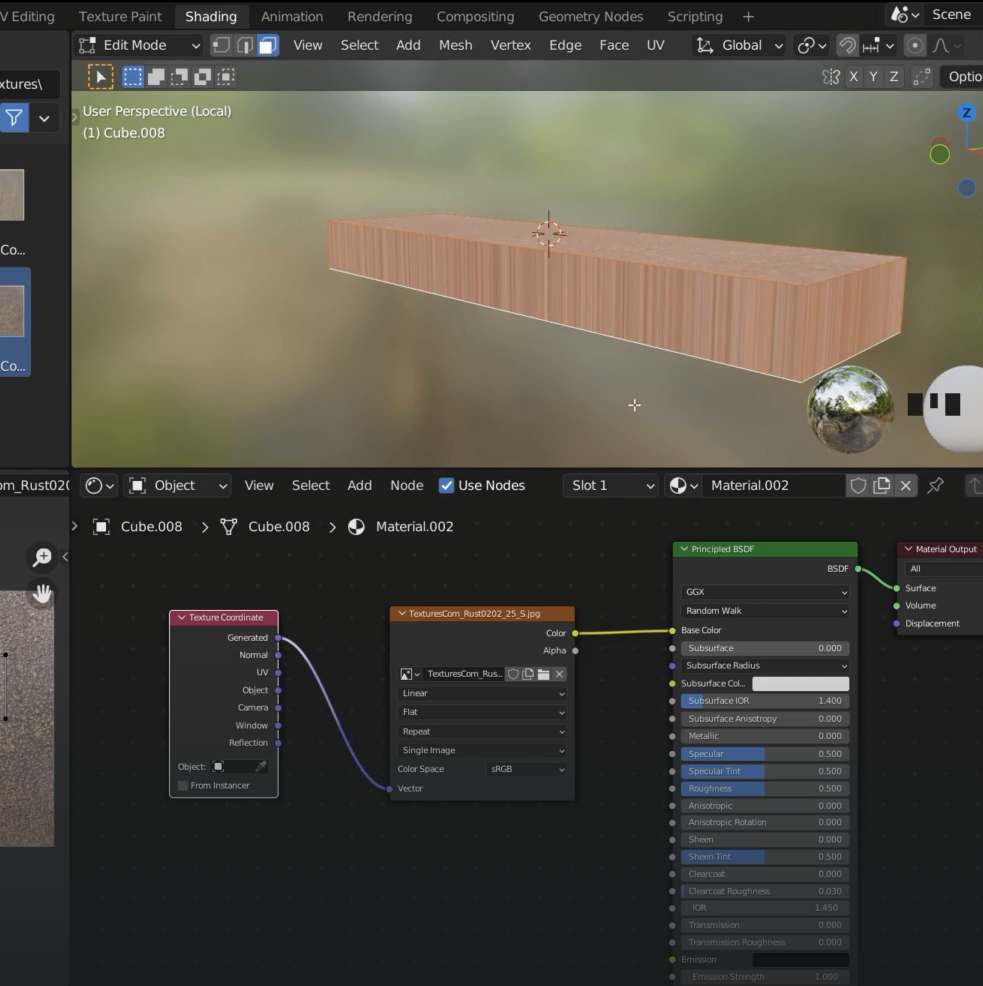
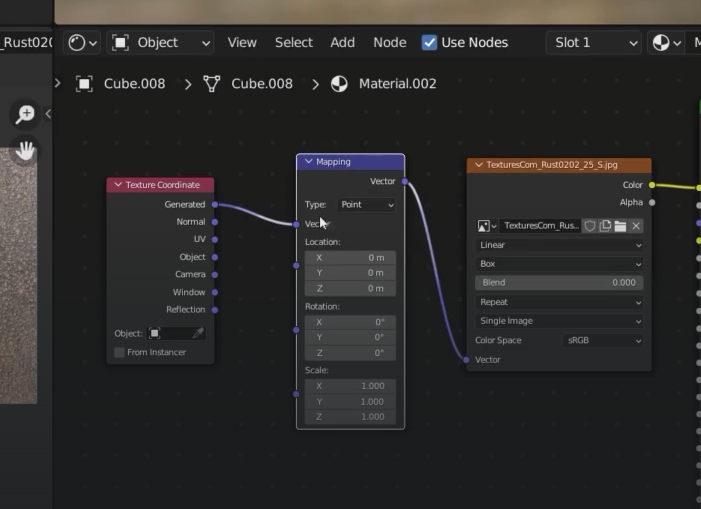
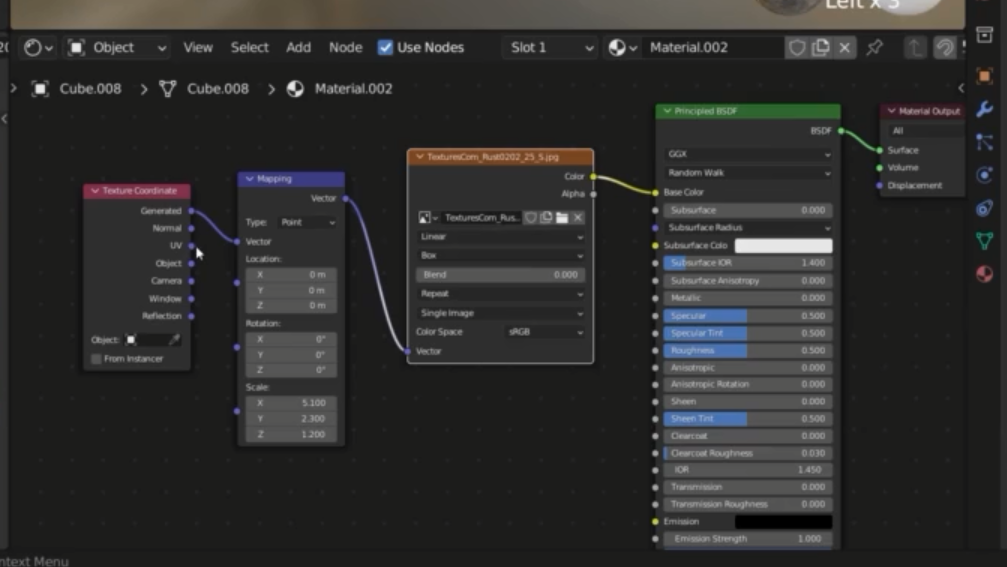
drag the texture into the shader editor
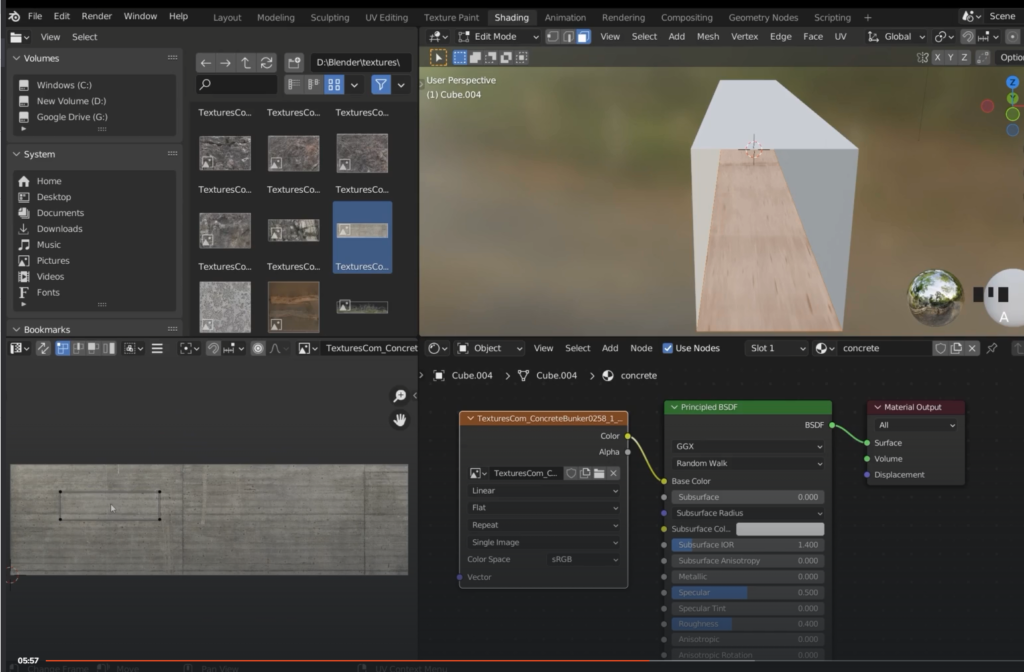
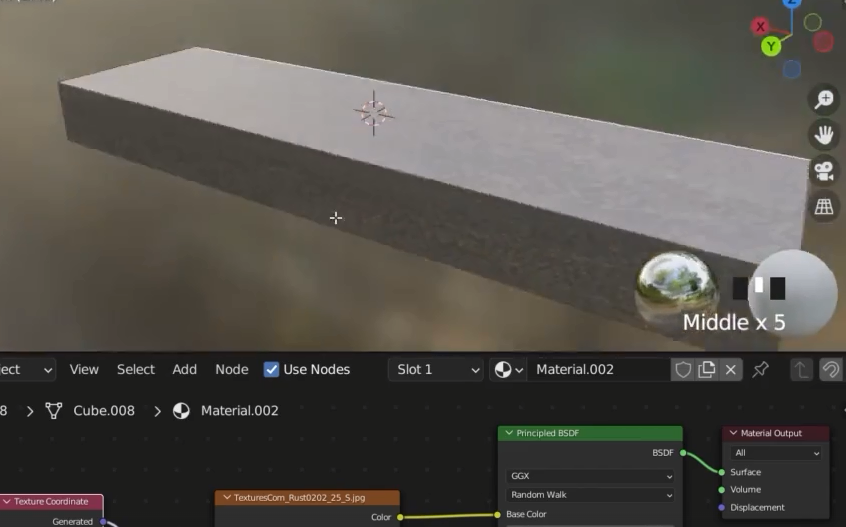
If the texture looks stretched then it might be rotated in the wrong angle
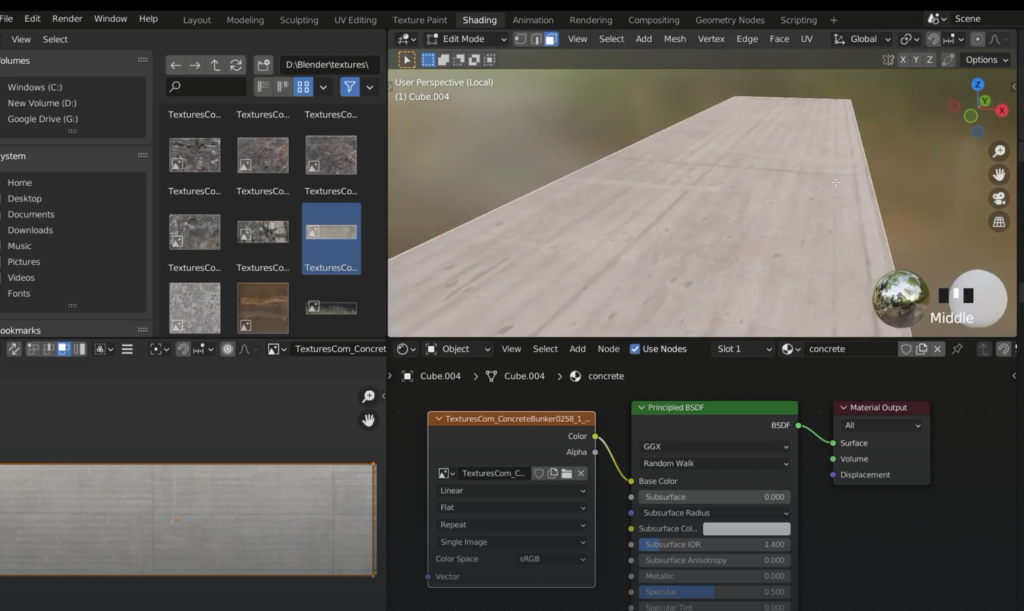
If we haven’t got a UV map we can create a new one
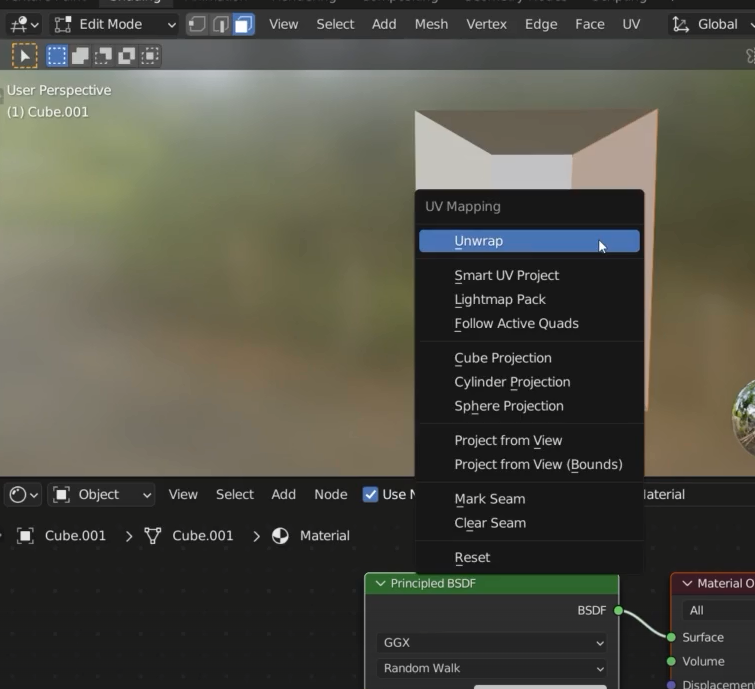
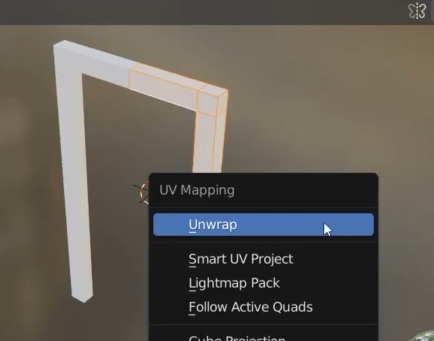
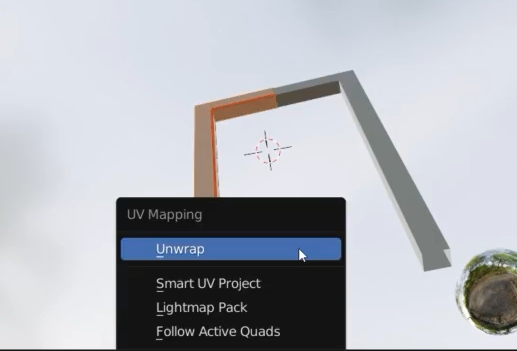
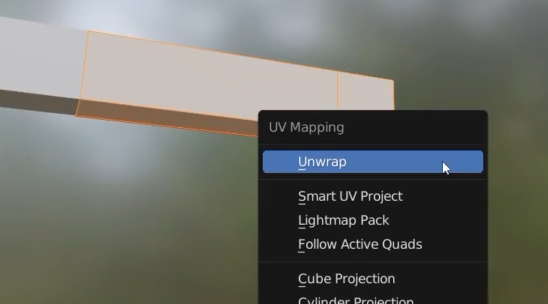
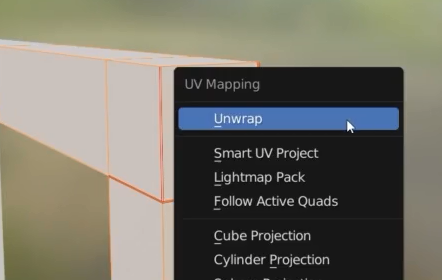
in edit mode press U
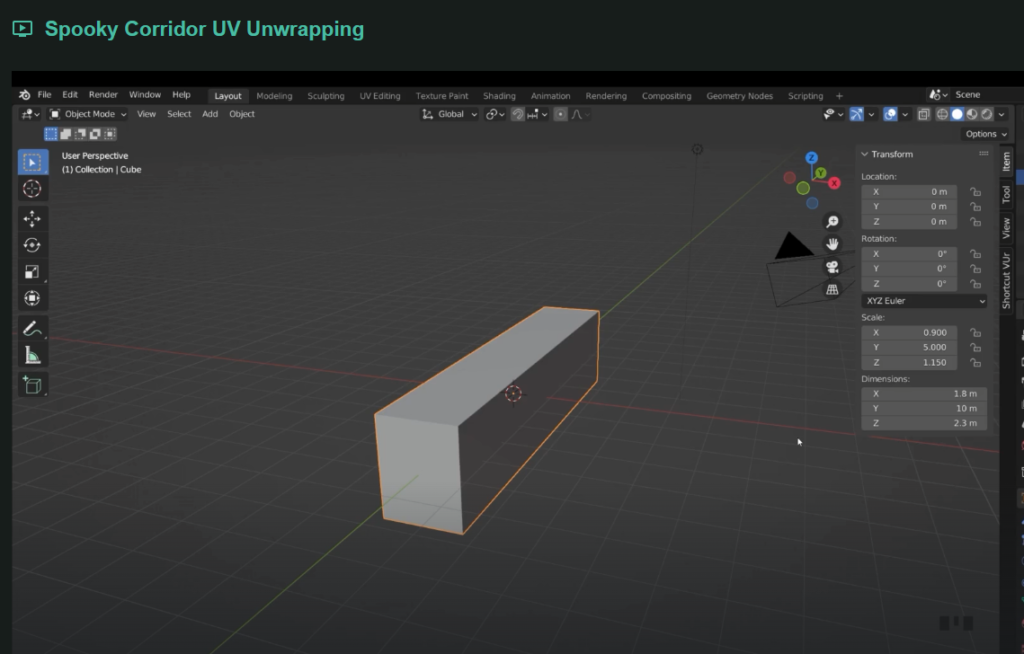
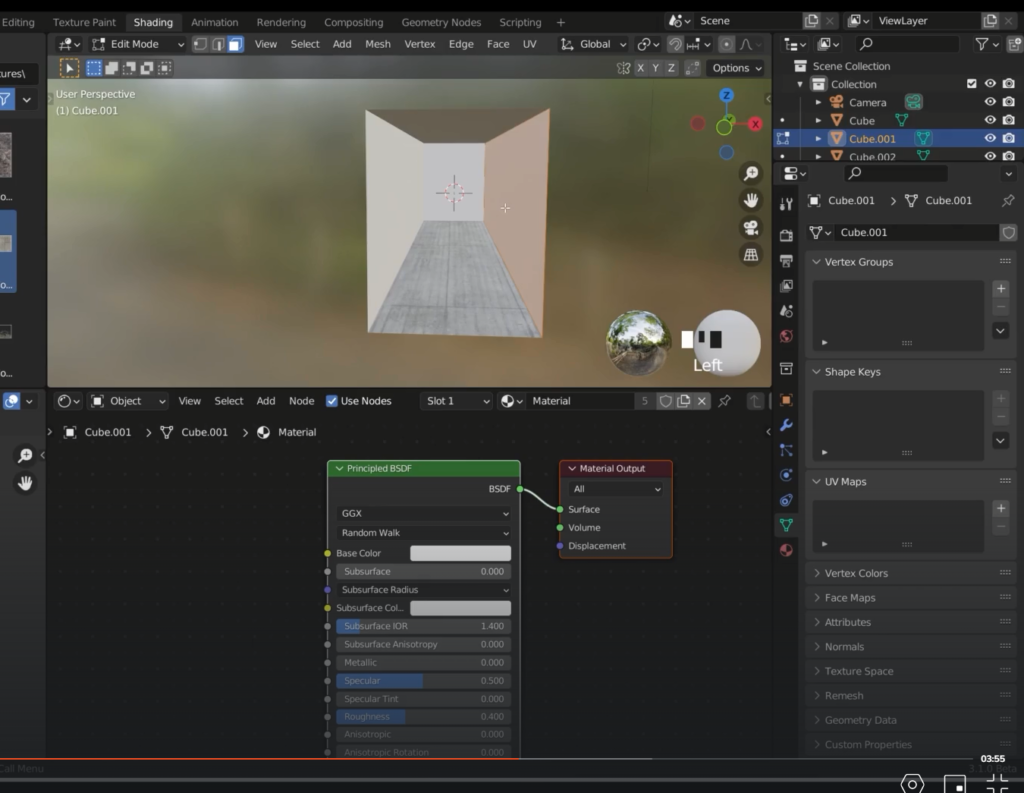
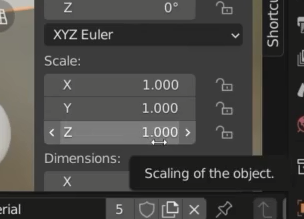
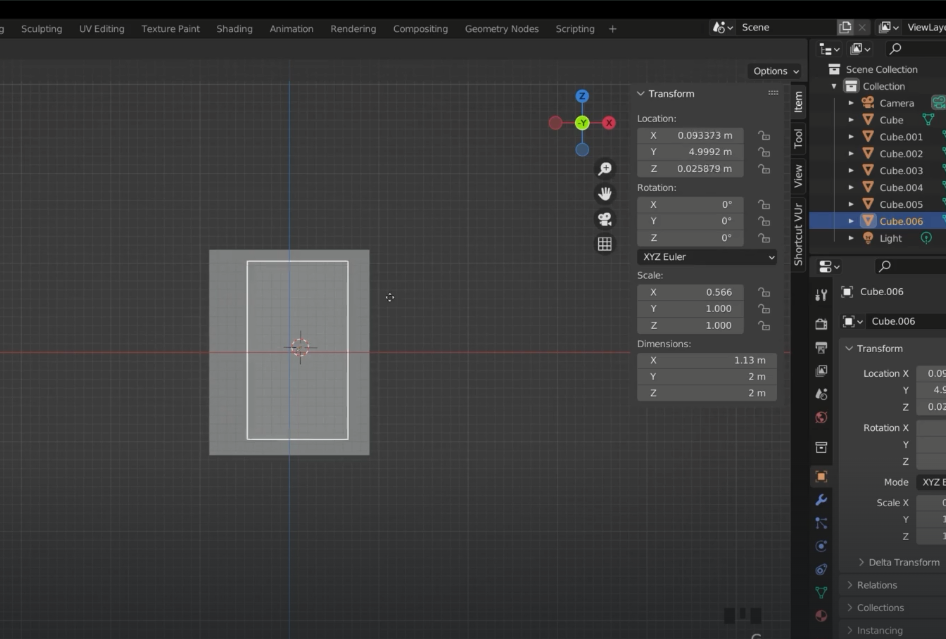
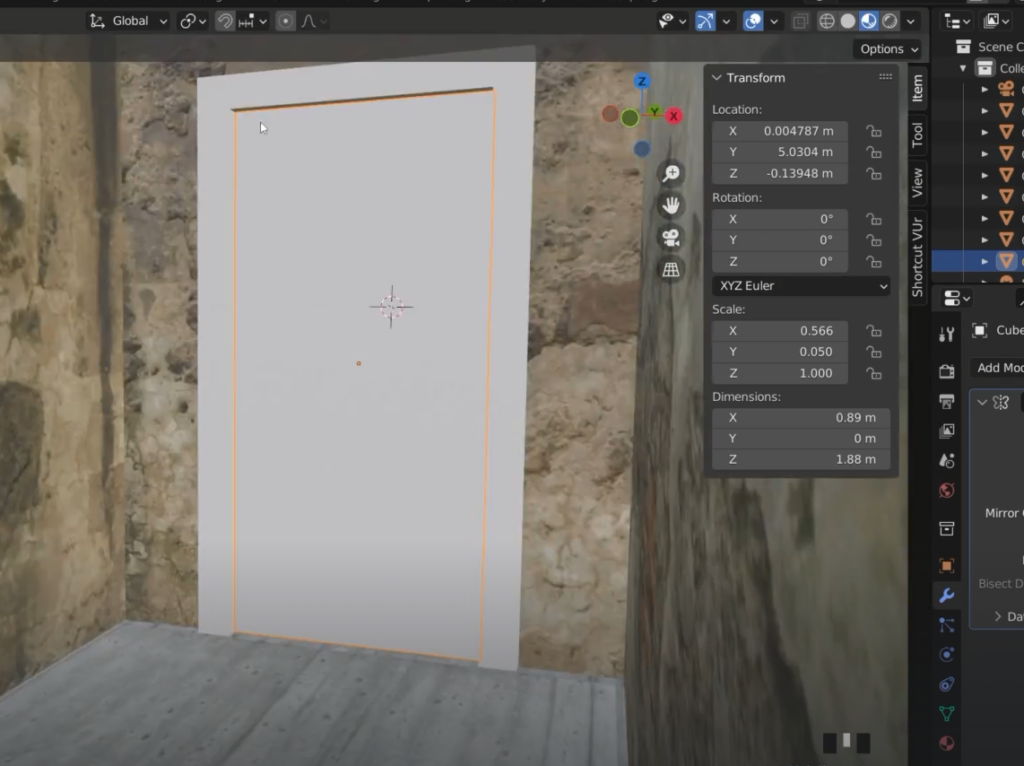
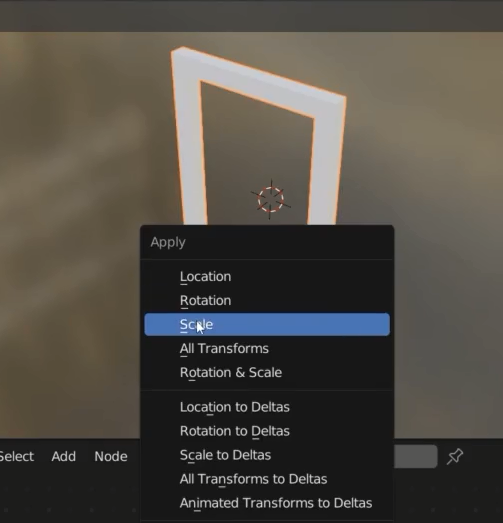
Before doing that we need to scale the model to 1, we press Control + A
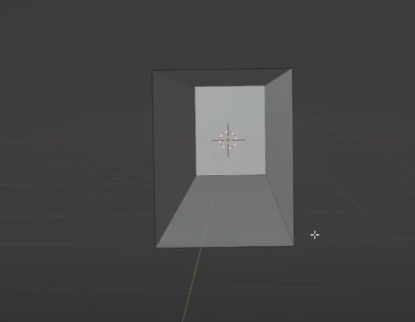
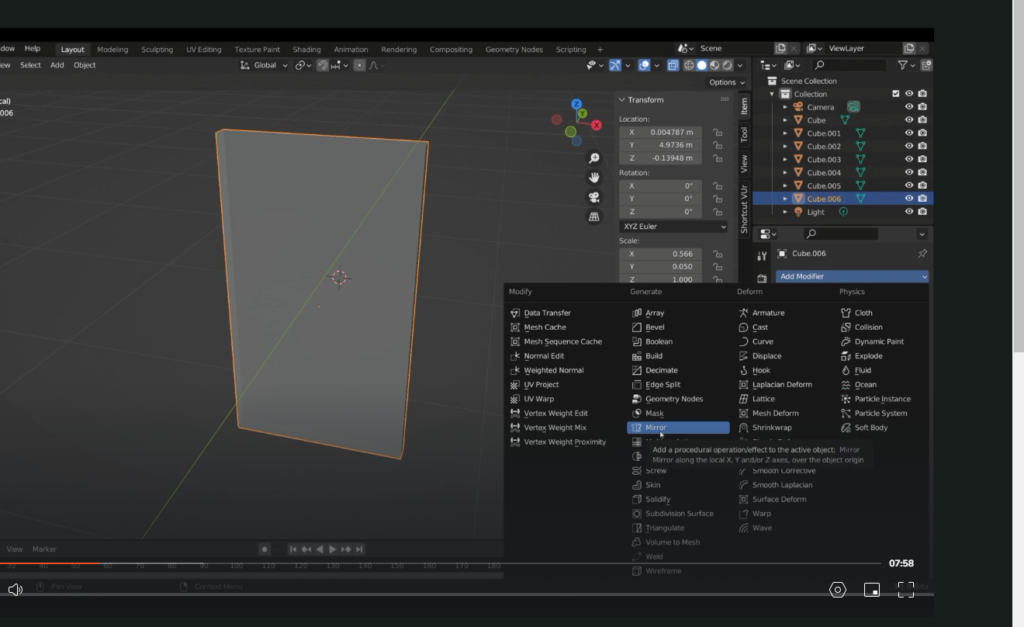
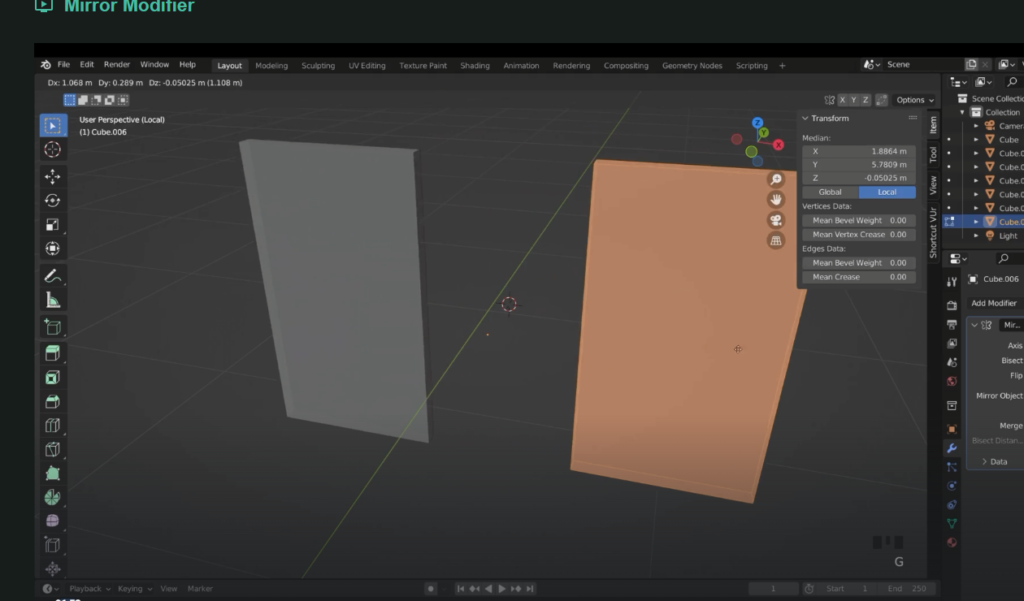
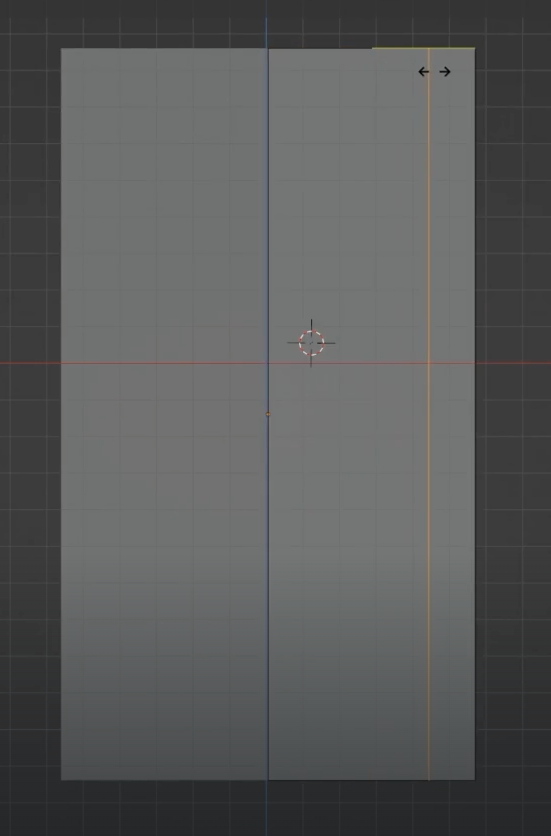
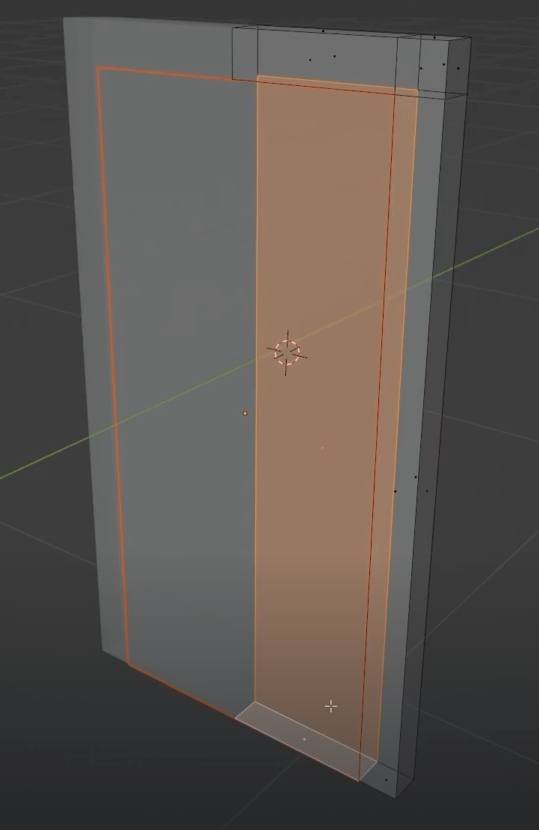
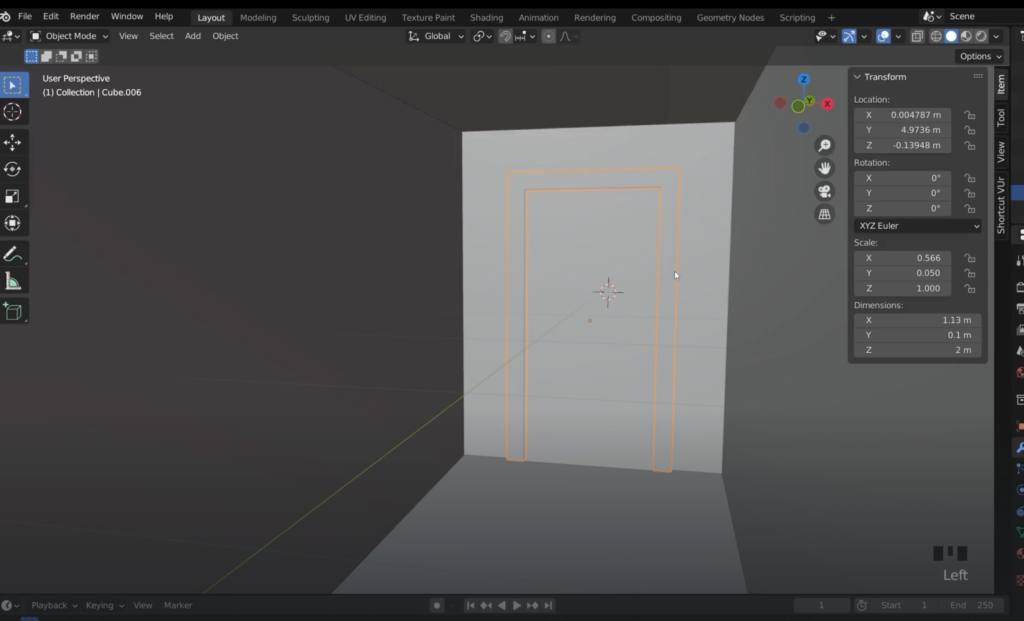
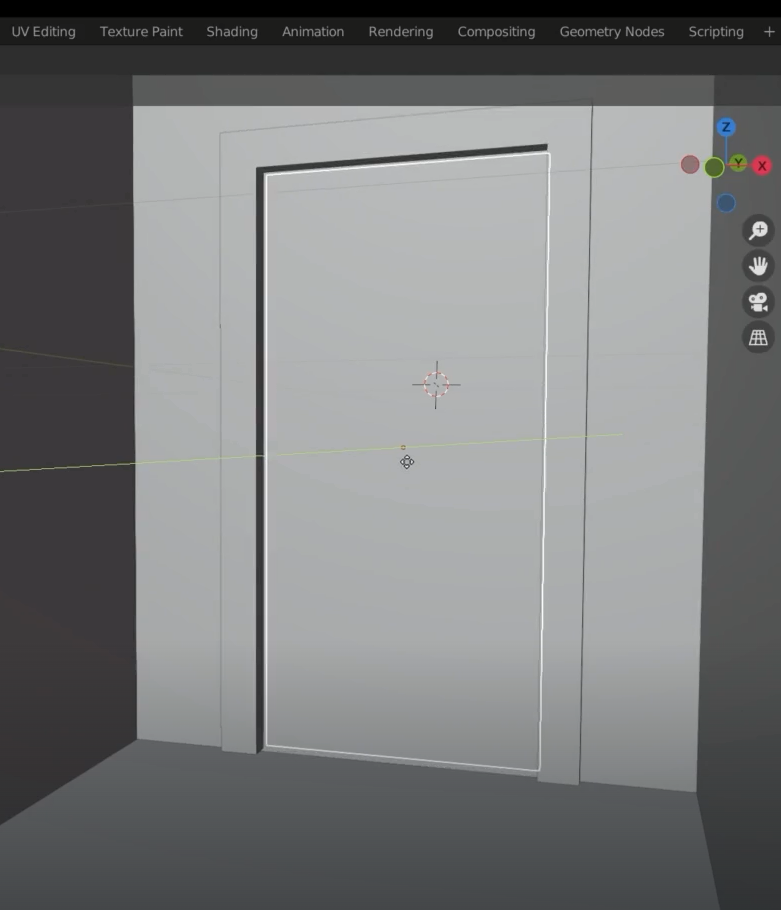
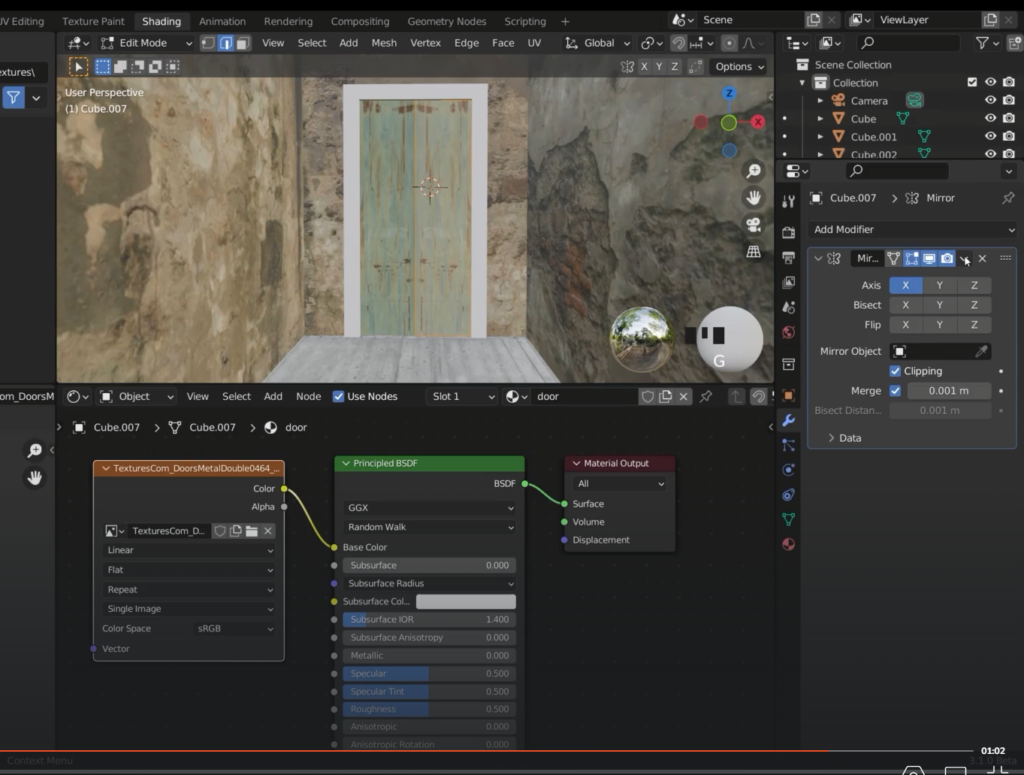
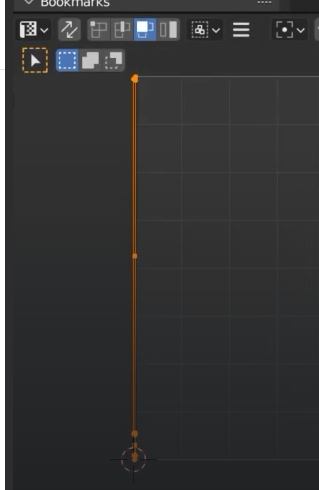
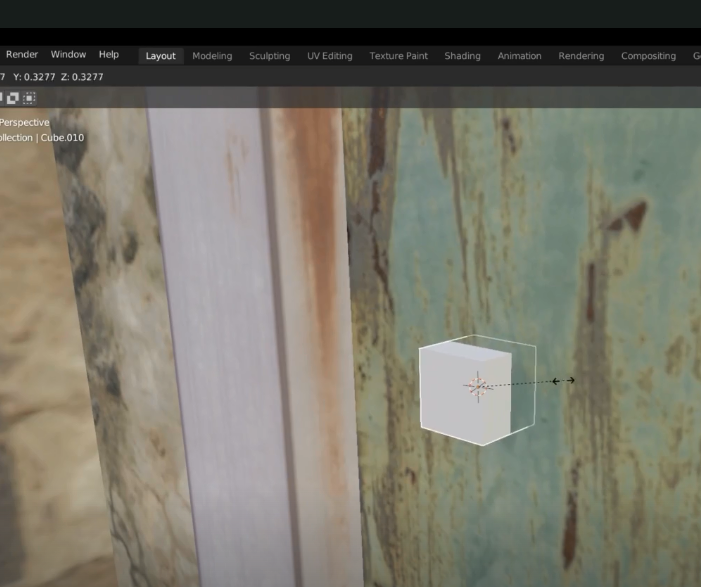
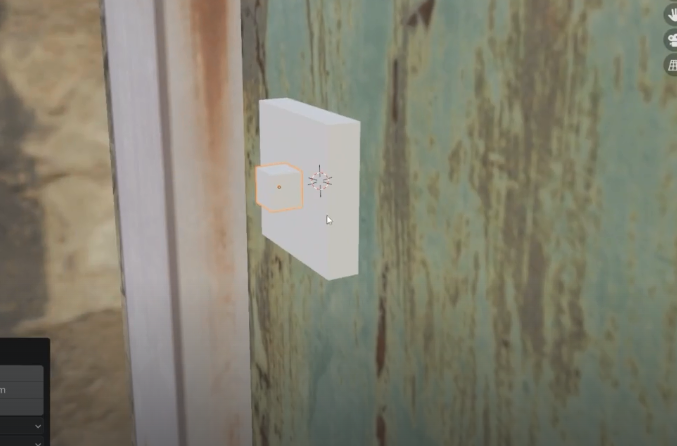
Make the door of the corridor
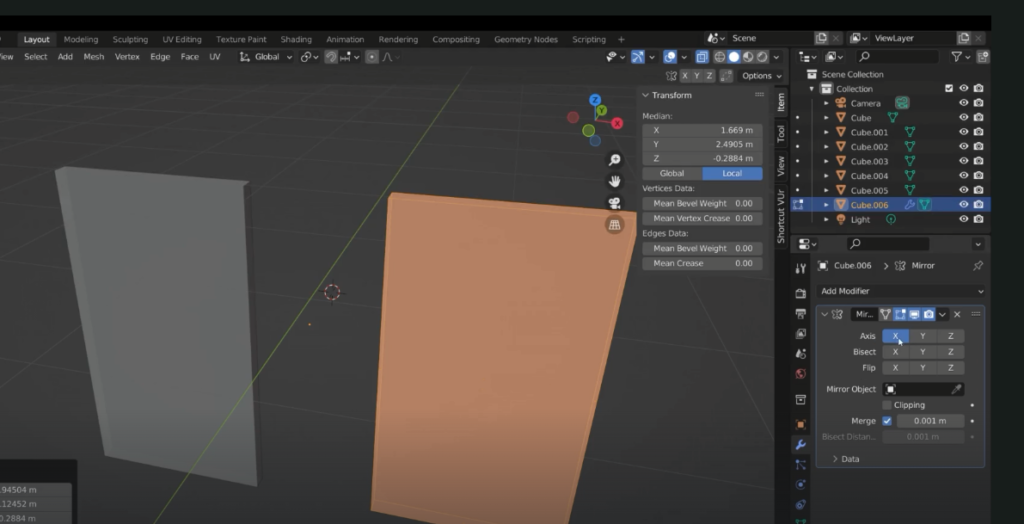
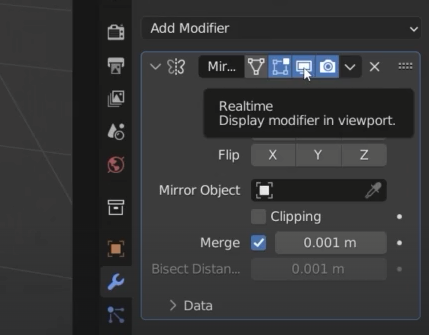
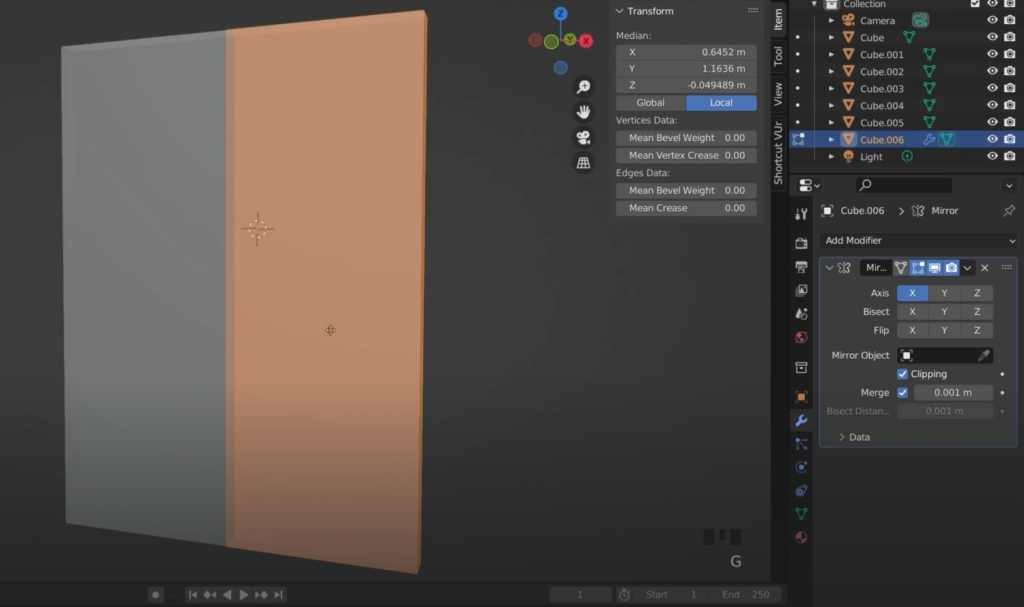
If I select clipping and try to move one of the halves they wont be able to separate
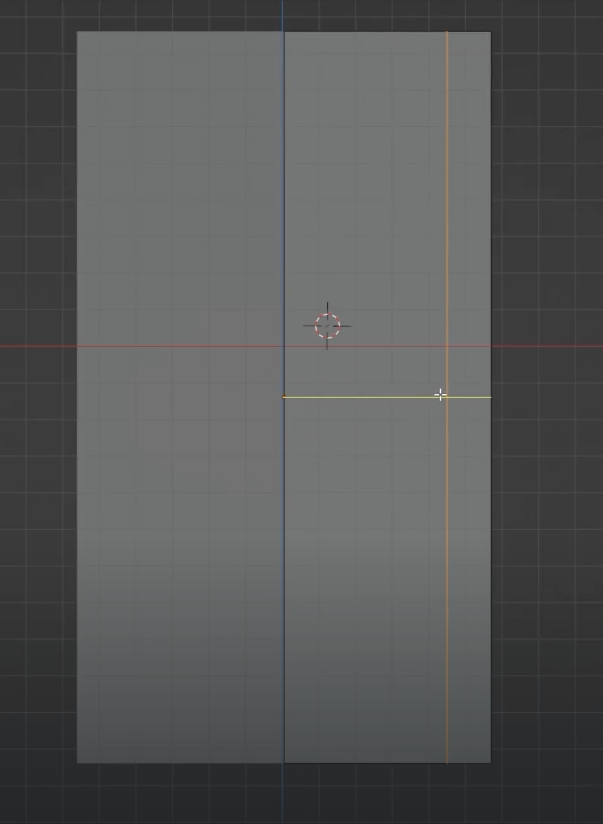
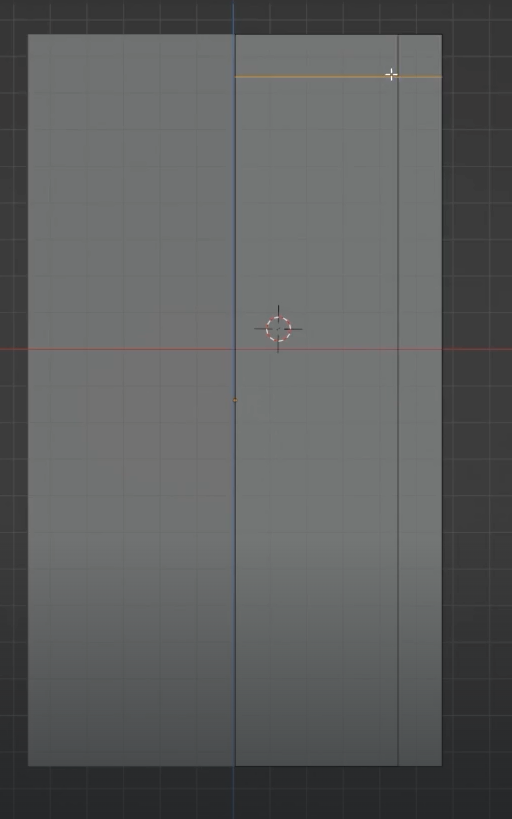
Separate the front face of the door because we will be using it later on
I delete the other two
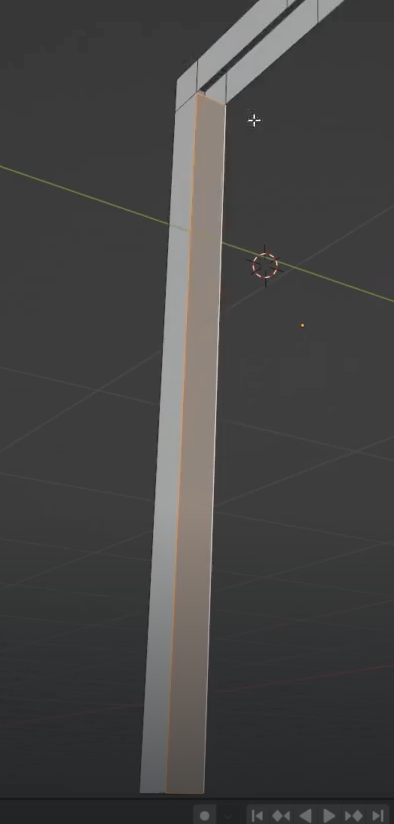
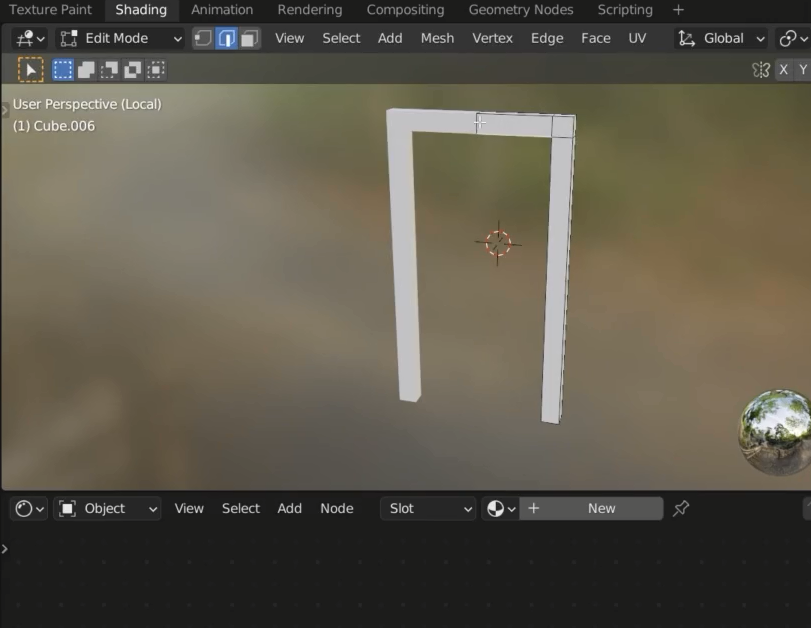
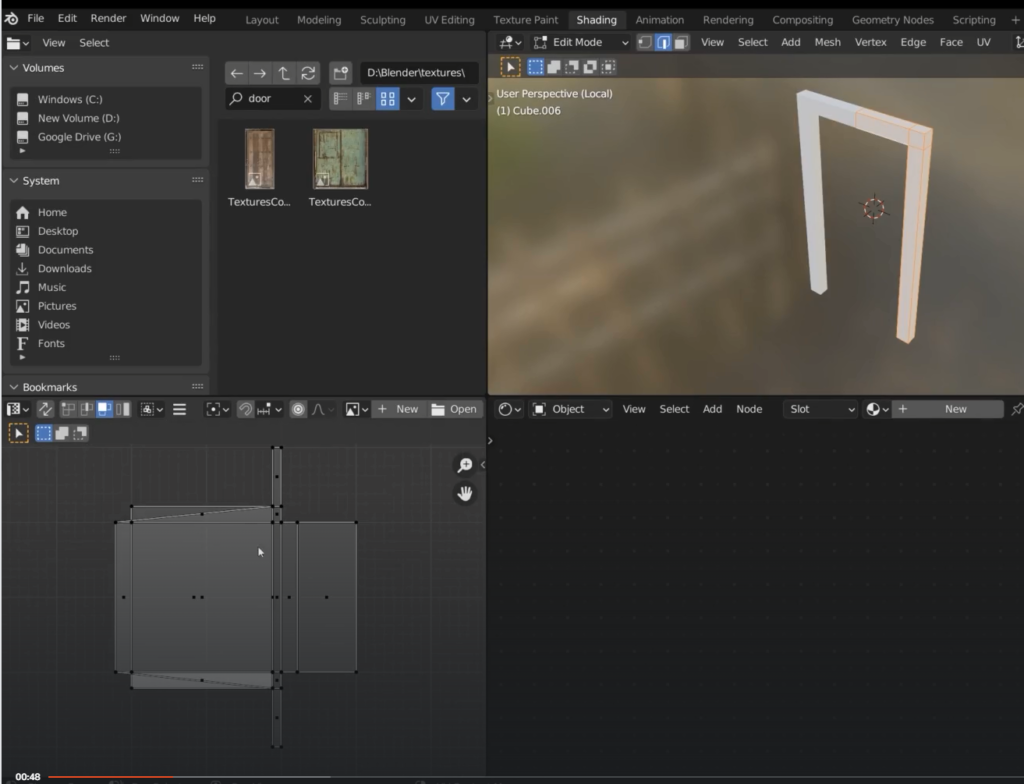
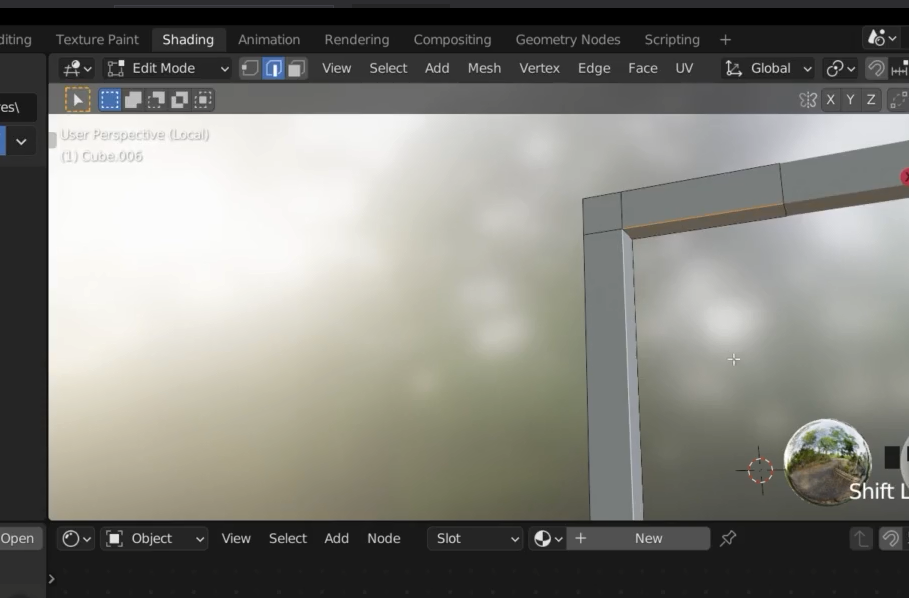
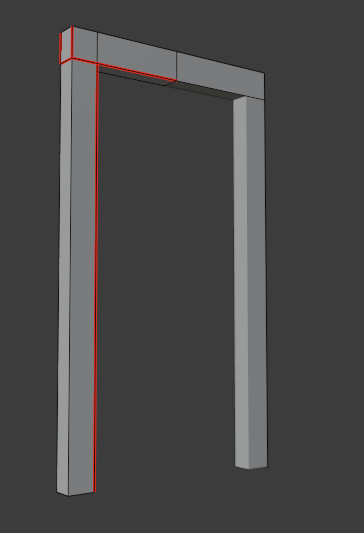
that’s how the door frame should look like
We now need to fill the gaps, select the edges and create a face F
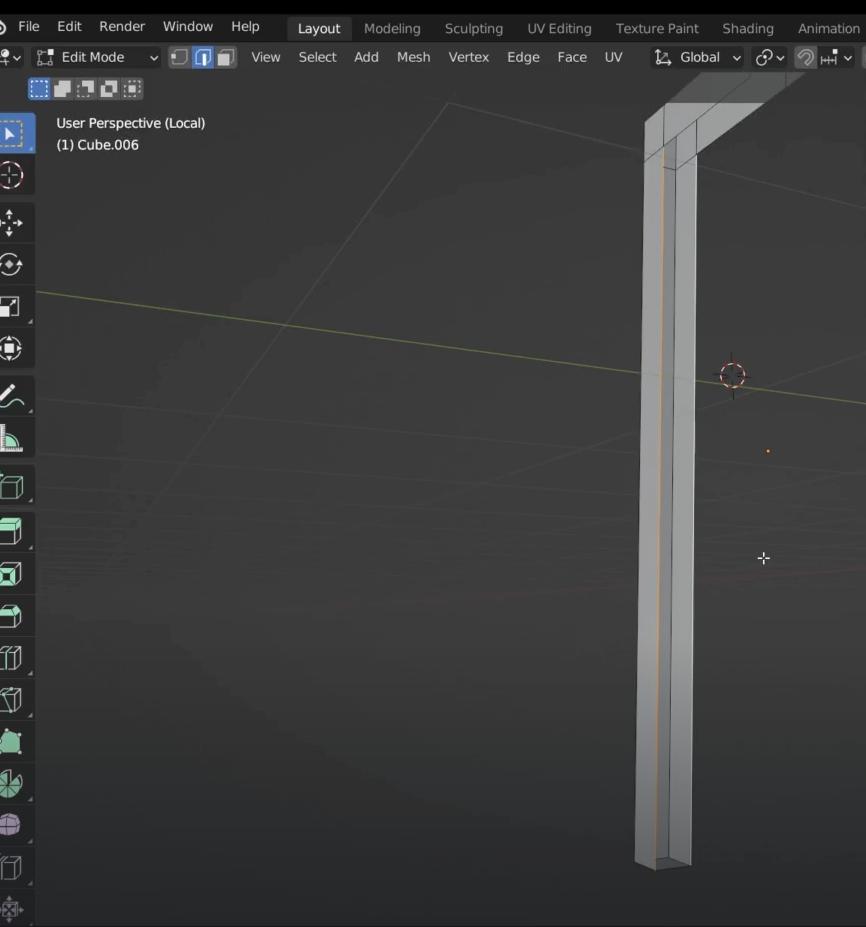
move the door frame a bit back
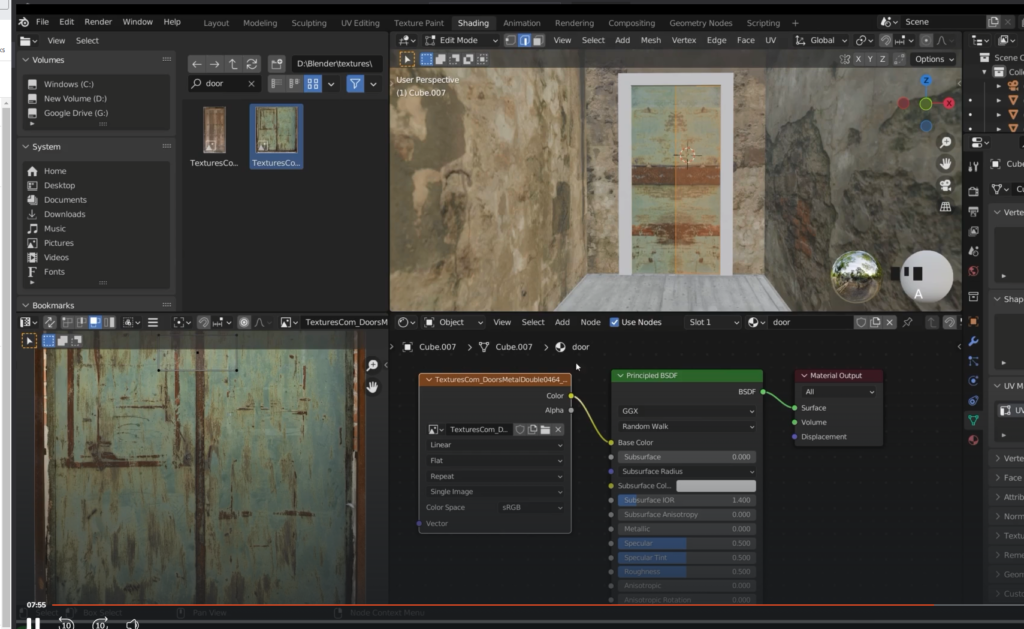
We need to apply the mirror modifier to the material

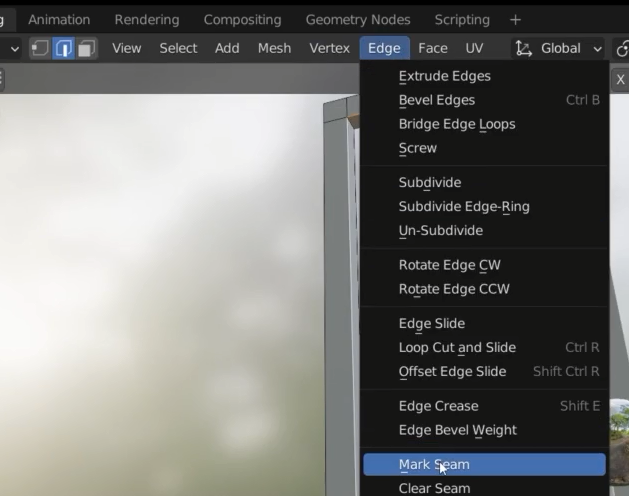
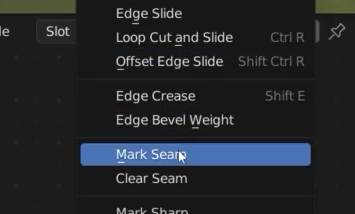
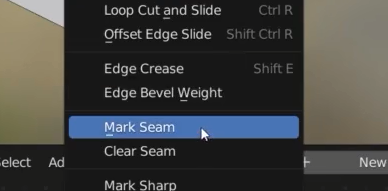
Marking Seems with objects having mirror modifier applied
When we will apply the texture to this object there could be a seem showing on the top frame
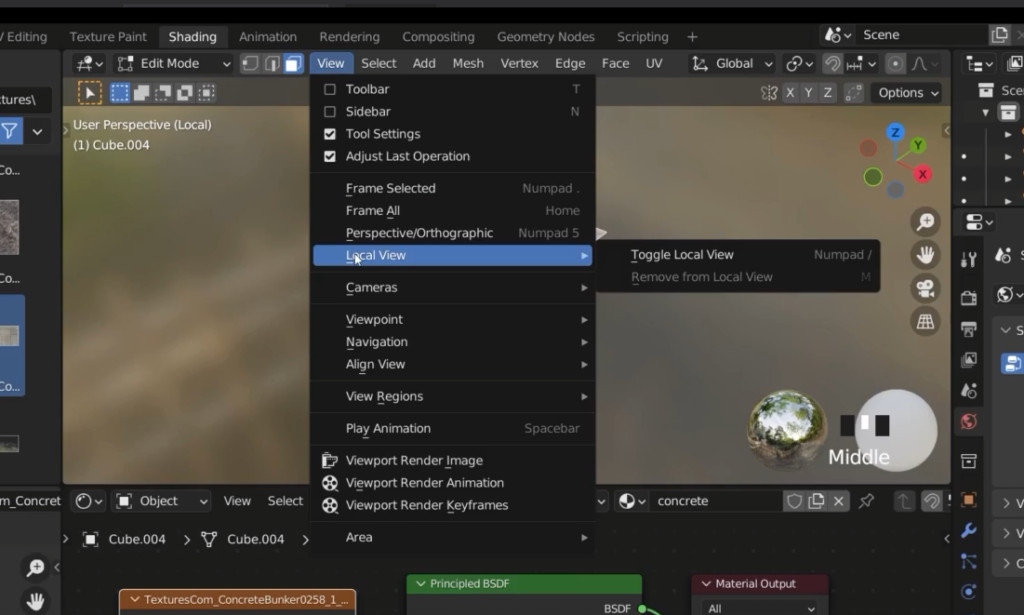
Unwrapping is a confusing mess so we need to re-unwrap it (to view the door frame only select / on the numpad)
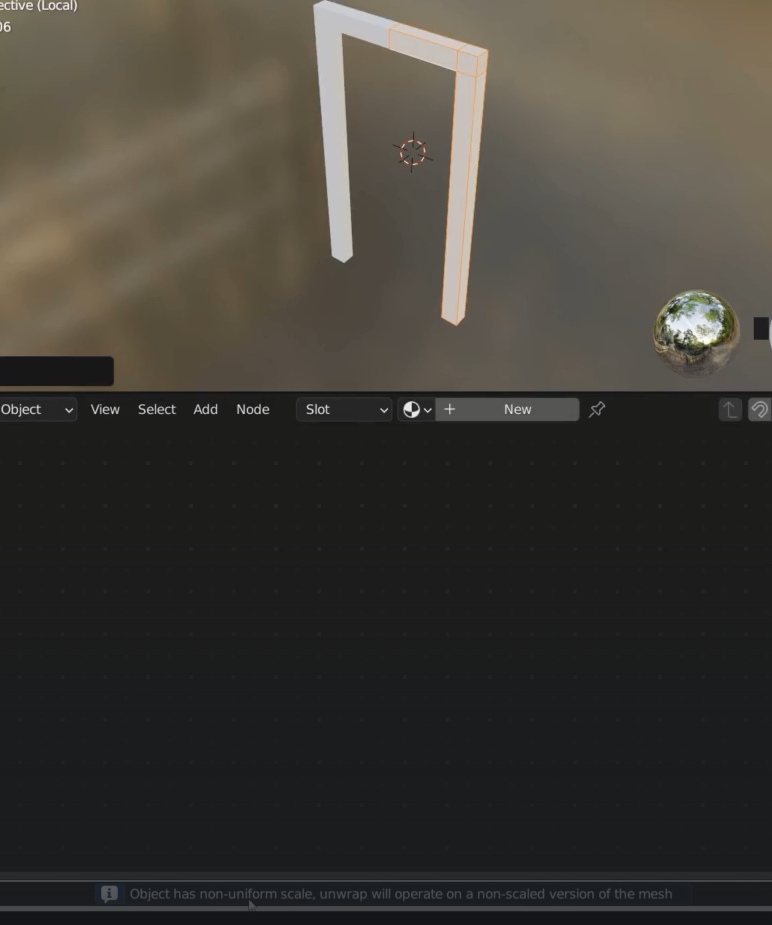
We get a warning when we try to U- unwrap
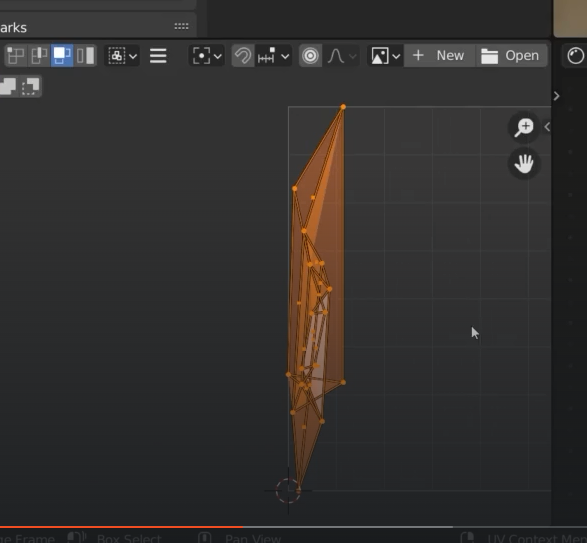
the unwrap is a big mess once again
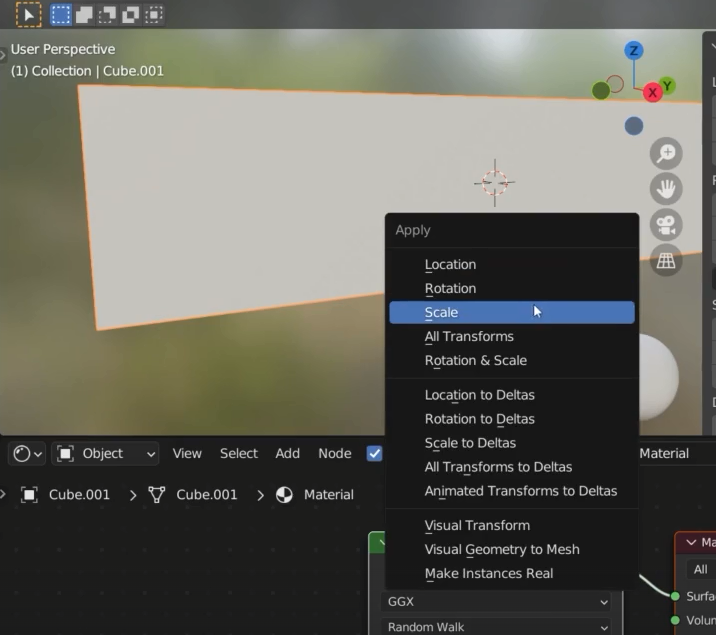
Apply scale with Control + A
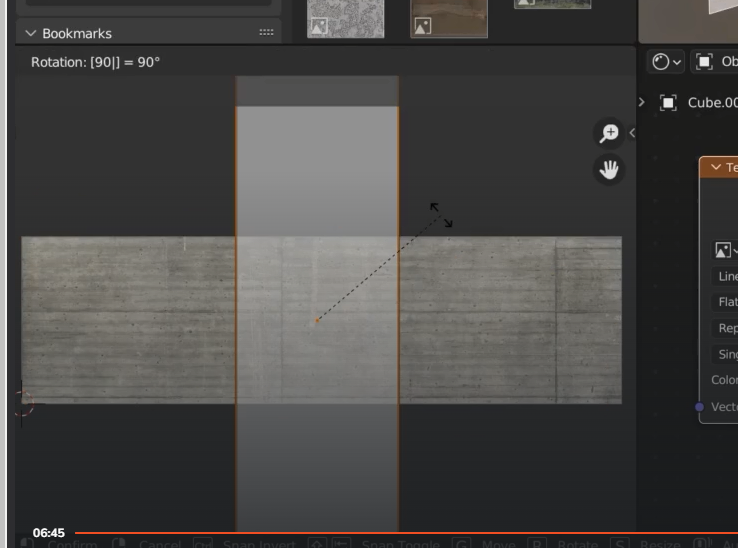
Blender is squashing the mesh because we have not specified a seem
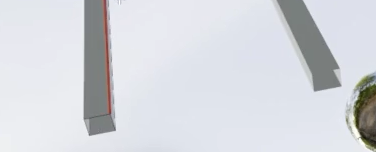
We need to separate the object into islands, seems
It’s not going to work well due to this face at the bottom

but we don’t see this face so we can delete it
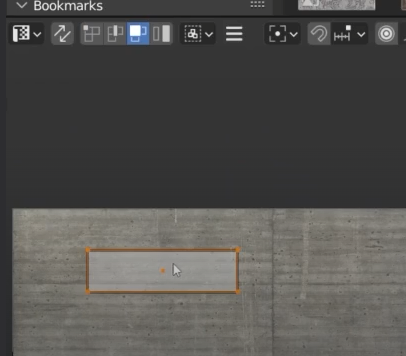
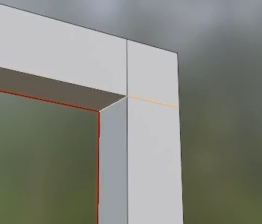
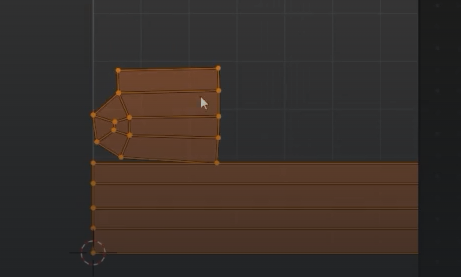
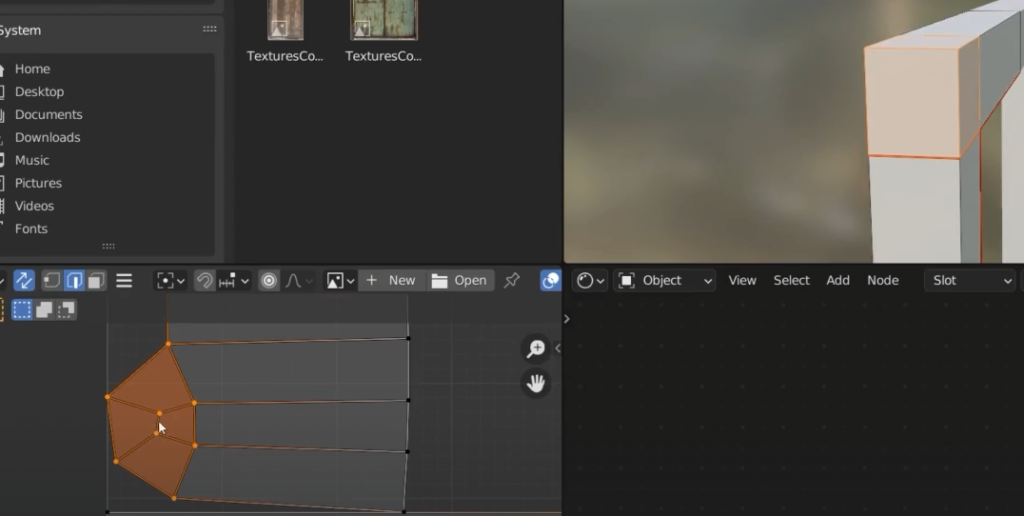
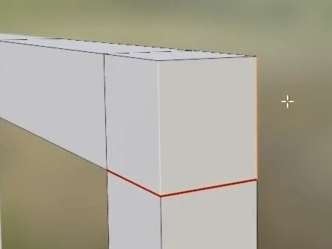
This is the top corner of the door frame
To see what part this is in the 3D model we have to select the icon below
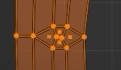
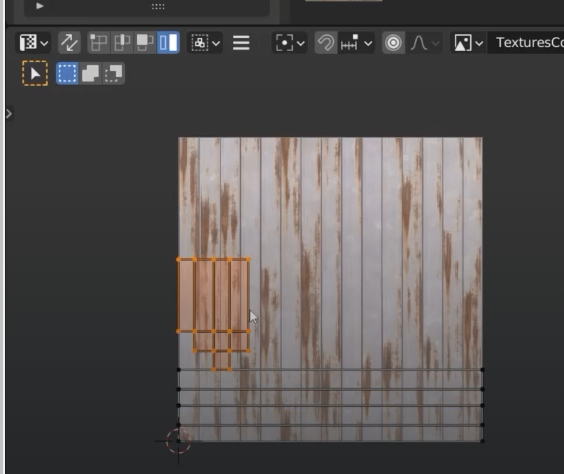
select the edge loop in the figure
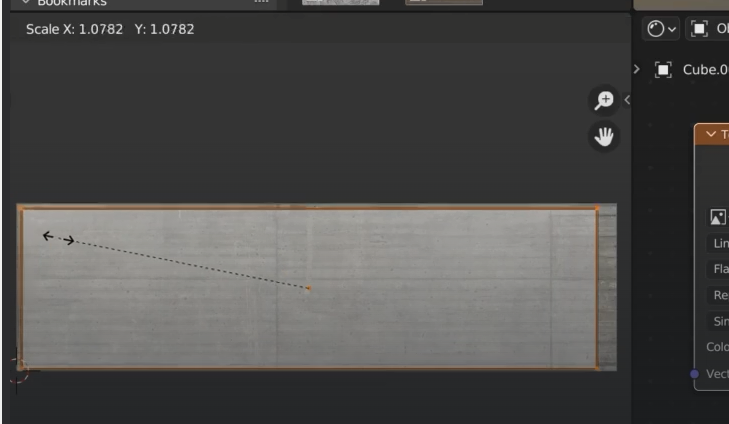
Still there is a problem with this area which is a bit squashed
We add two more seems to the top cube
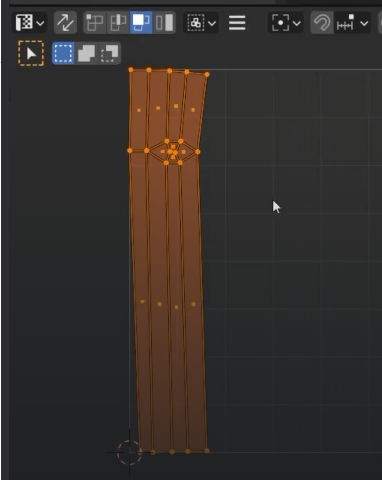
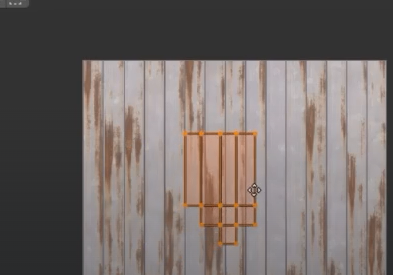
Now we have very uniform faces
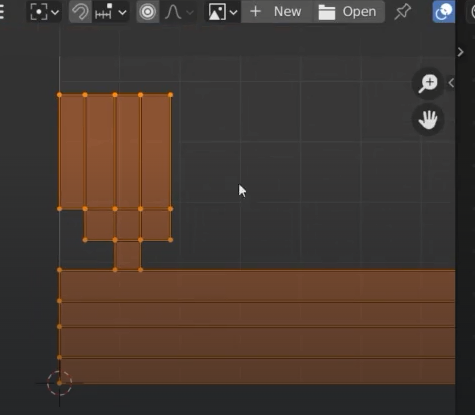
I can select the individual islands
grab and move them
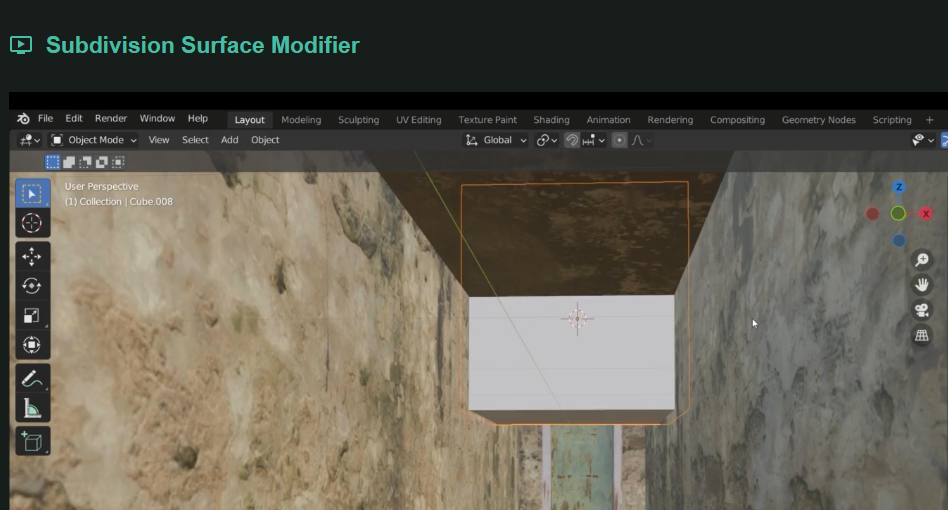
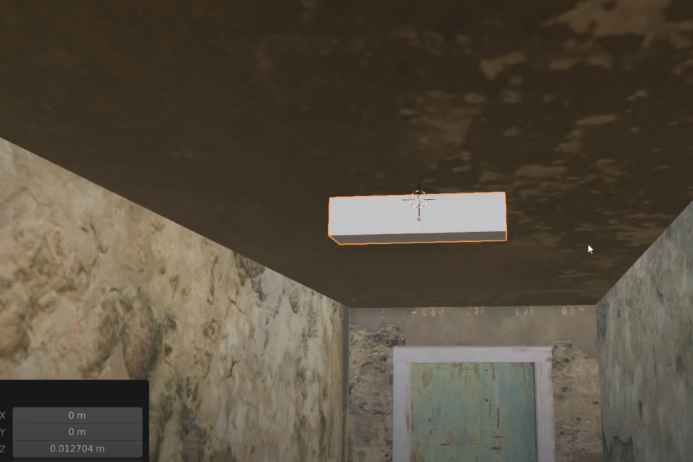
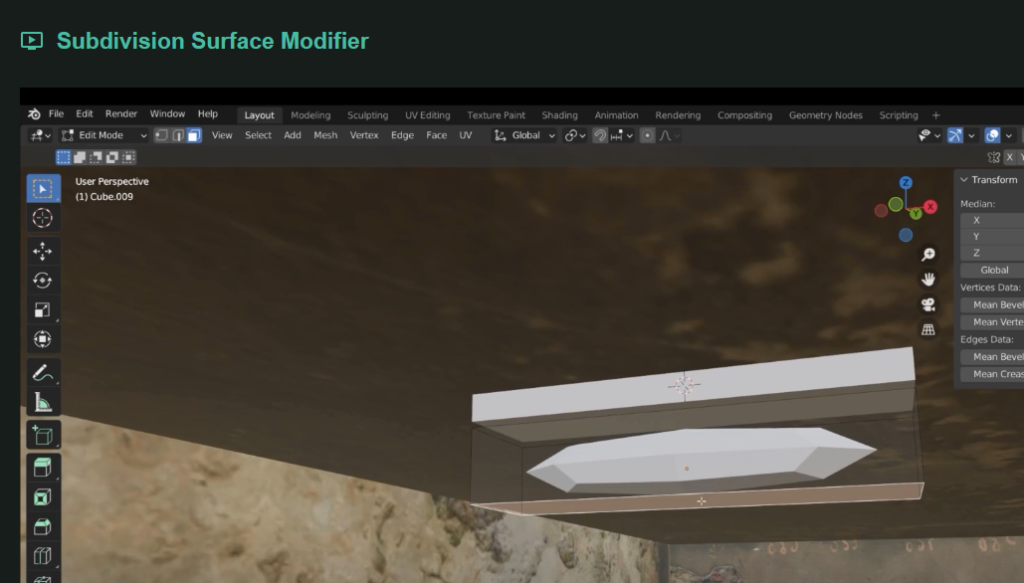
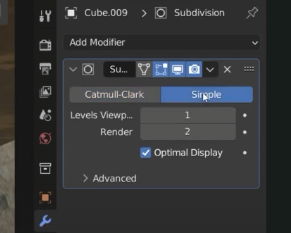
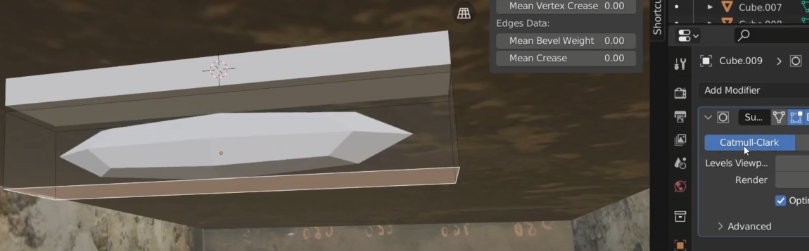
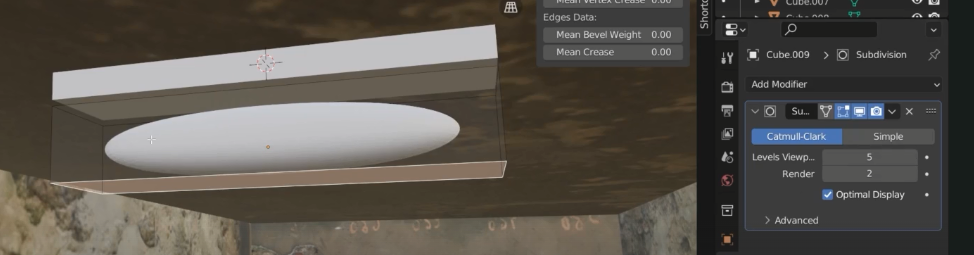
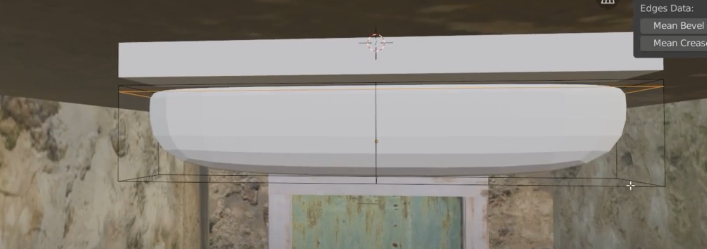
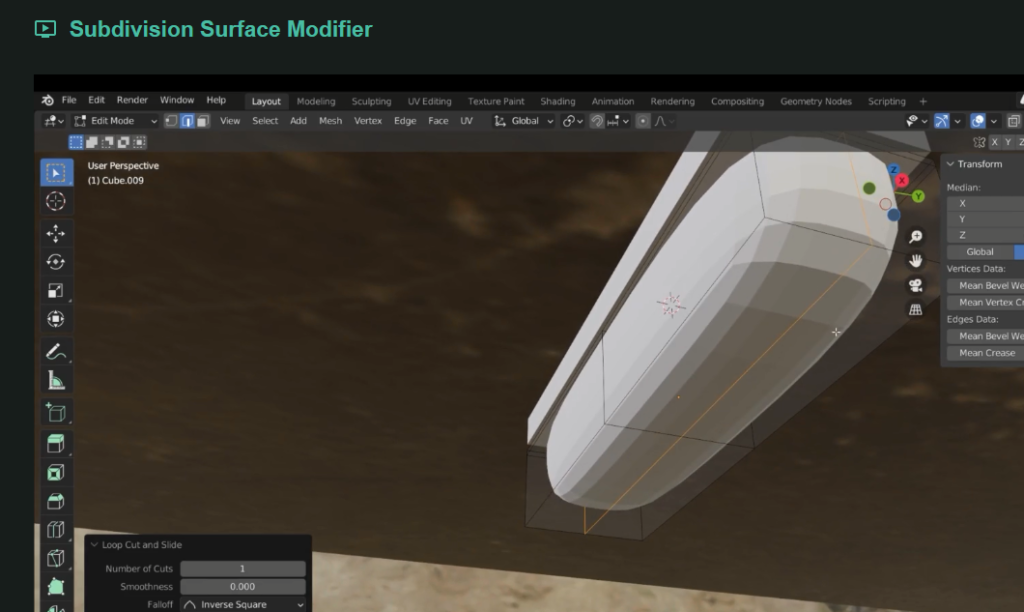
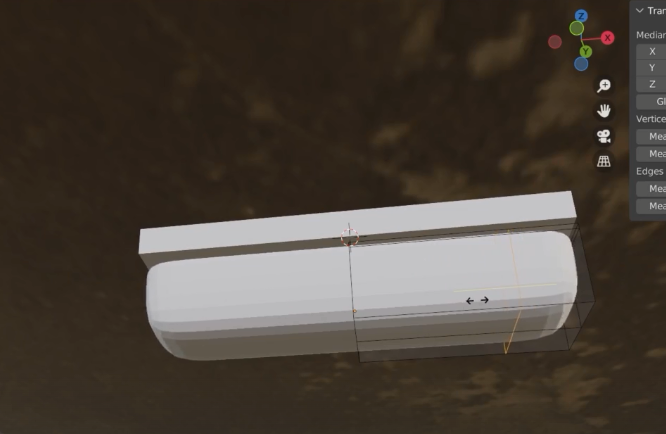
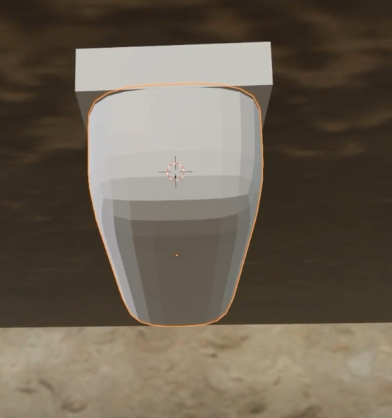
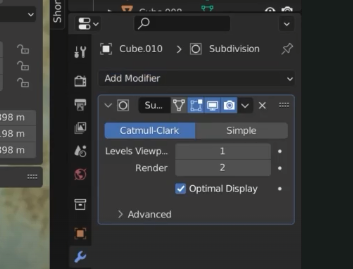
Sbdivision surface modifier
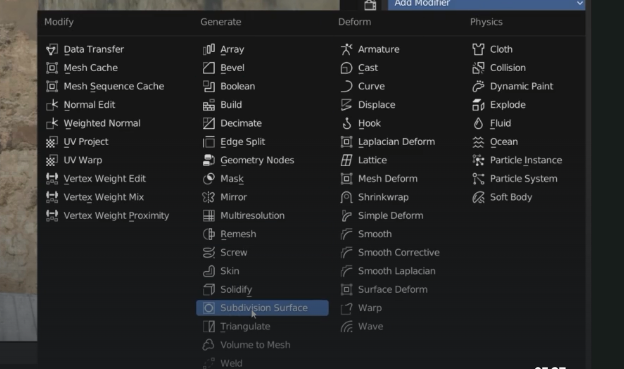
two options
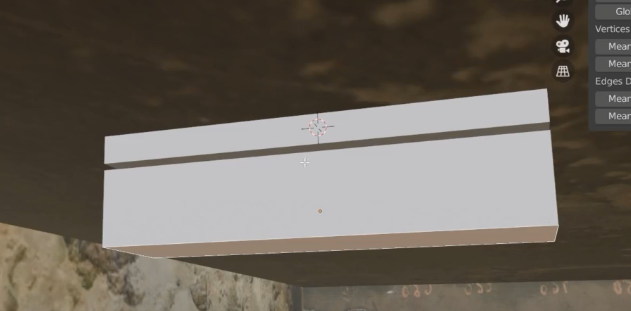
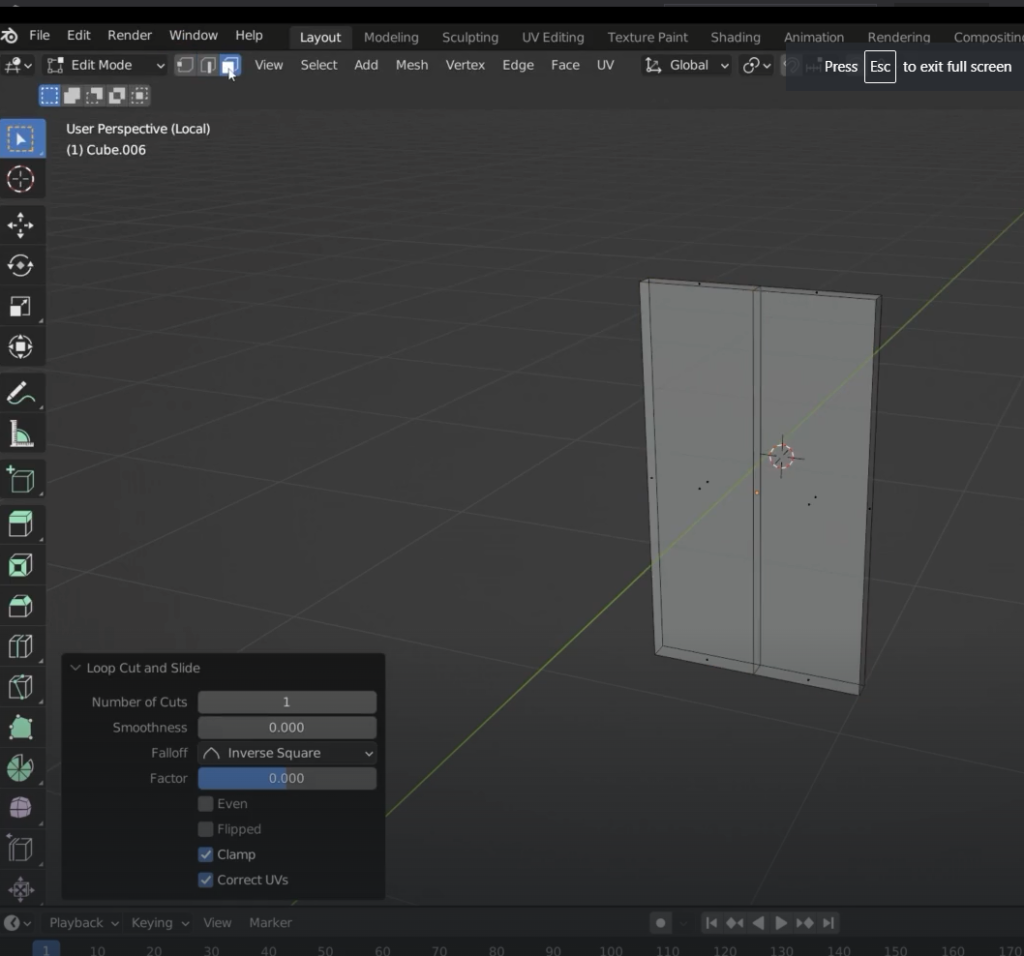
Loop cut
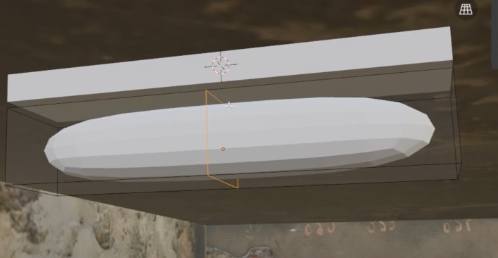
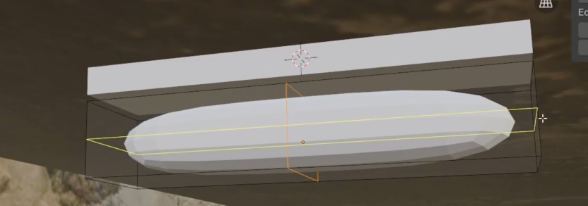
Supporting loop
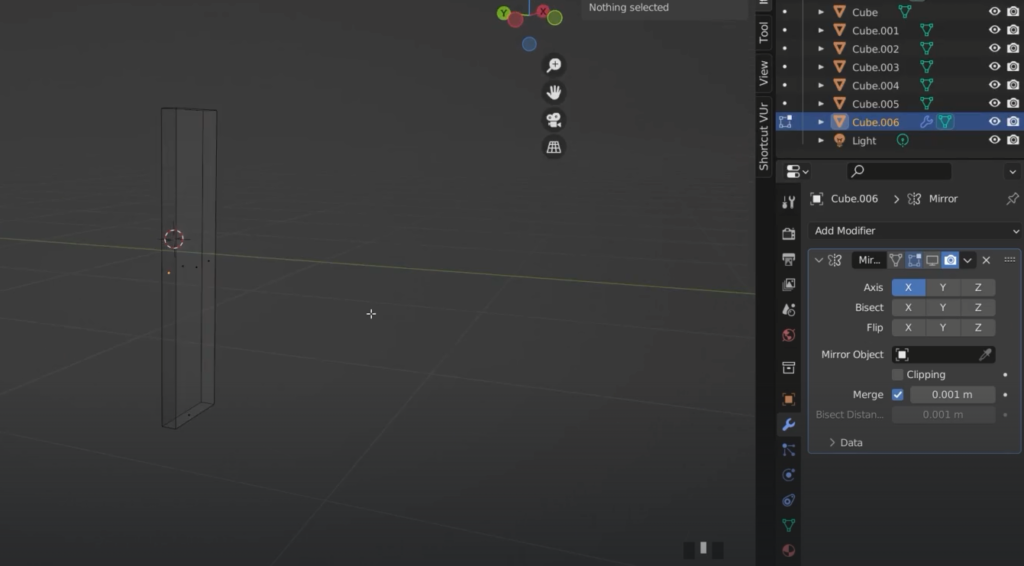
Added mirror modifier as well deleting half of the entire object
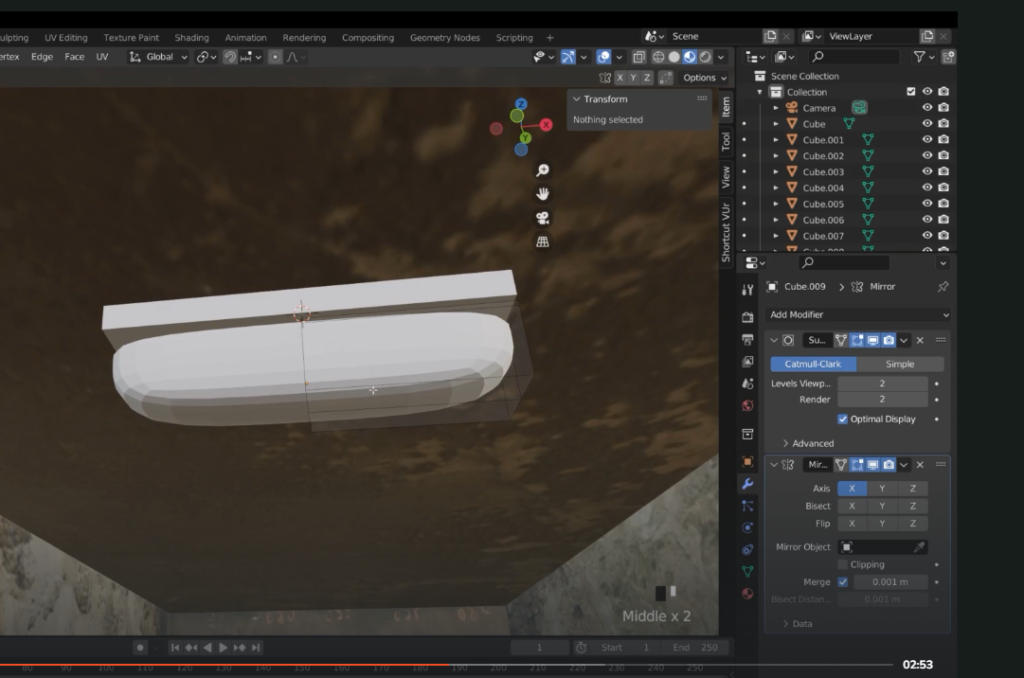
We can also change the order the modifier are applied
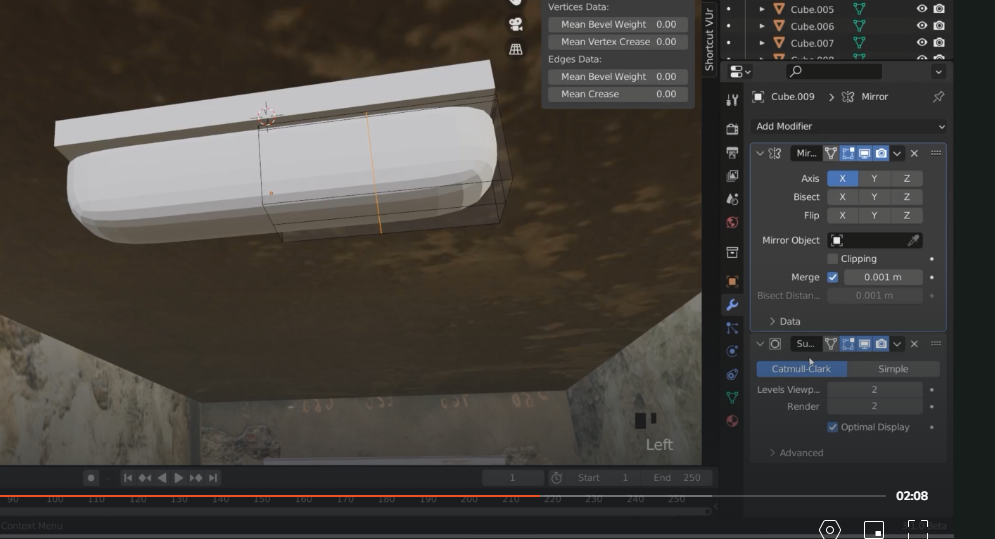
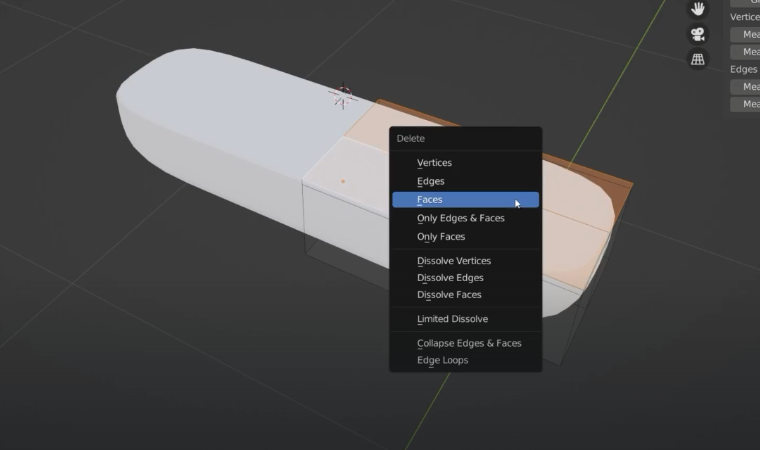
delete the four top faces
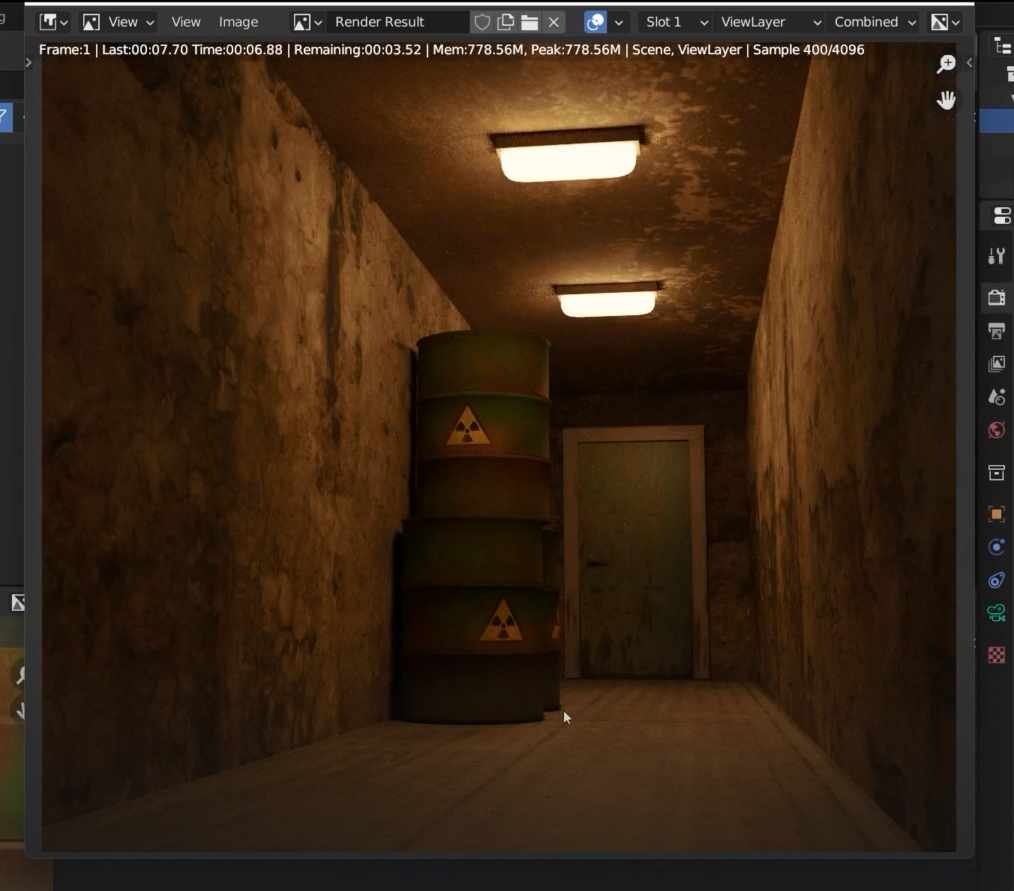
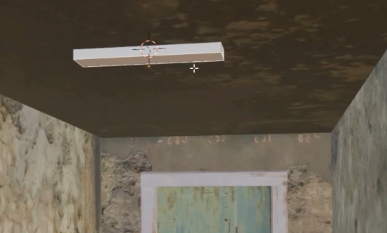
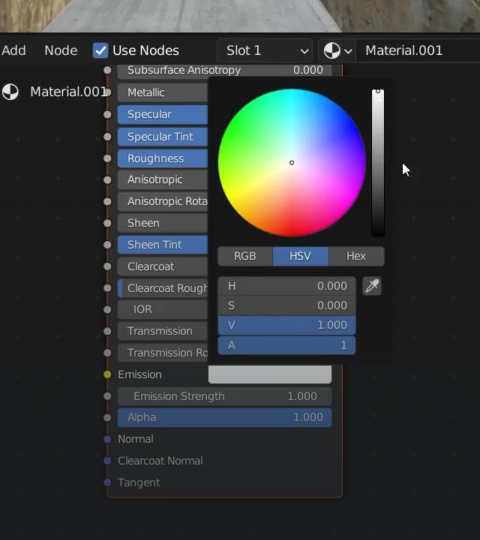
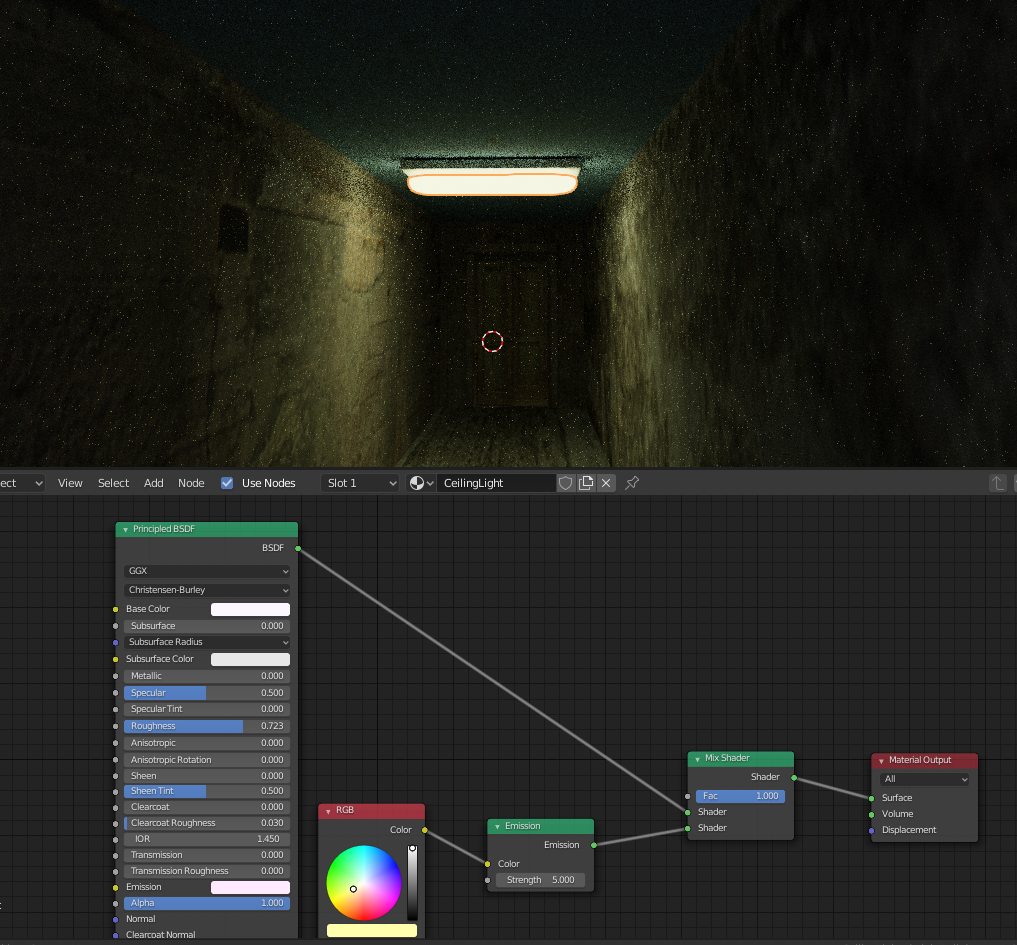
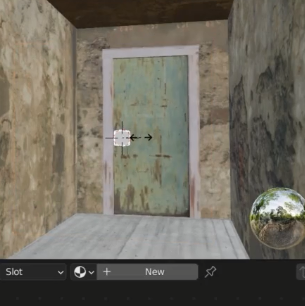
Emission shaders
change colour emission to white
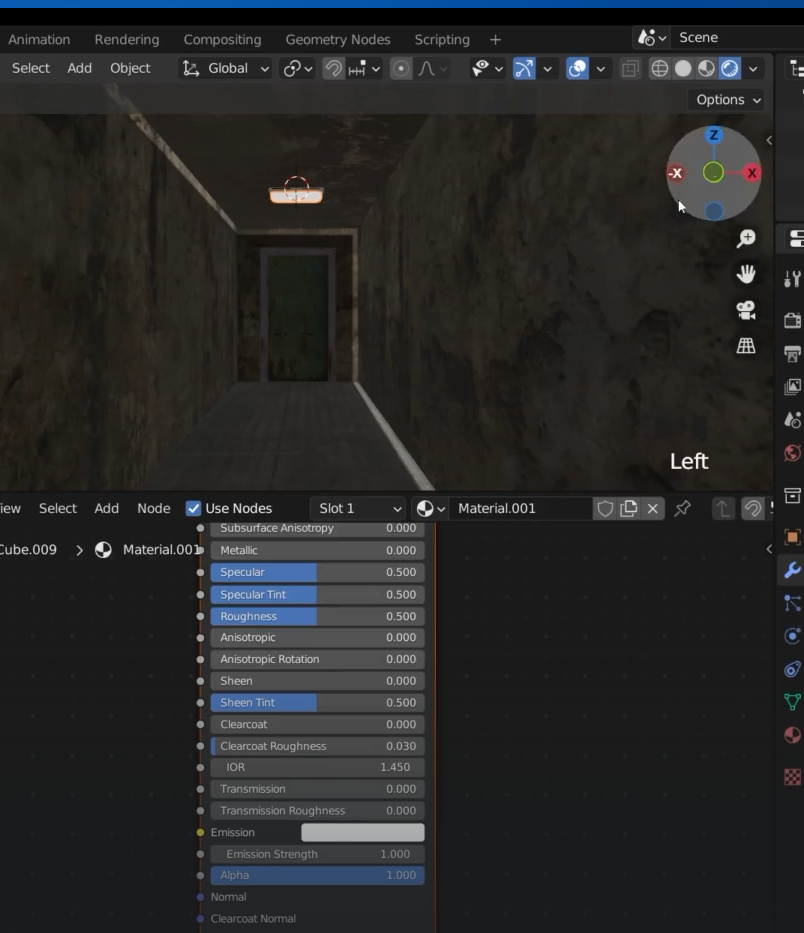
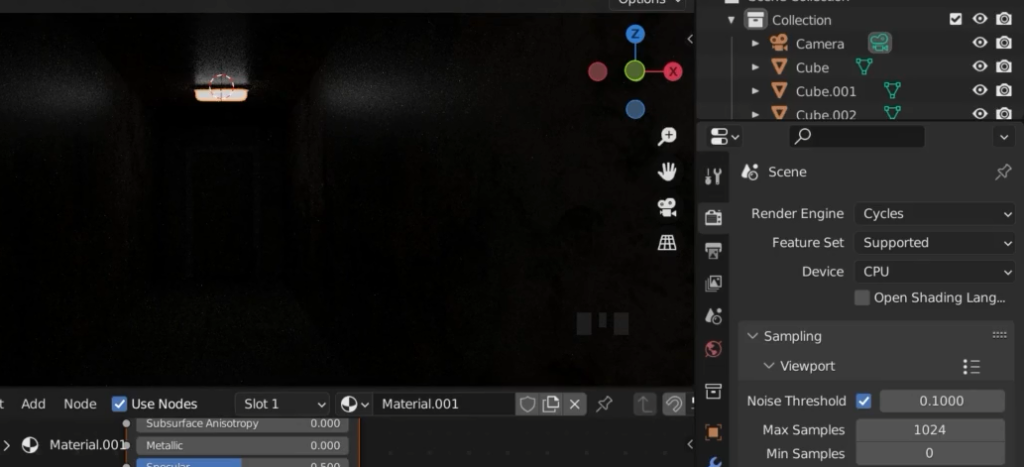
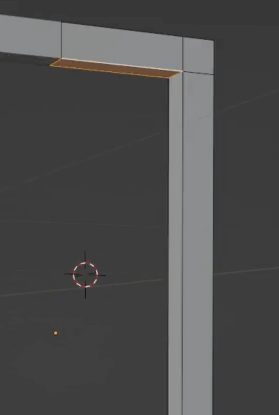
If we put the emissions up then we will start to see the lights in the corridor
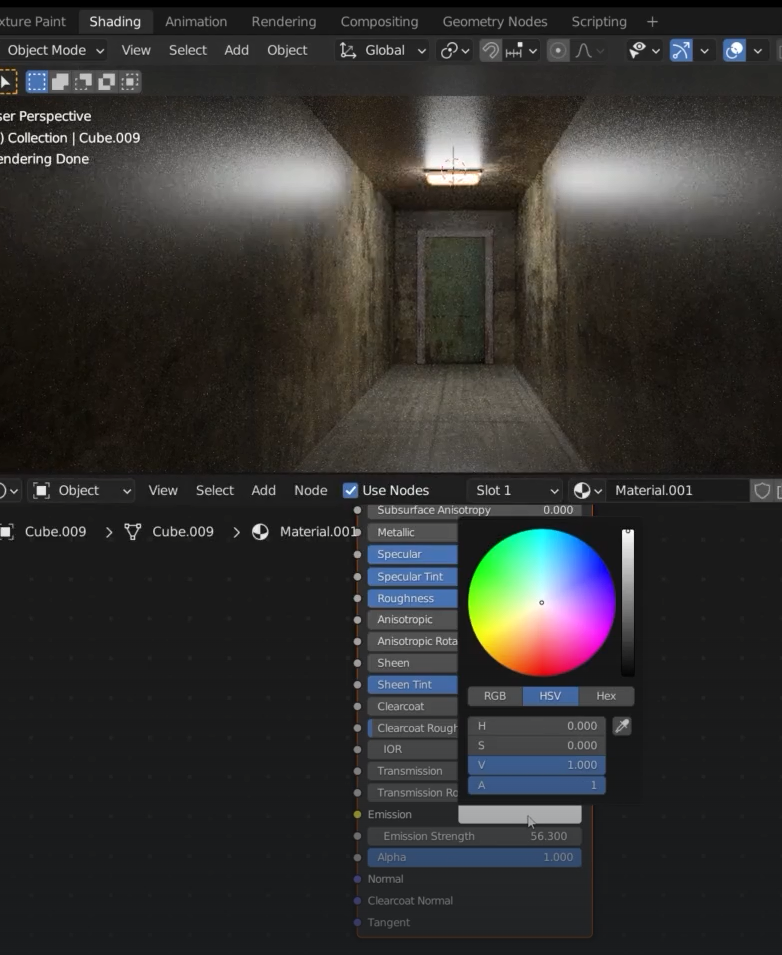
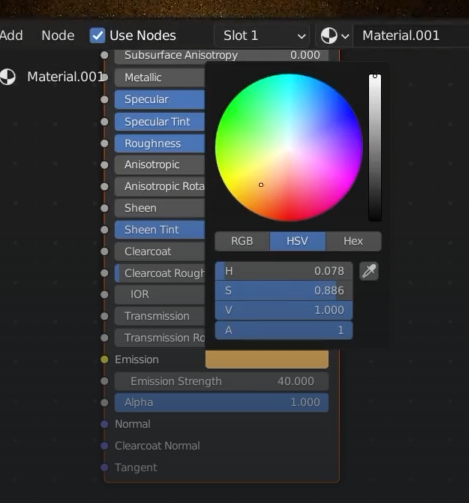
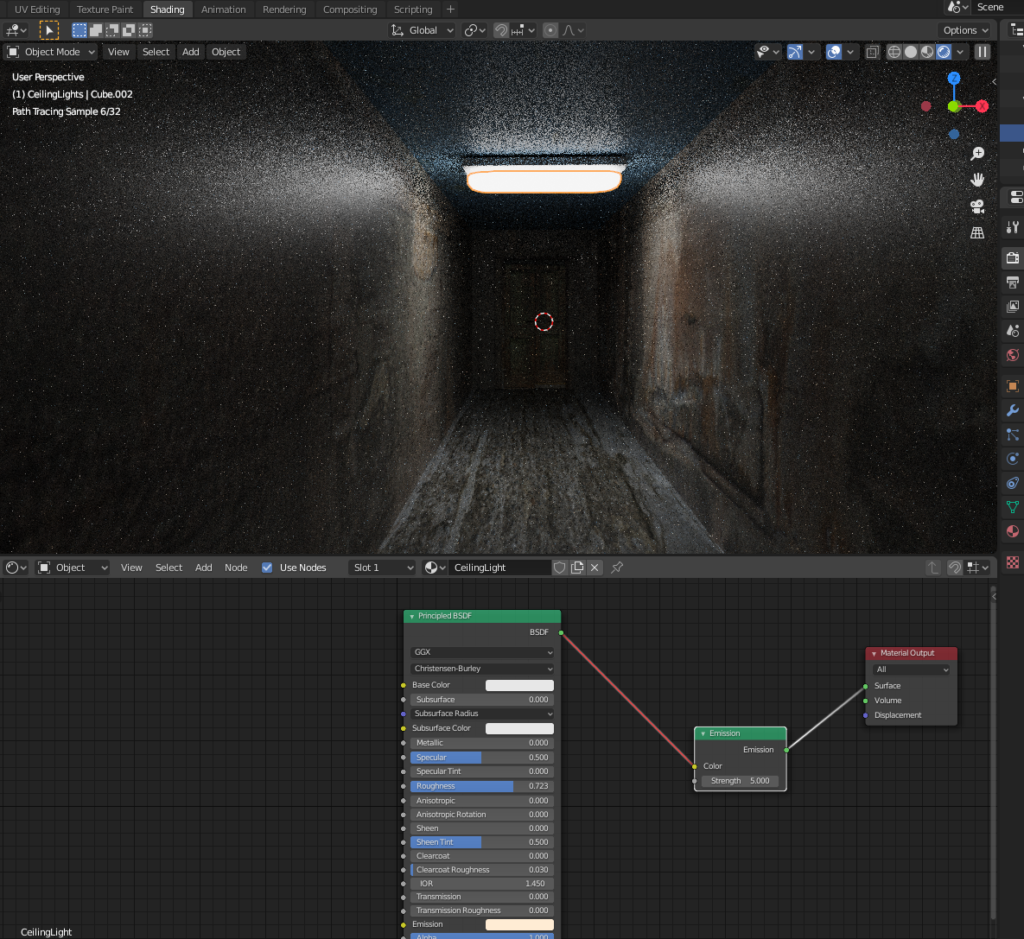
Emission shader in Blender 2.8
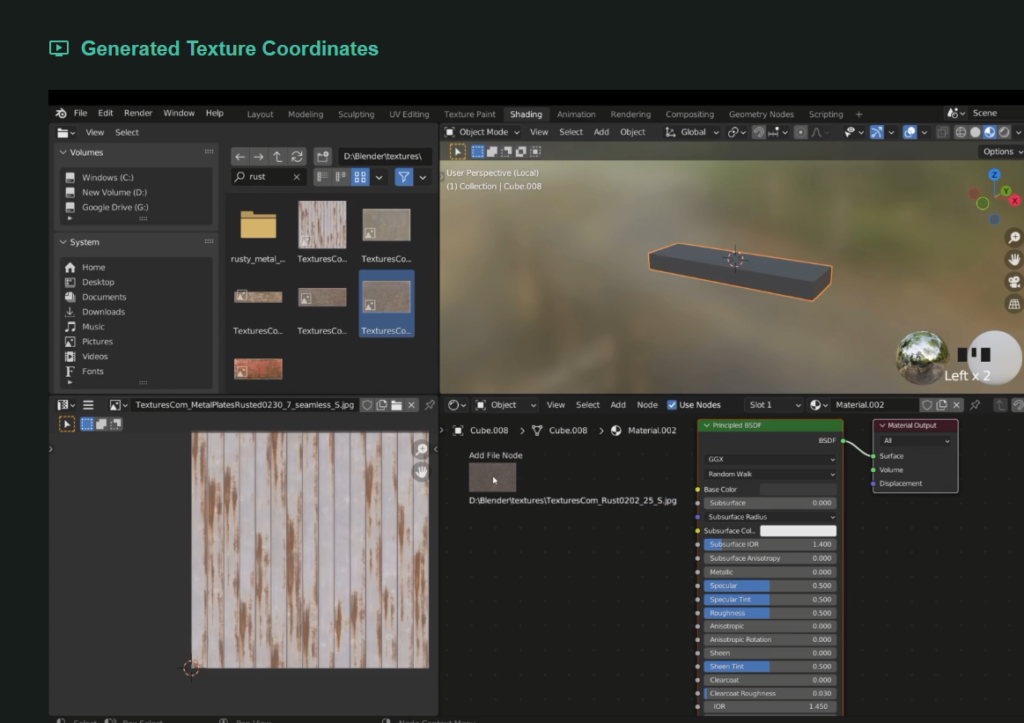
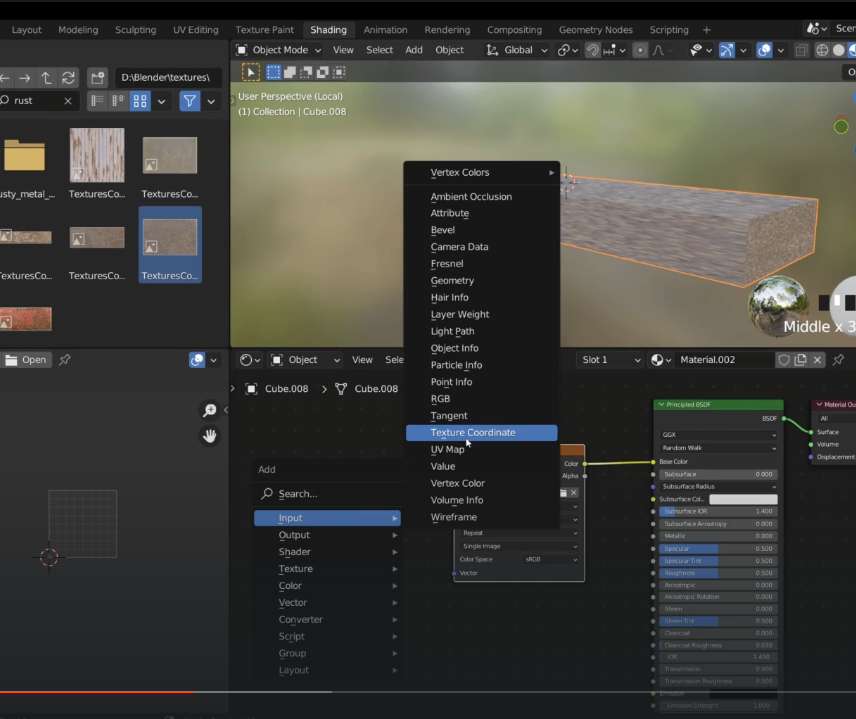
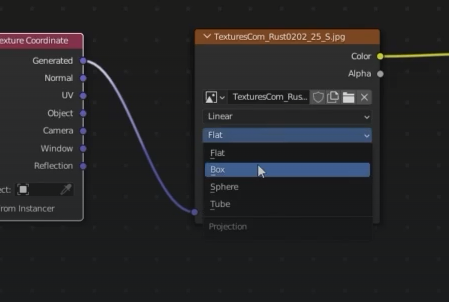
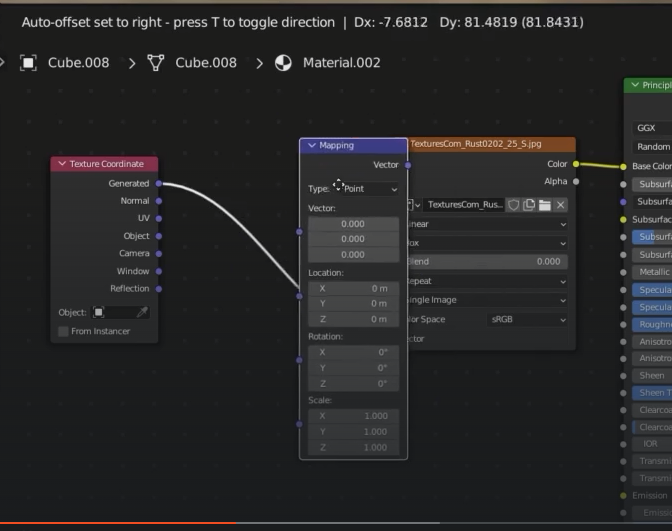
Generate texture with texture coords
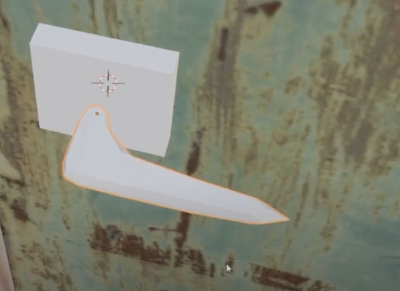
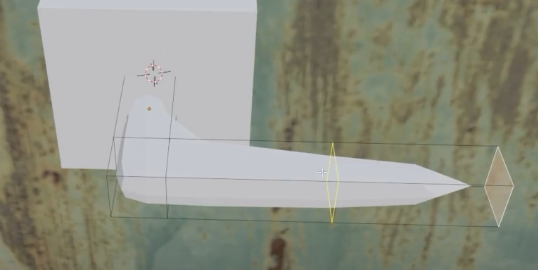
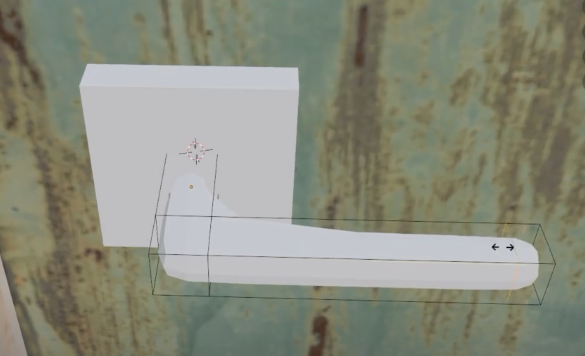
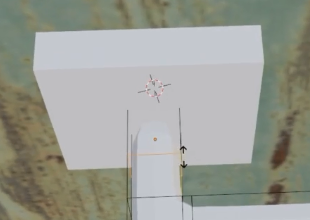
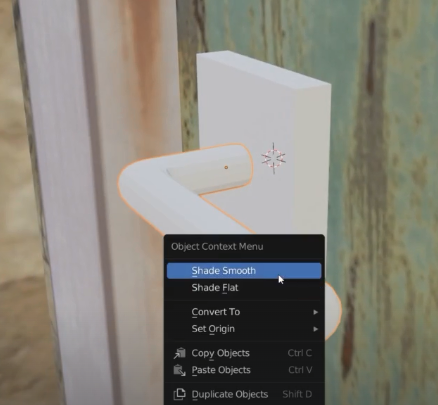
Add a door handle
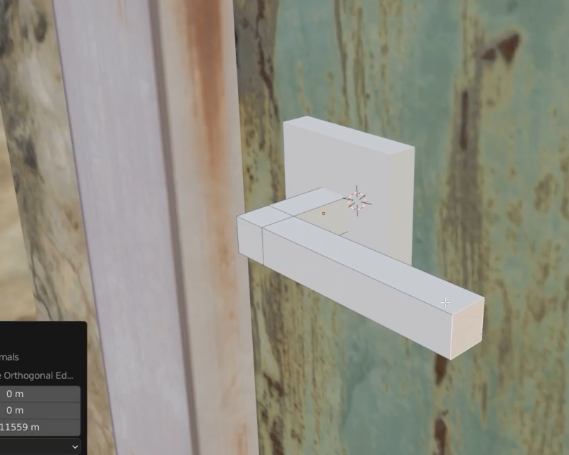
We can also round this handle slightly
We can add some supporting loops

Blend option