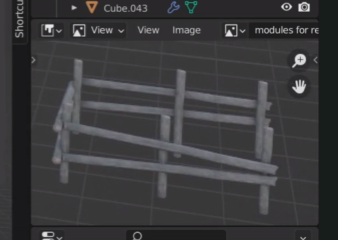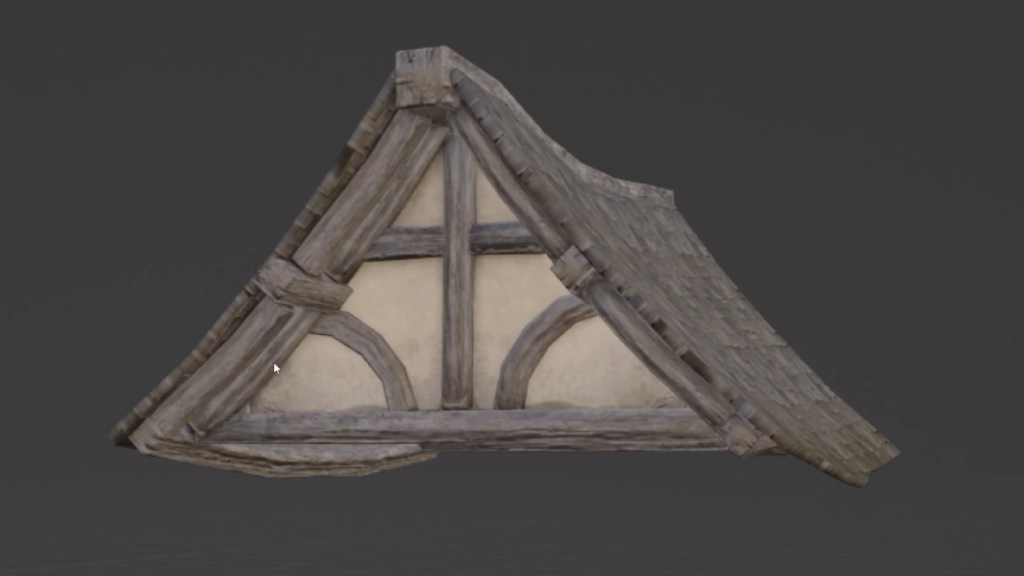
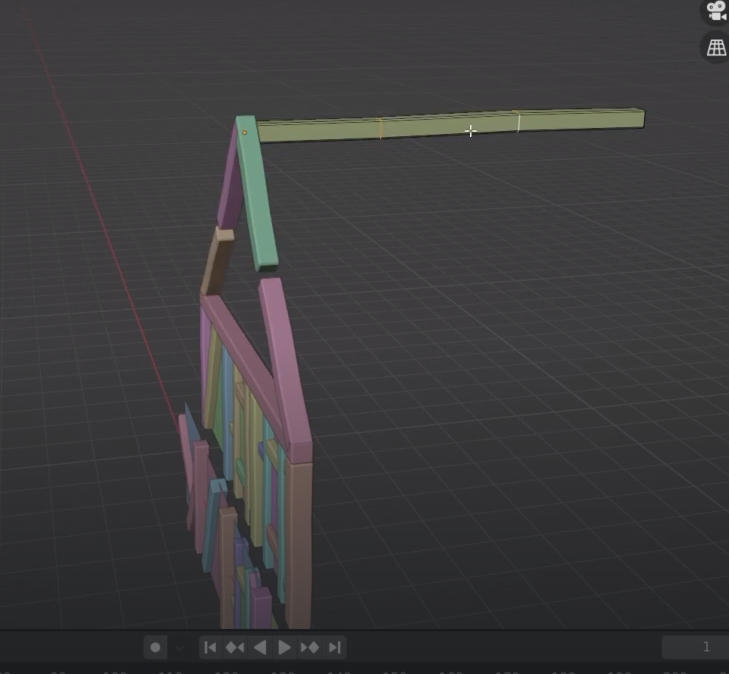
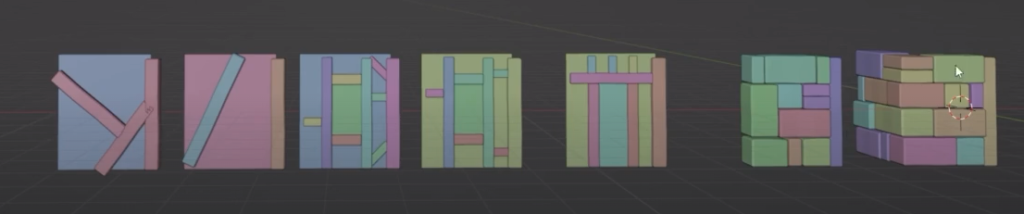
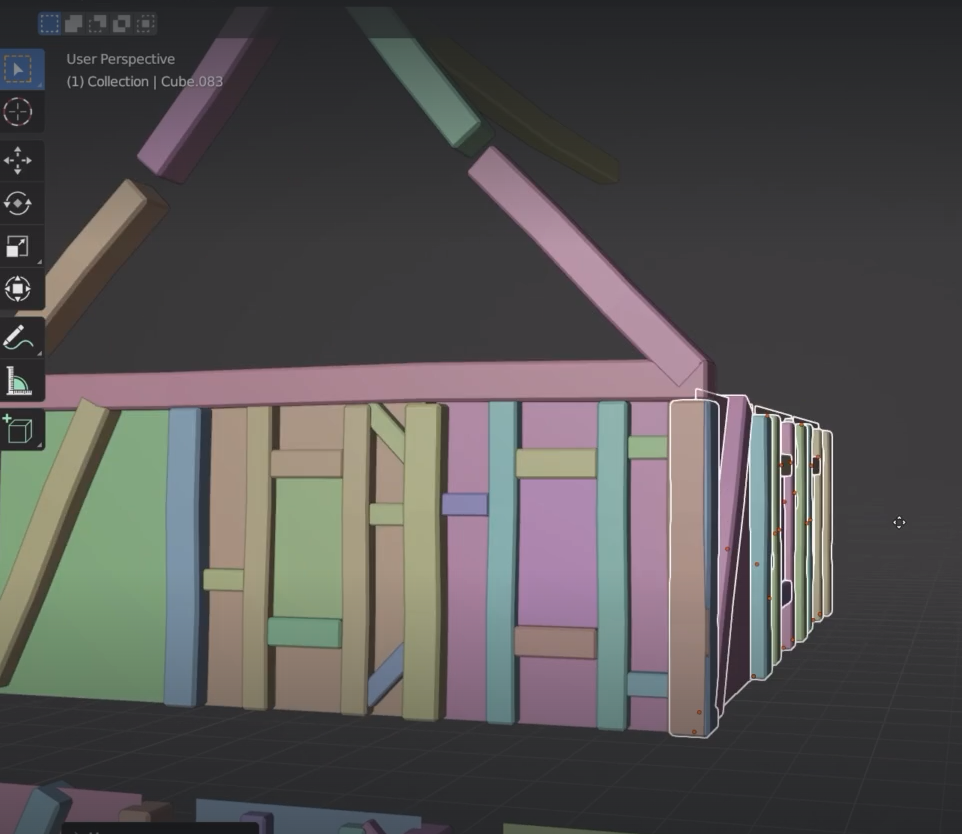
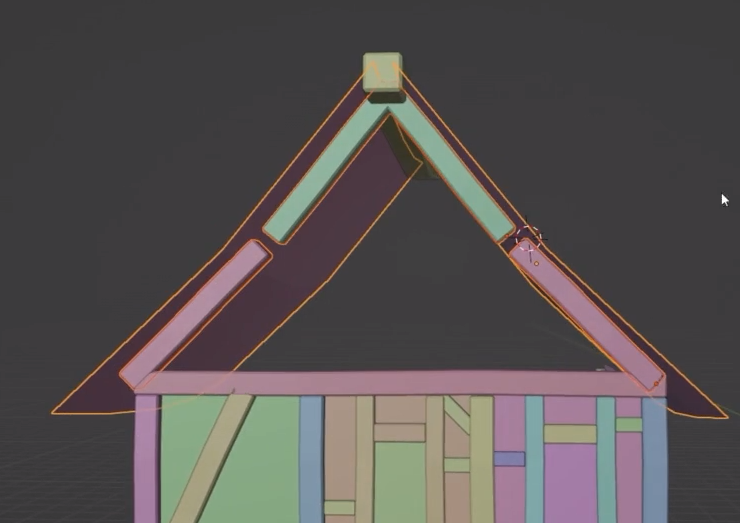
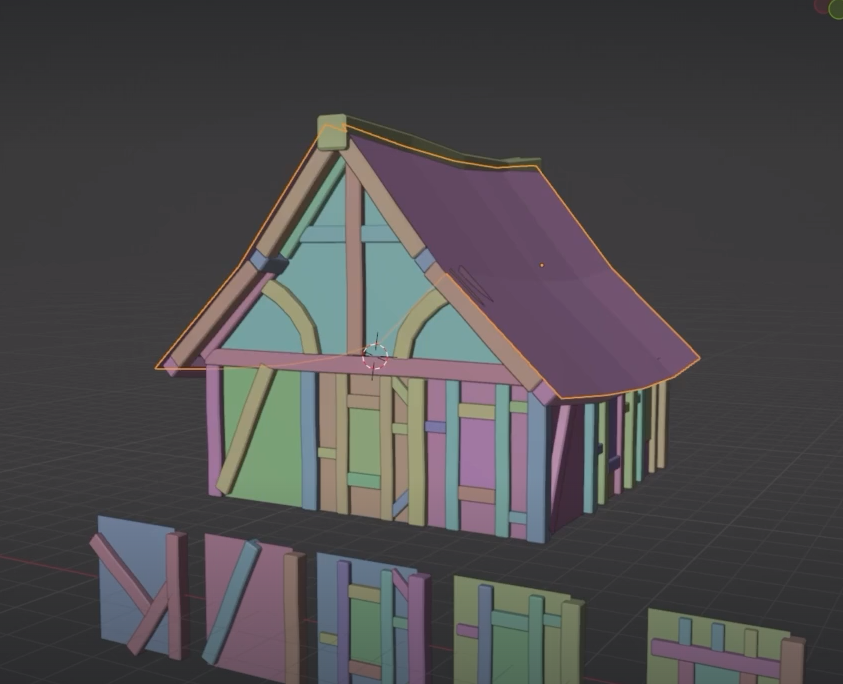
We use the created modules to get the correct size of the roof. We will use three modules
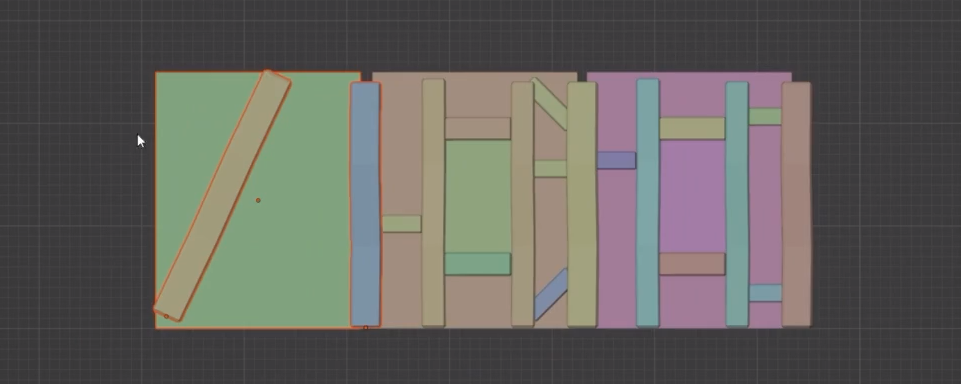

We use g to move faces in wire frames

R + 45 to rotate beams in 45 deg angle
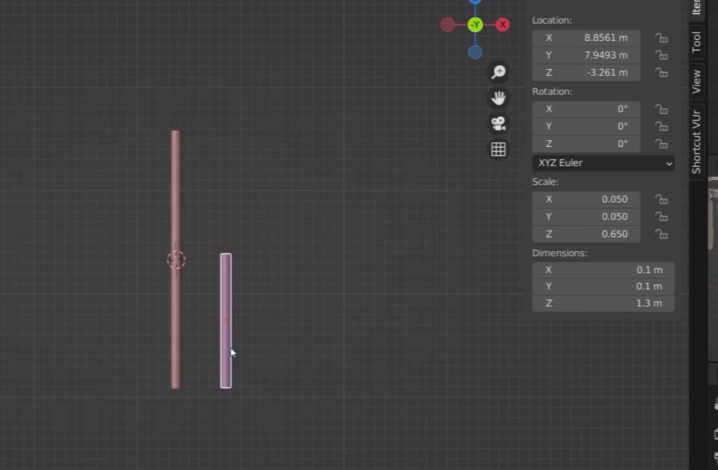
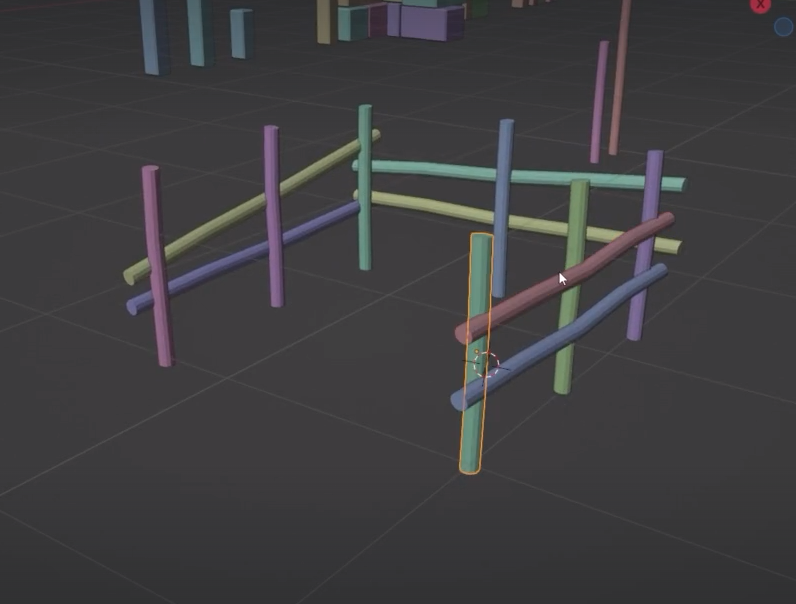
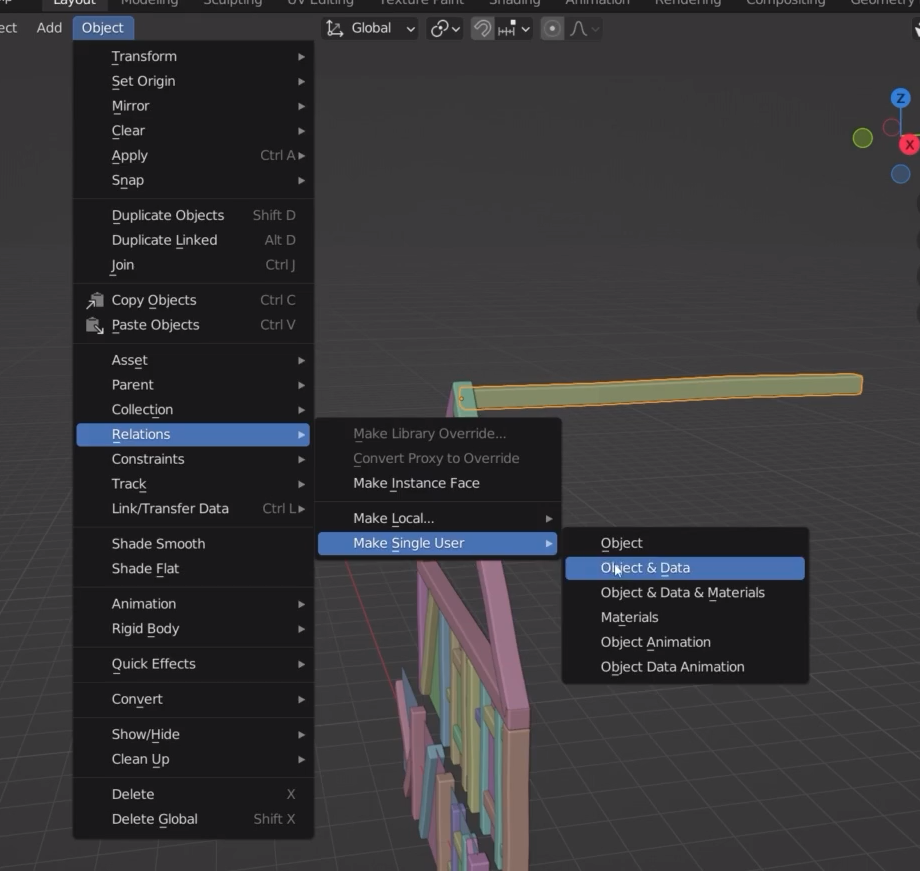
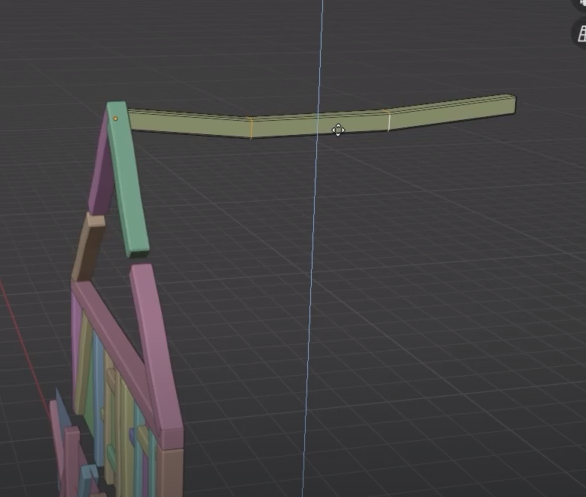
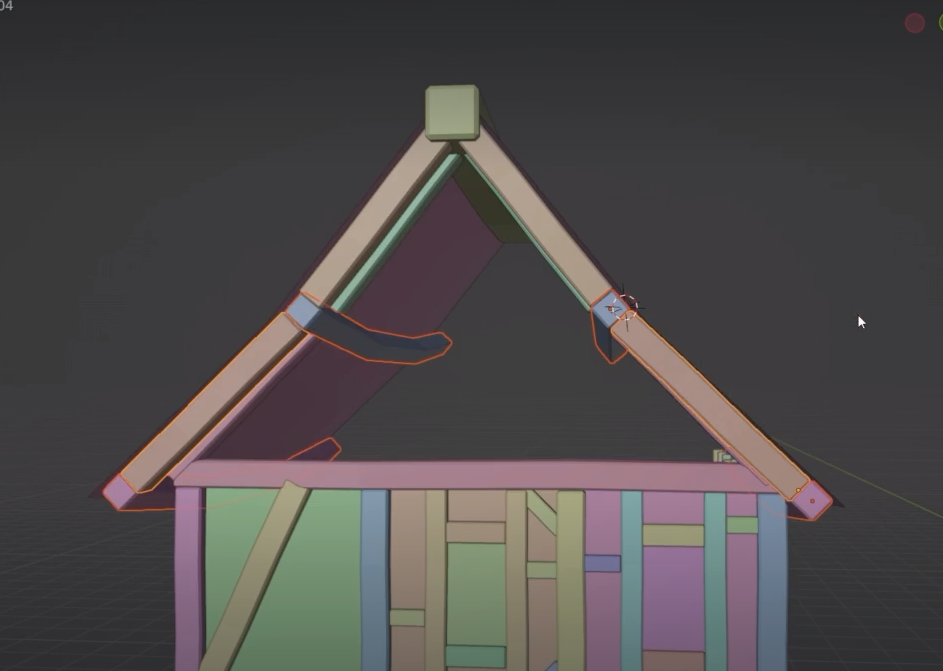
We add a beam on the top of the structure. This should be un lined from the other one if I have duplicated it with Alt + D
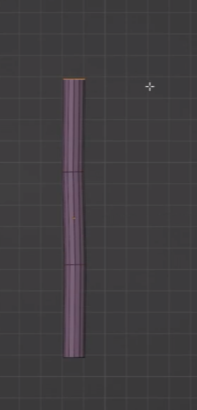
Select the loop cuts to bend the master beam
side of the house
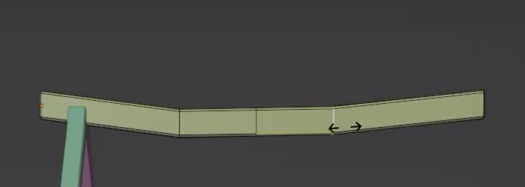
We can tap G twice to move a loop cut through the beam
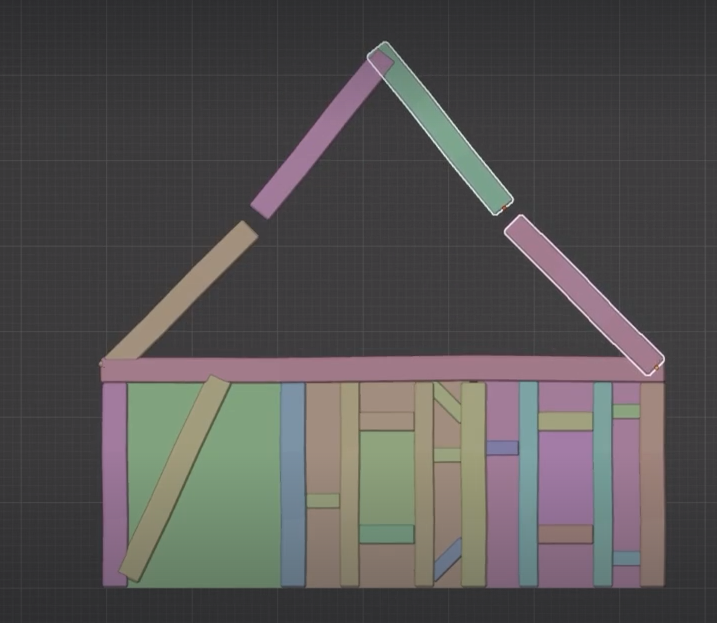
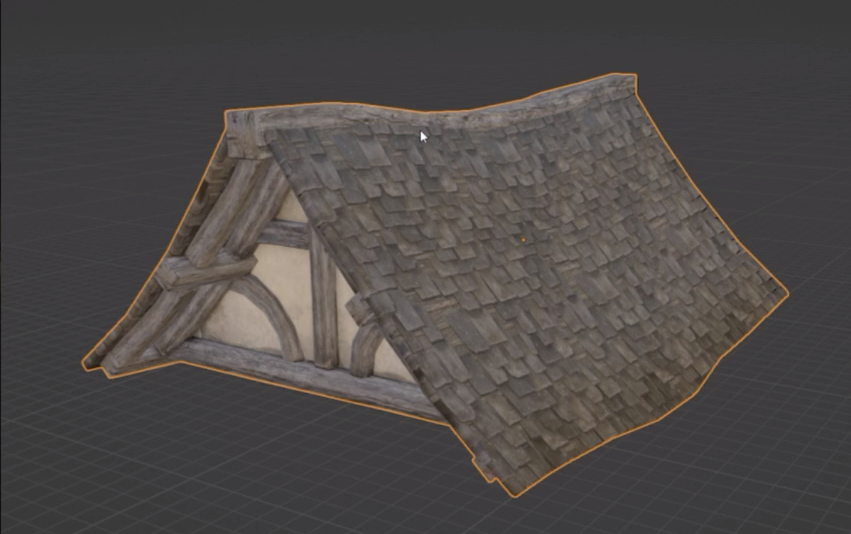
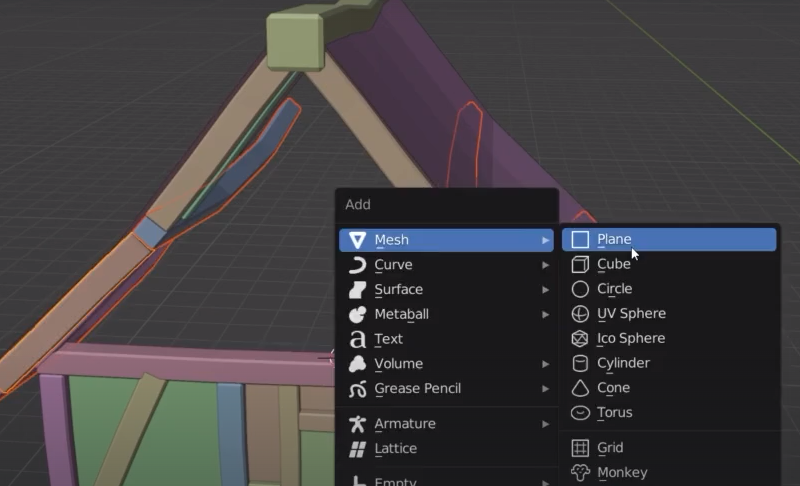
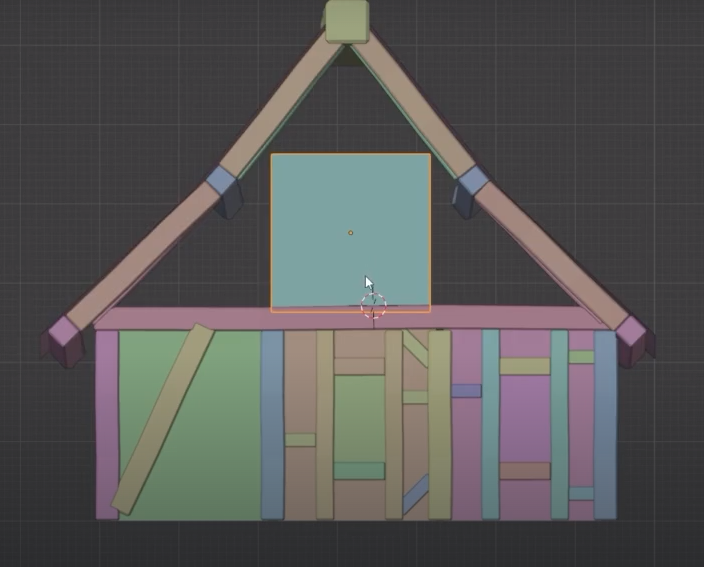
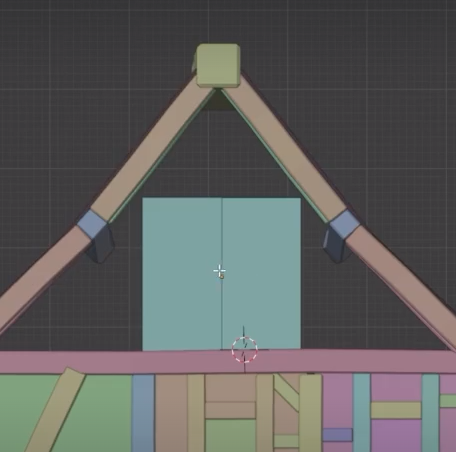
make a plane for the roof
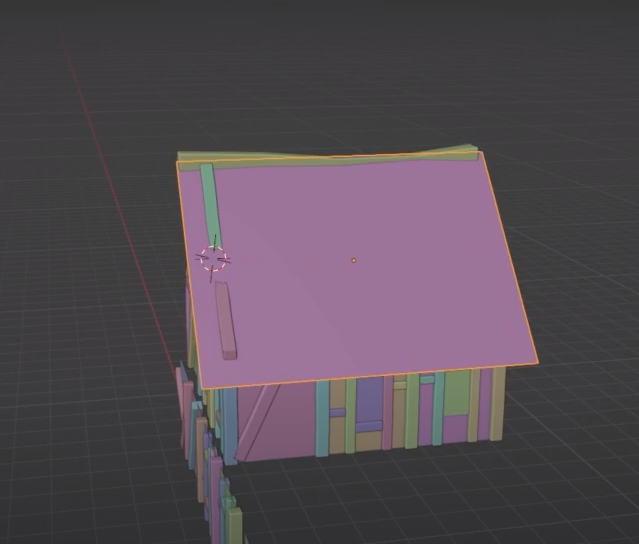
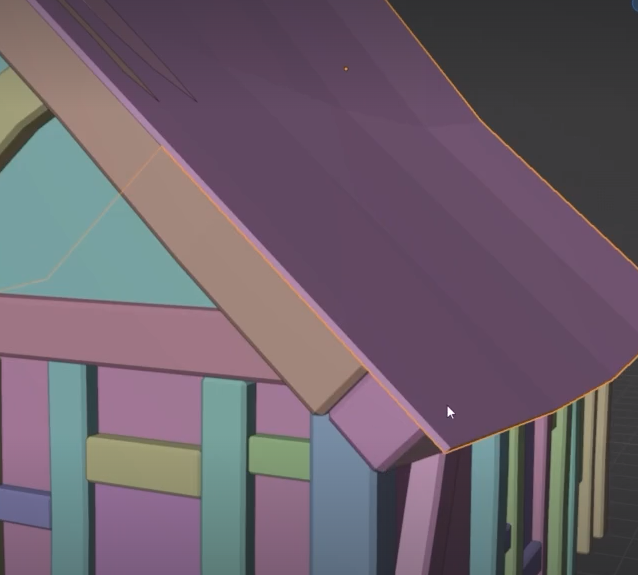
loop cut to create indulations in the shape of the roof
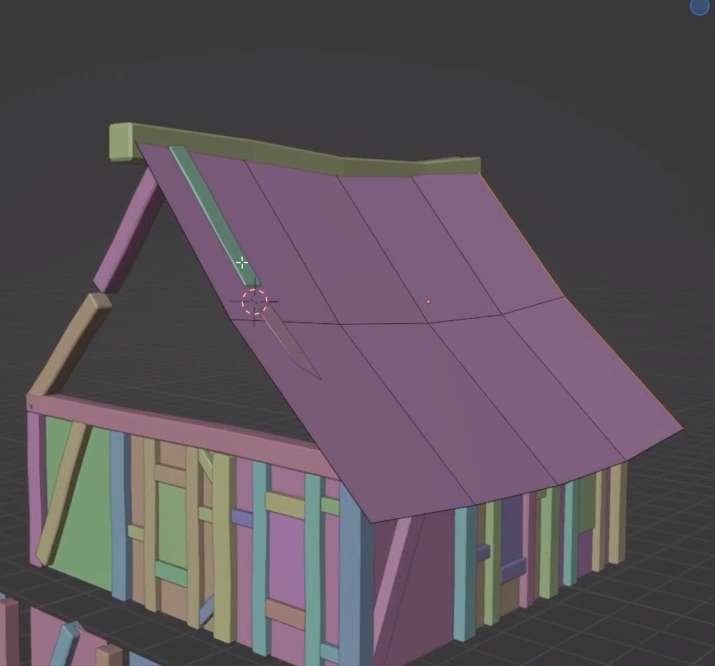
we mirror the plane roof
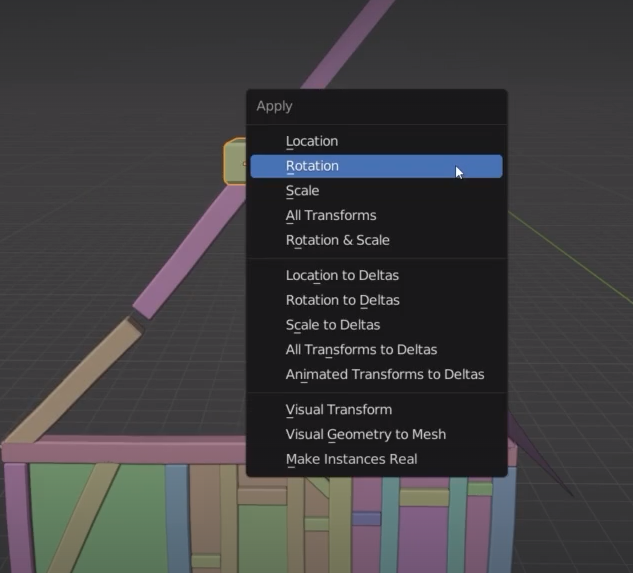
create a mirror and set the rotation ( control + A)
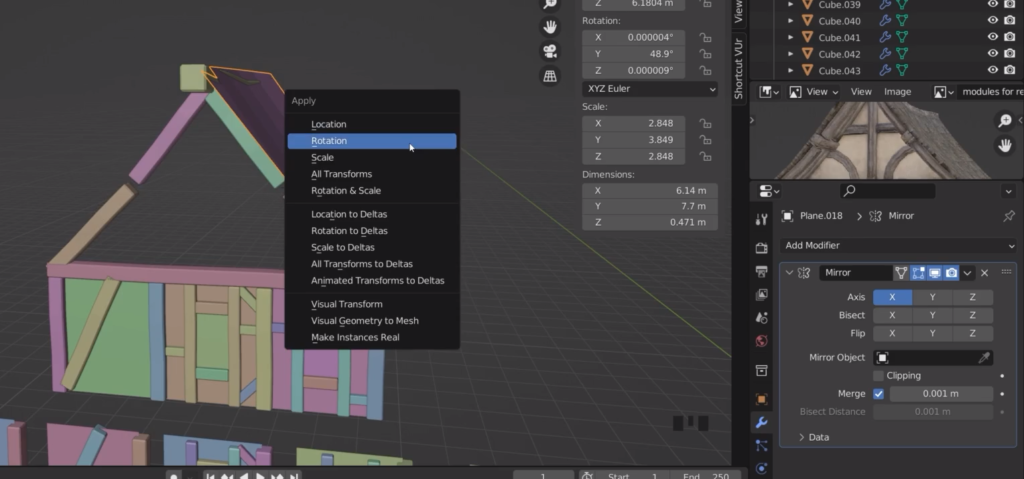
we now need to move the mirror
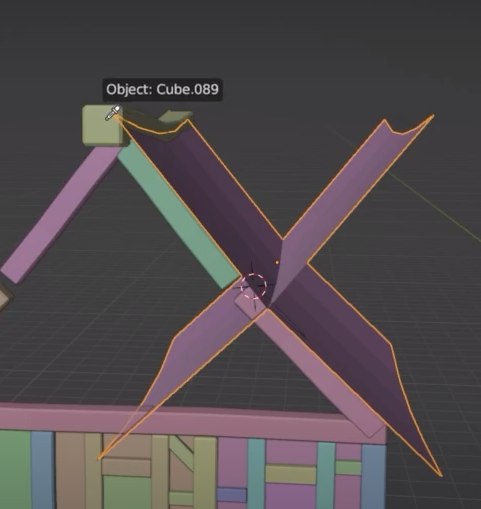
we use the eye dropper
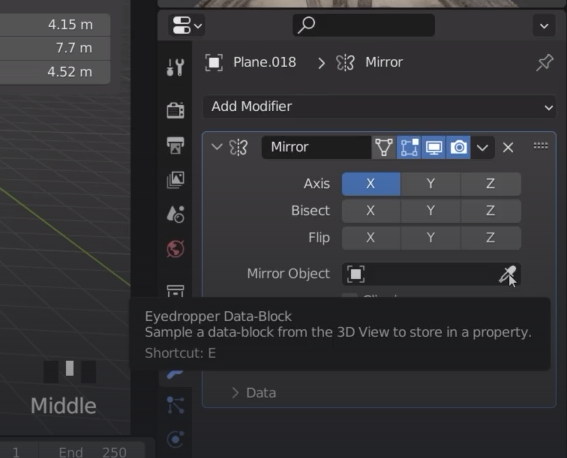
I then select the top beam as mirror object

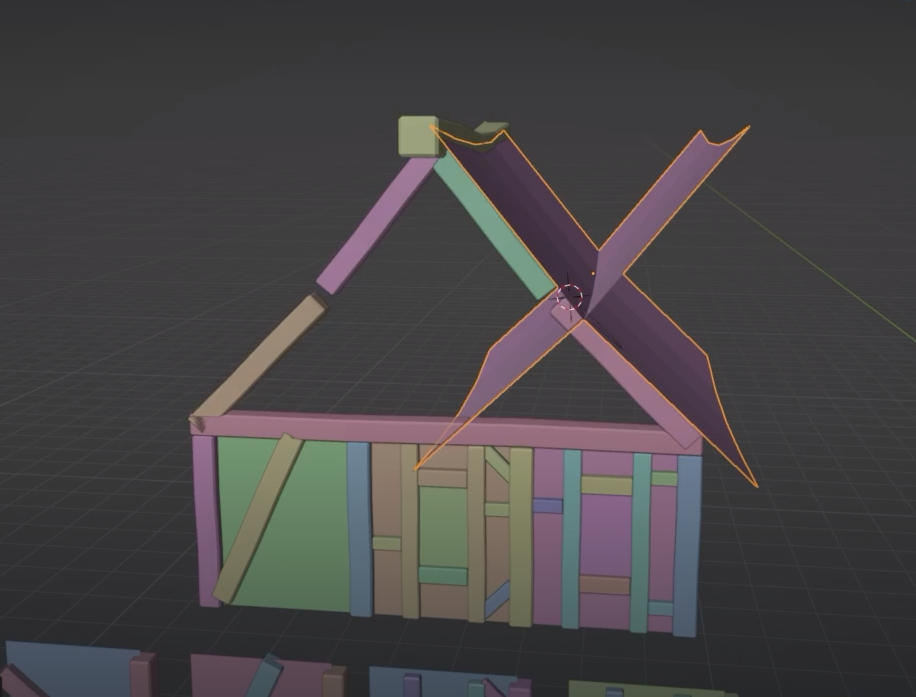
I need to set the rotation of the top beam to 1
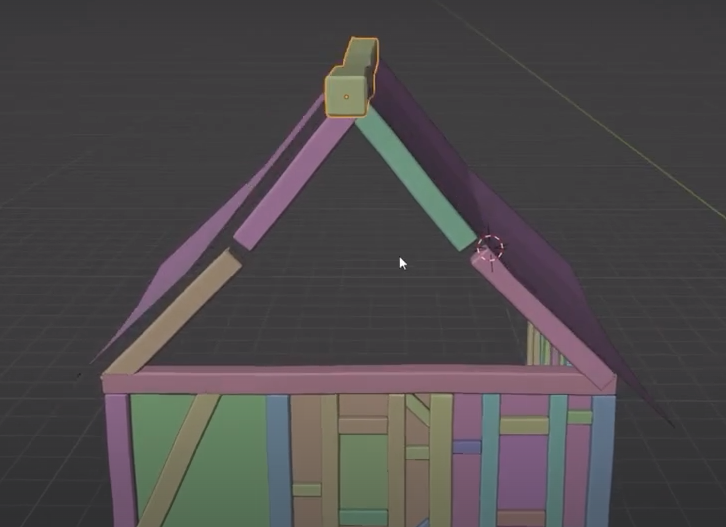
the mirror now worked
I can copy the roof modifier to the beams. Select the roof as last

We now make the middle plane section
we want to use symmetry so we cut the plane in two pieces
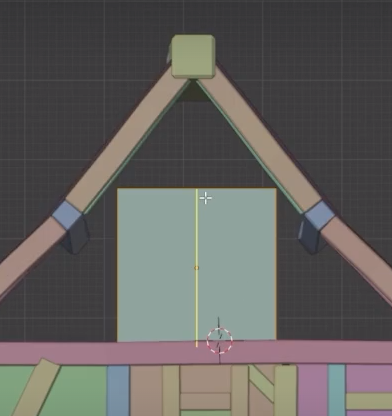
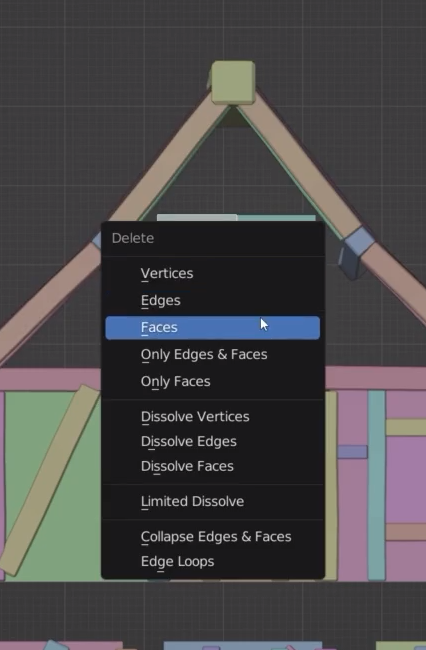
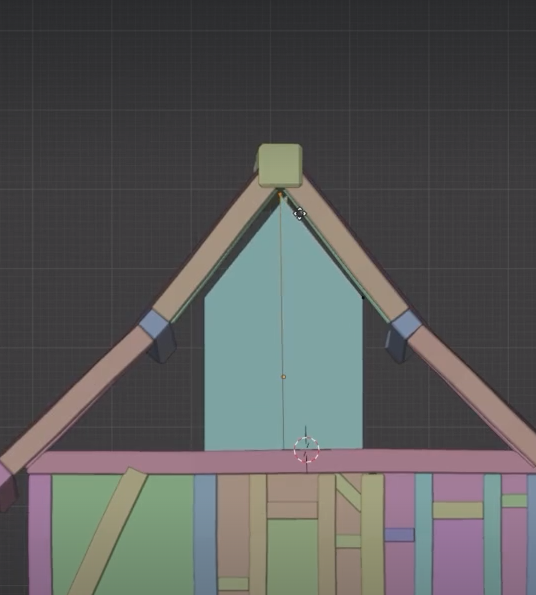
we remove the face on the left hand side
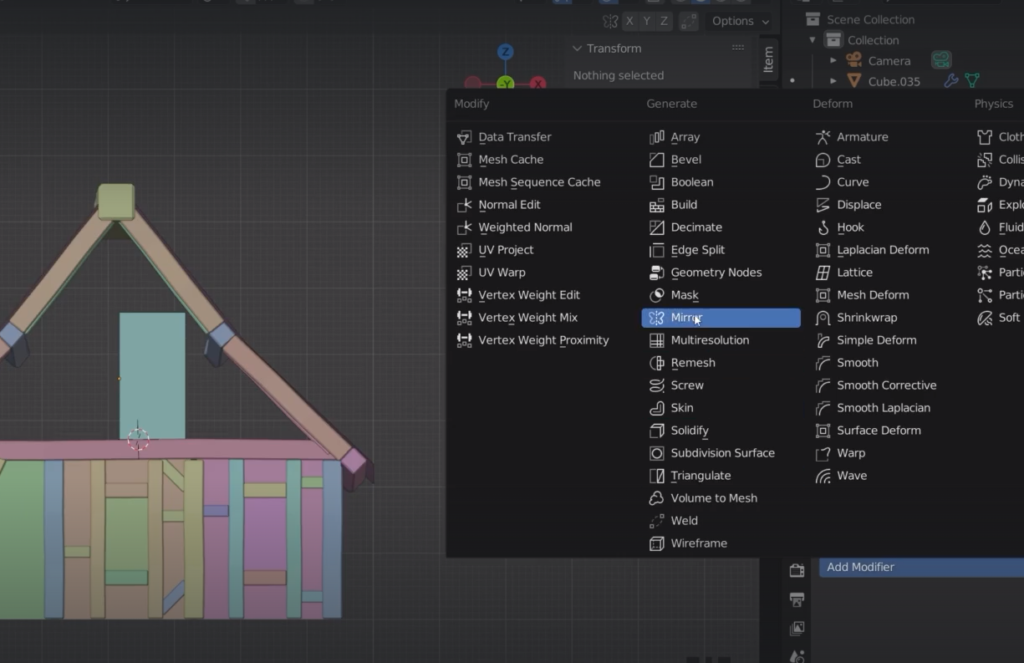
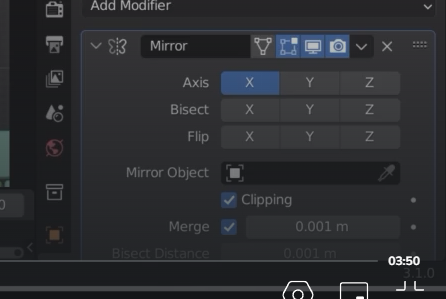
we then add the mirror to the face
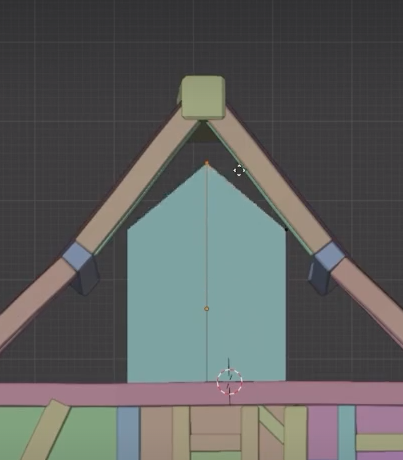
we can now start editing our shape by grabbing the vertexes
turn clipping on so the vertexes stick together
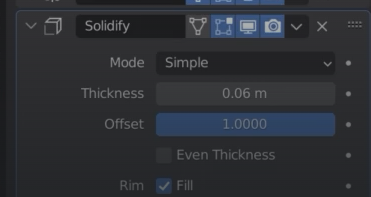
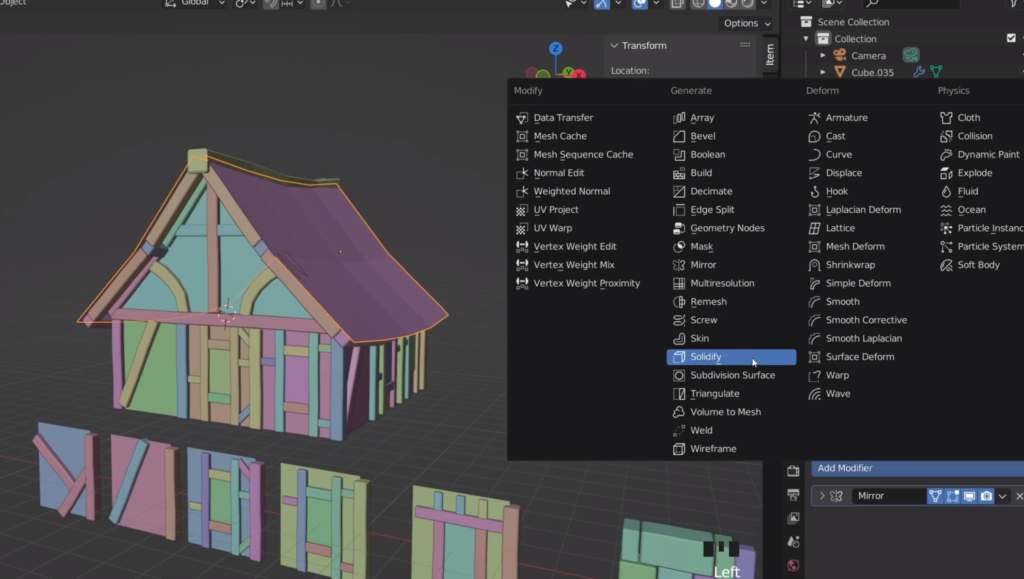
we can now add the solidifier to the roof
the plane is going in the down direction after solidify. We wanted the roof to extend to the up side. It’s always good to check the face direction before applying solidify
Blue = face direction is towards the camera therefore the thickness is going inwards rather than outwards
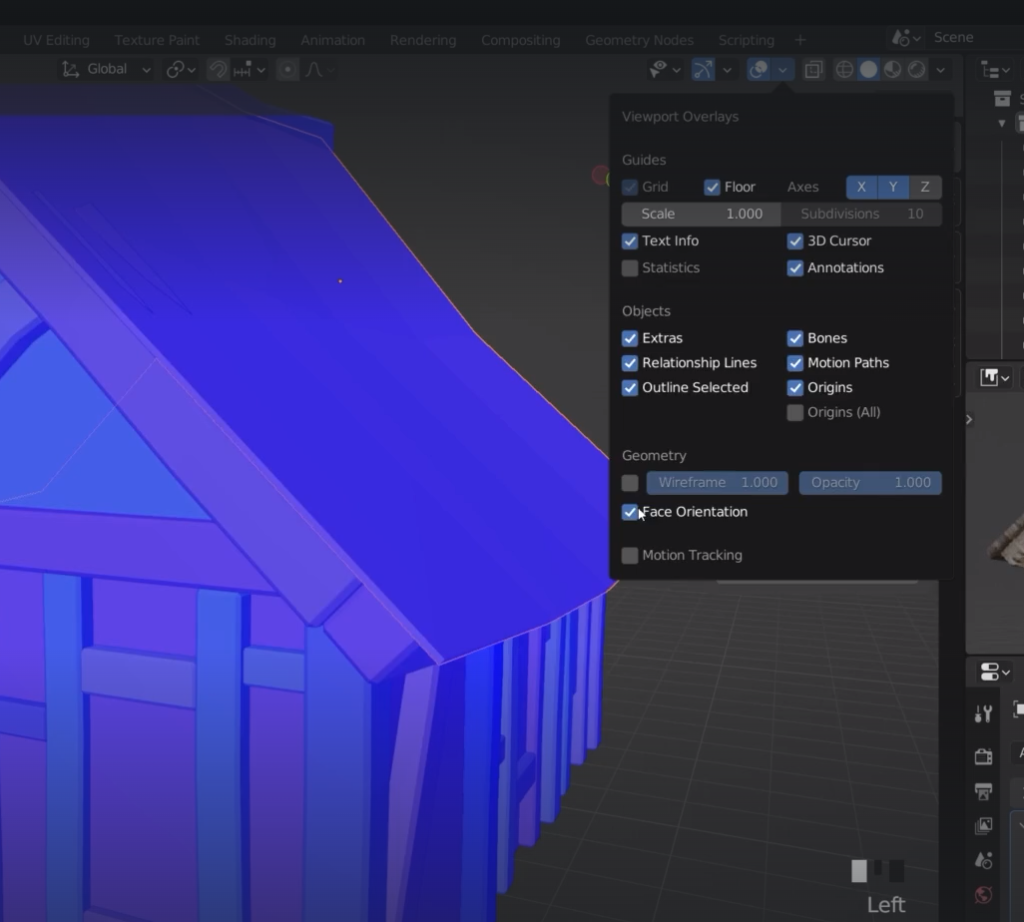
we can verify this by changing the thickness
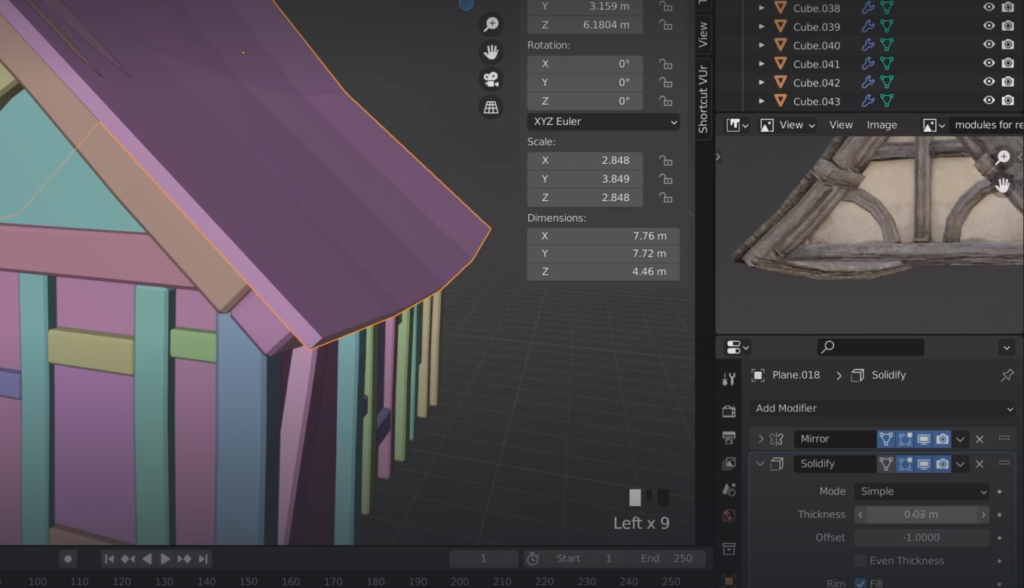
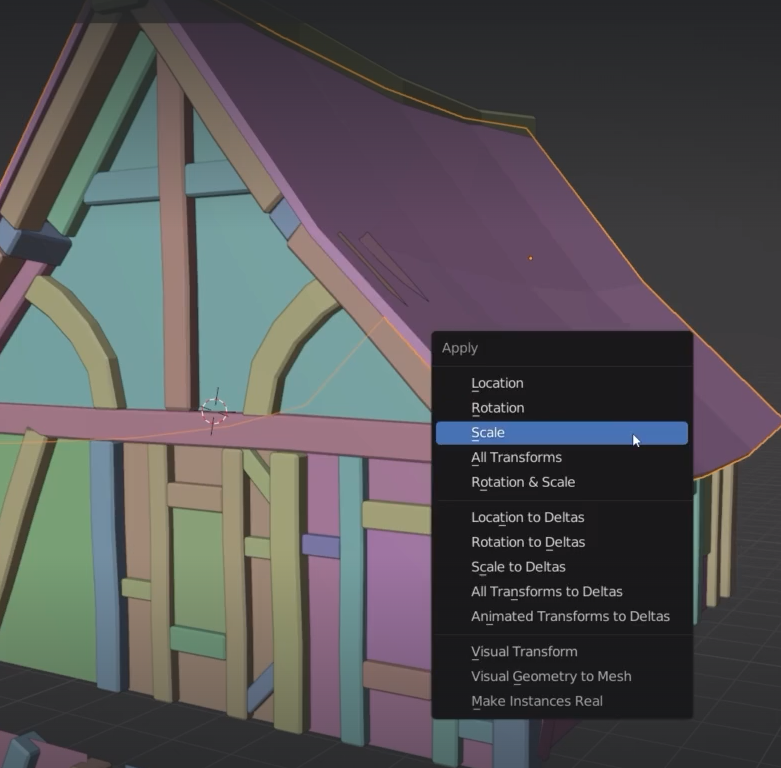
it’s always good to reset the scale before changing thickness
we can set a positive offset to move towards the top direction