Let’s remesh the object Shift + R

Game dev TV spec
to smooth the mesh
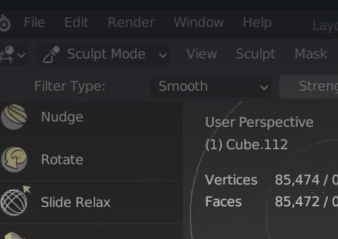
click and rag to the side
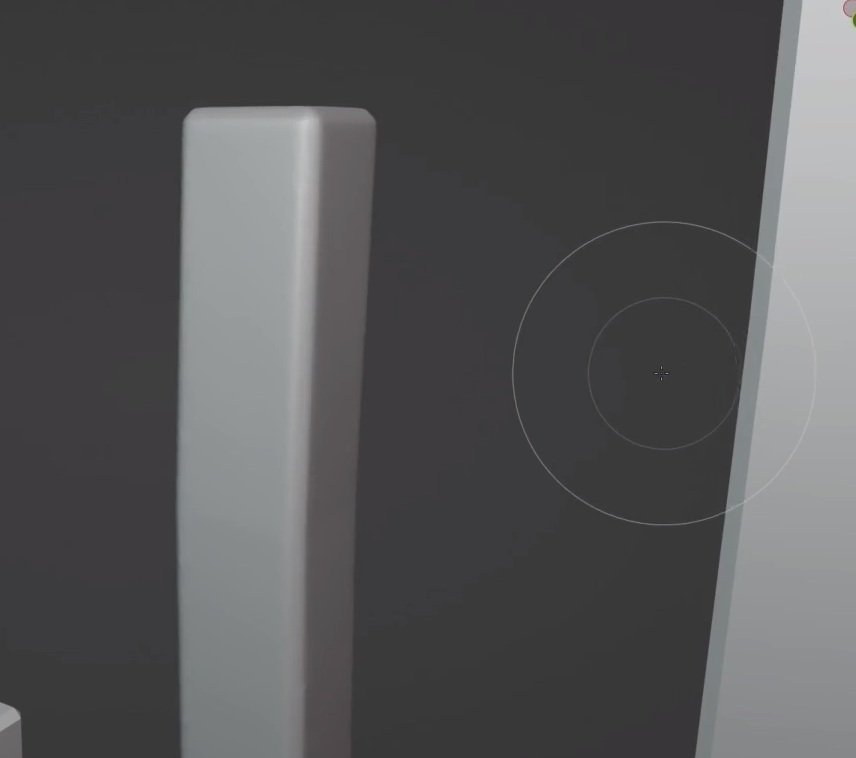
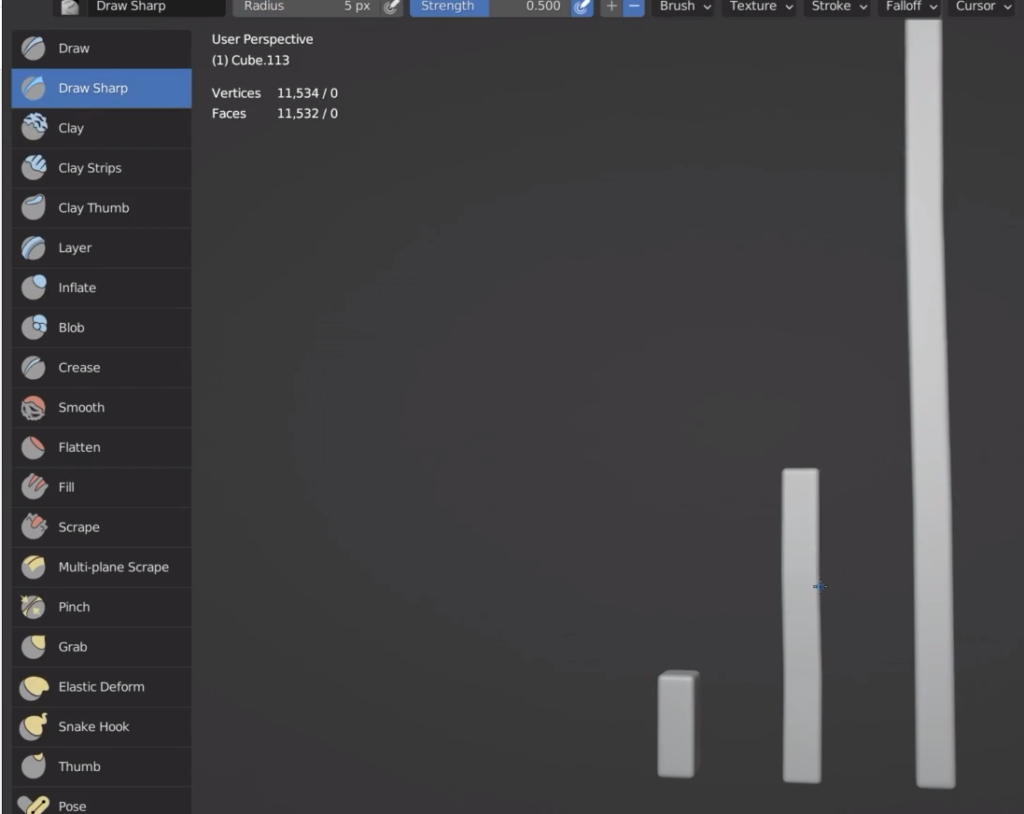
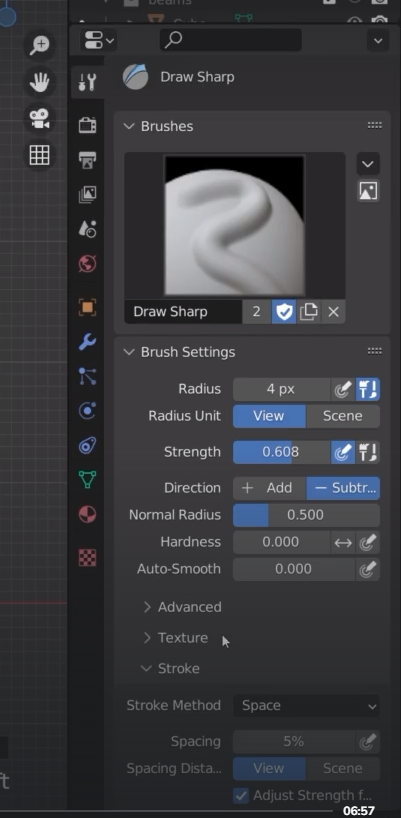
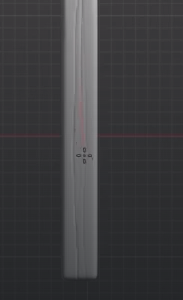
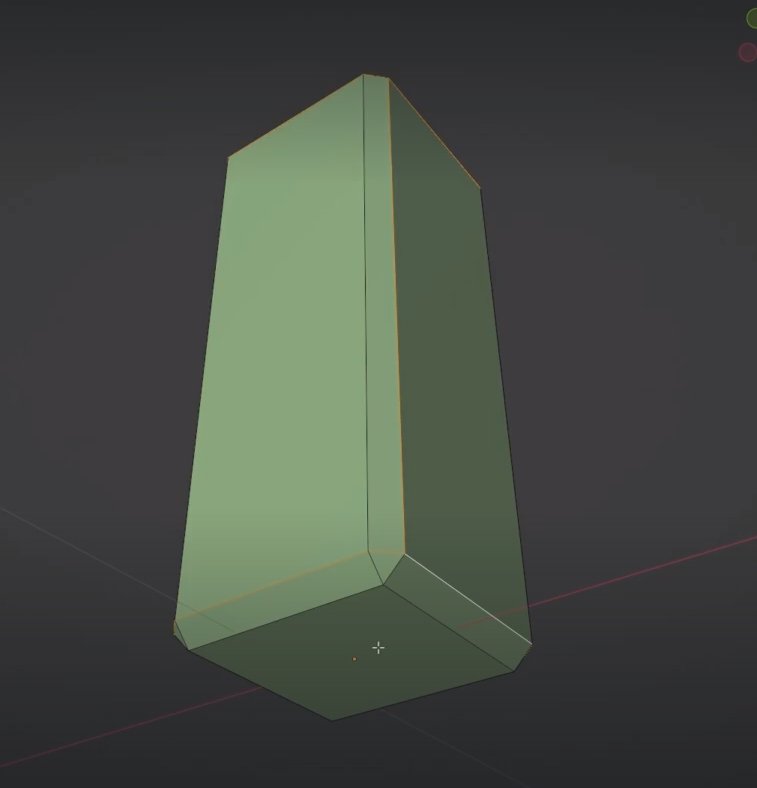
We start with the sharp brush, very small size
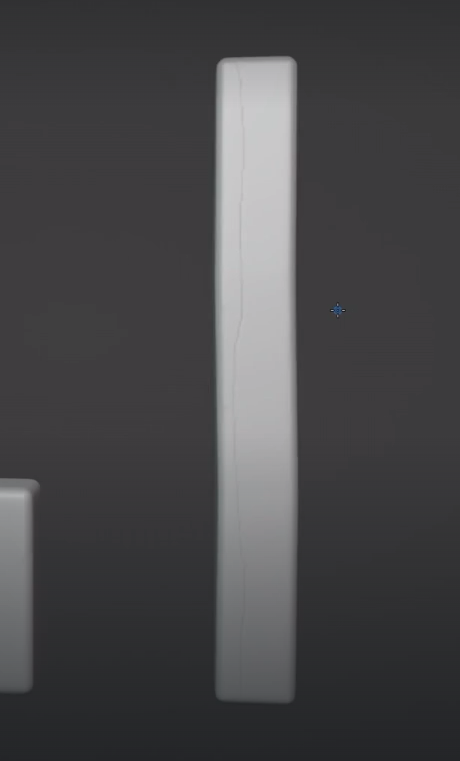
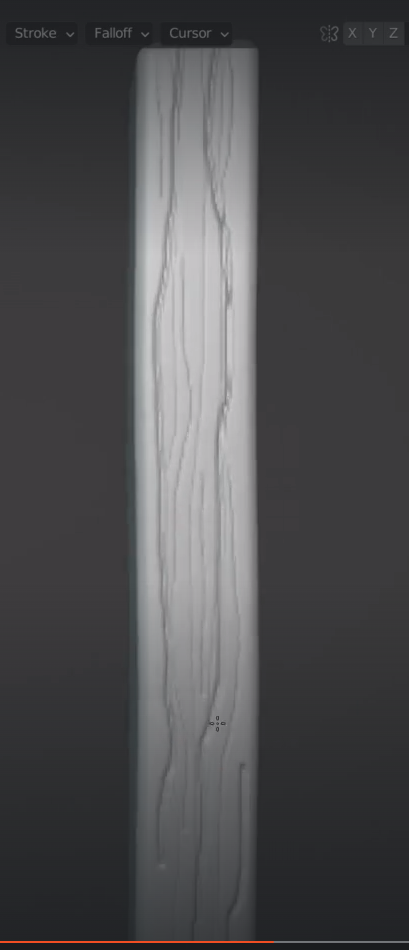
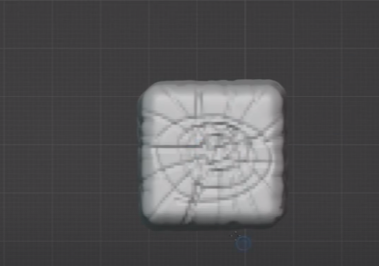
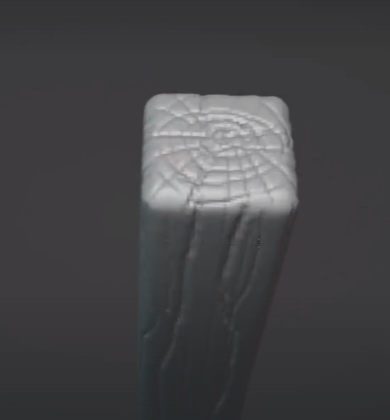
notches
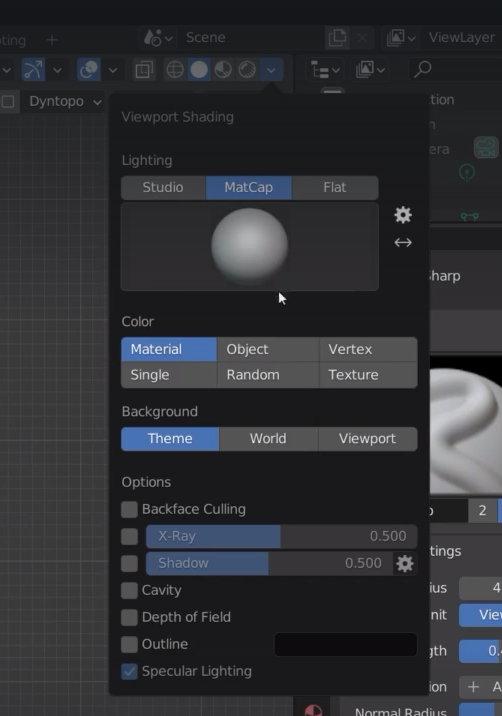
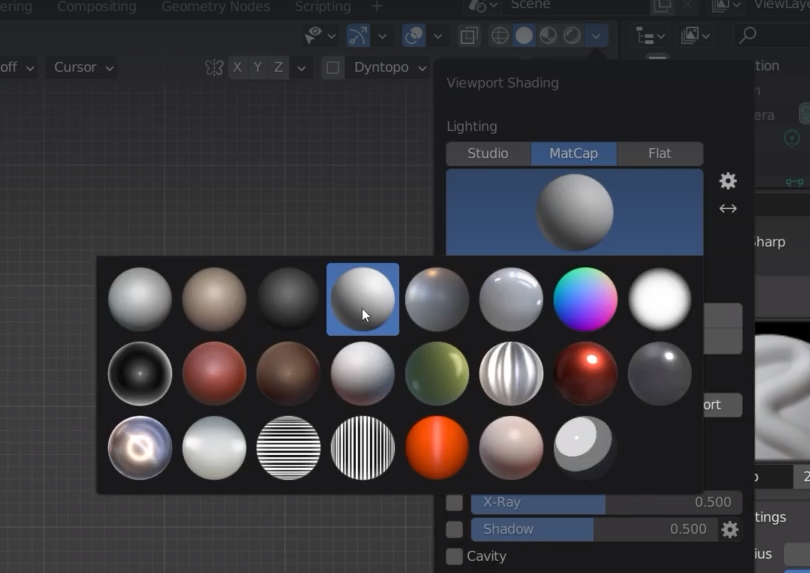
the MAT caps can help viewing better the sculpting works
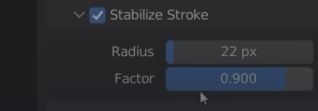
select stroke in the brush options
we can also stabilize the stroke option
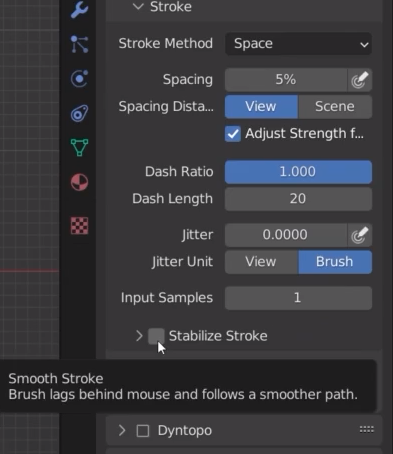
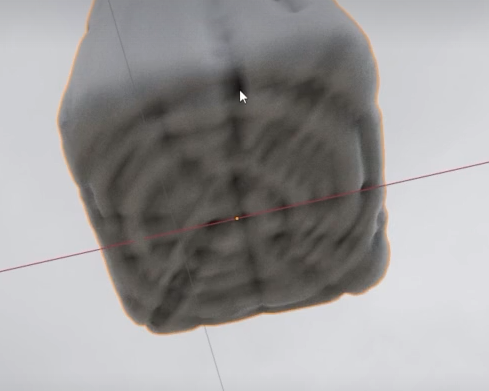
the red line stabilize the stroke of the brush
radius is the length of the red line
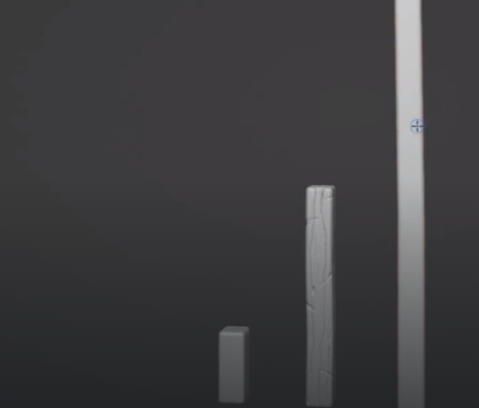
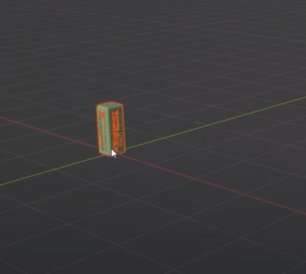
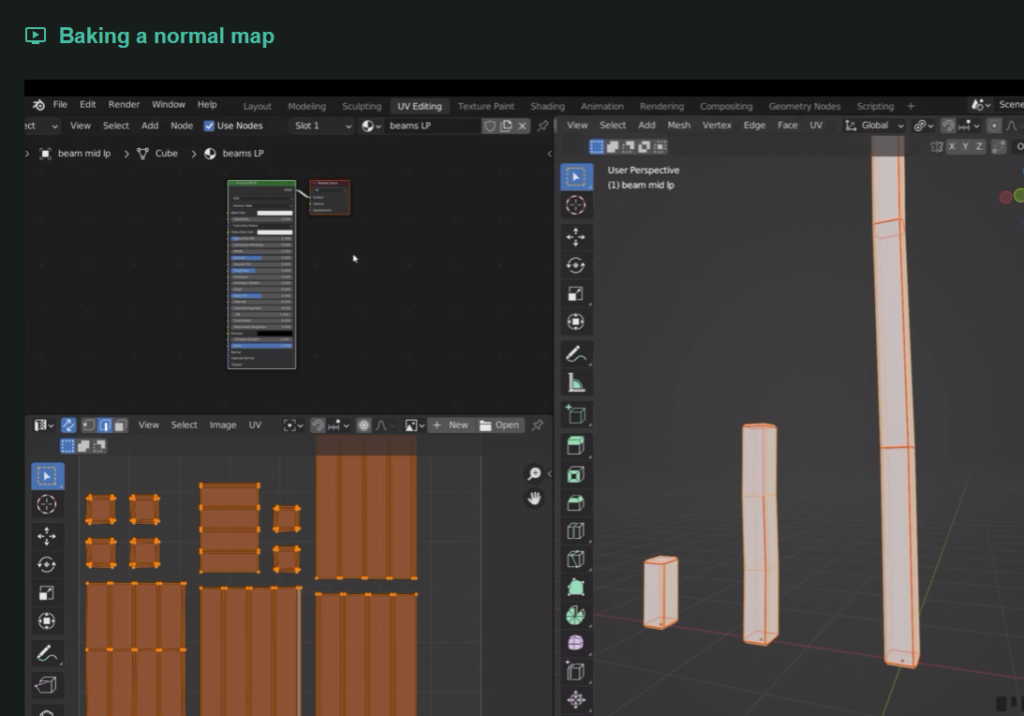
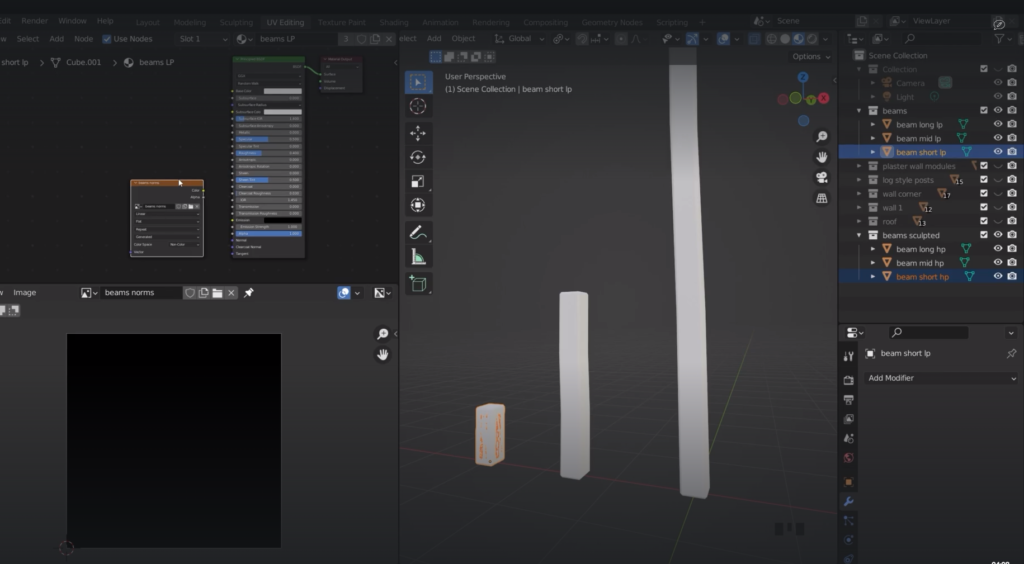
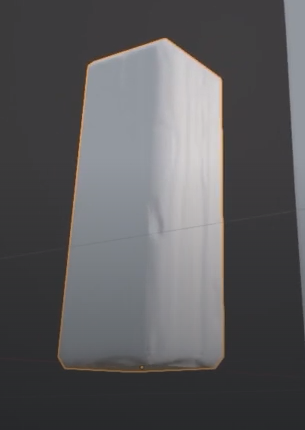
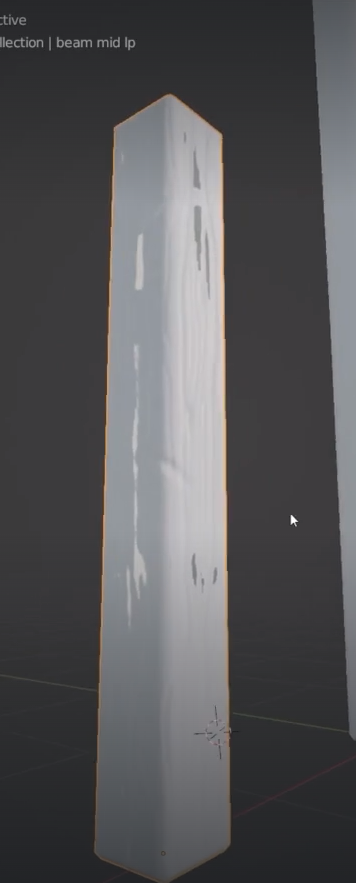
rename the beam Low poly lp and high poly hp
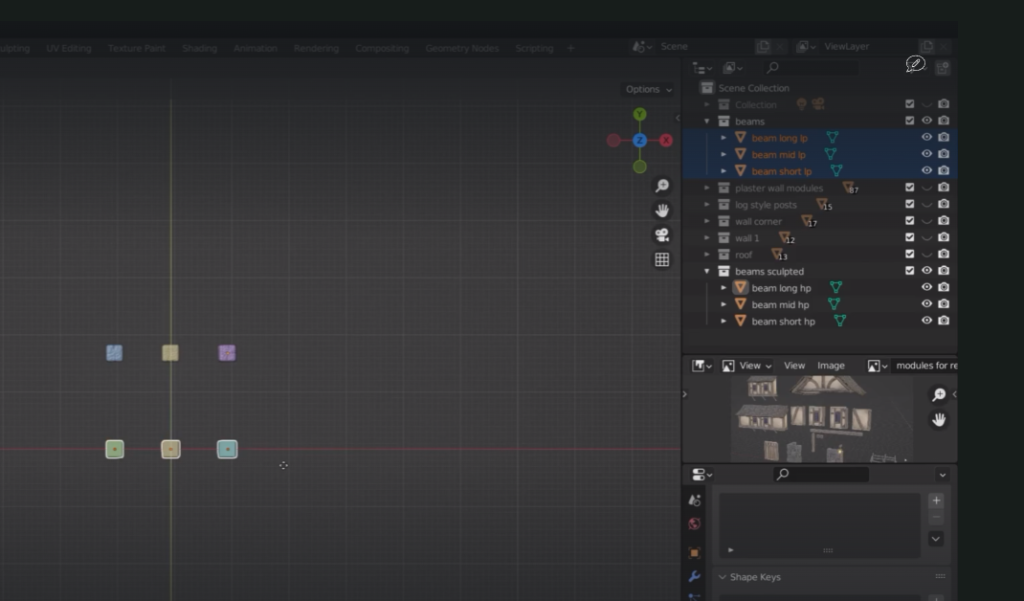
bring the beam one on top of each other
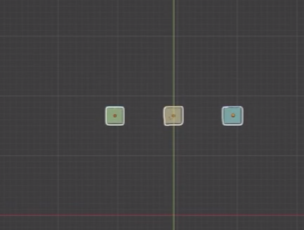
we can also select the pair and then ALT + G to remove any movement
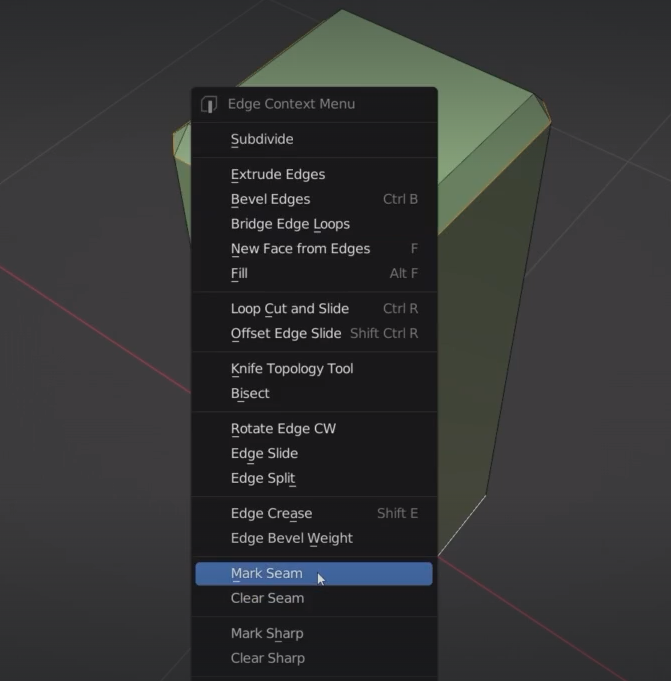
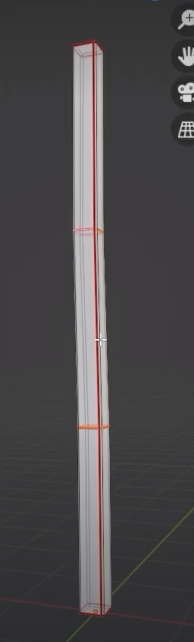
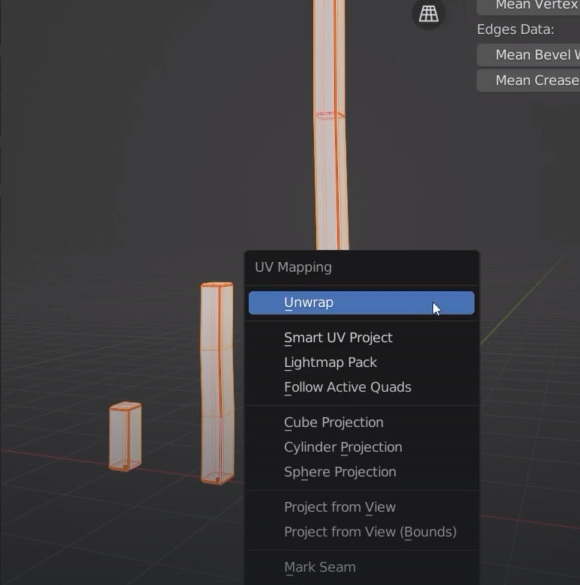
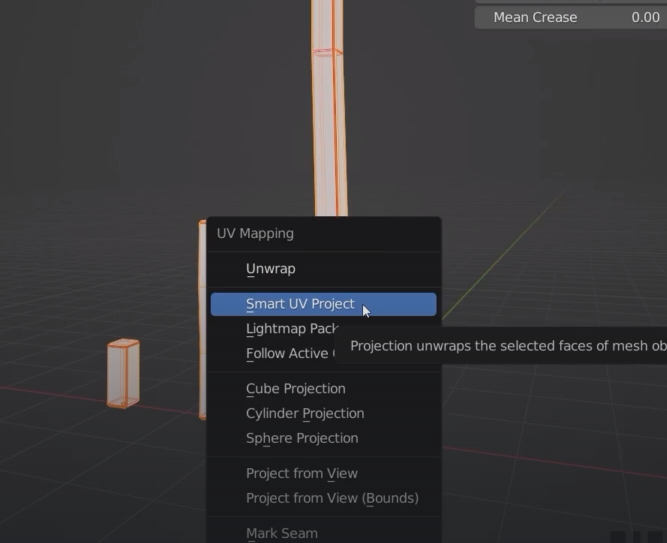
let’s mark the seems
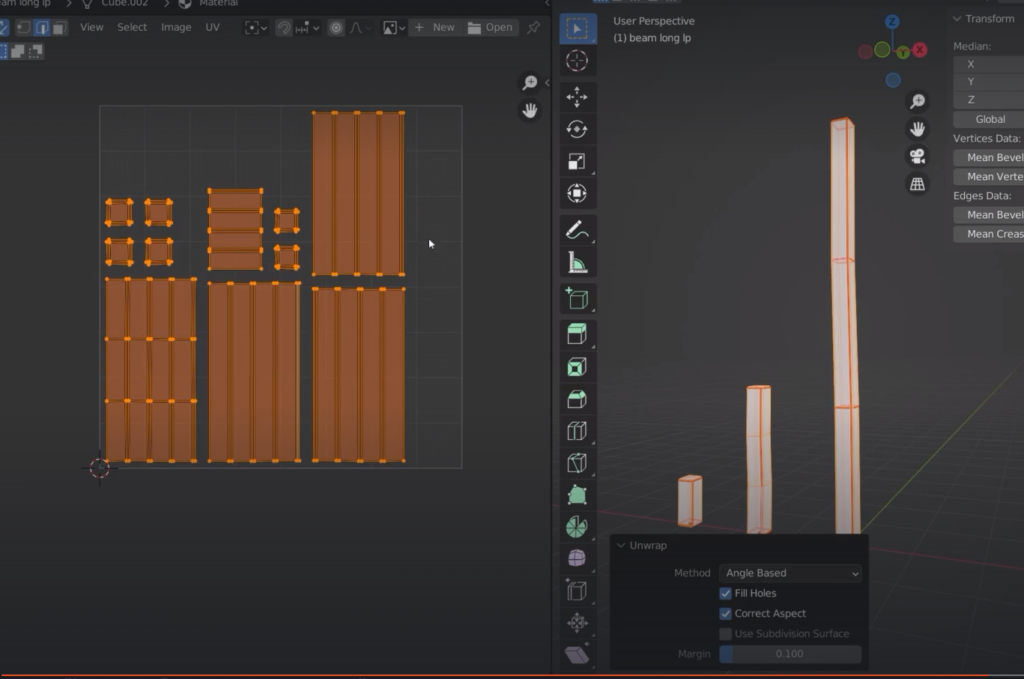
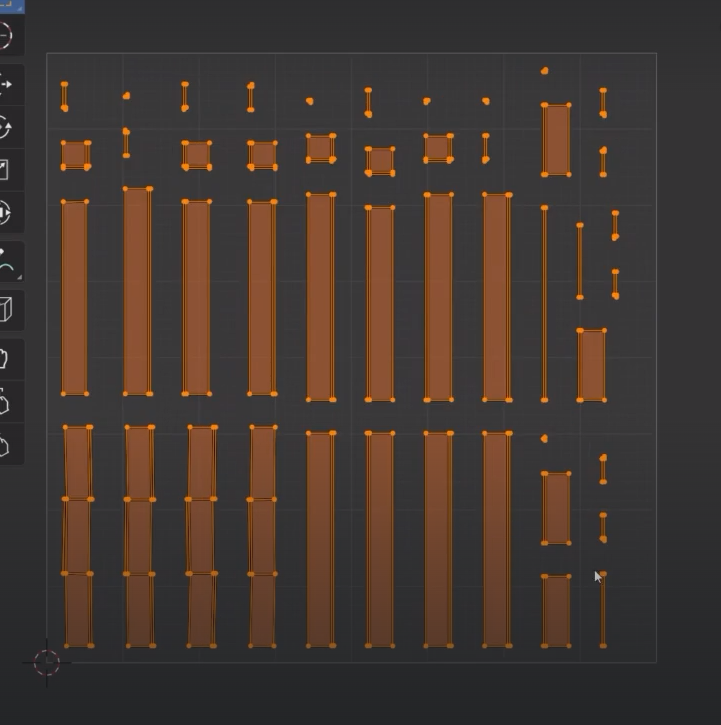
With the long beam we need to optimise our uv islands
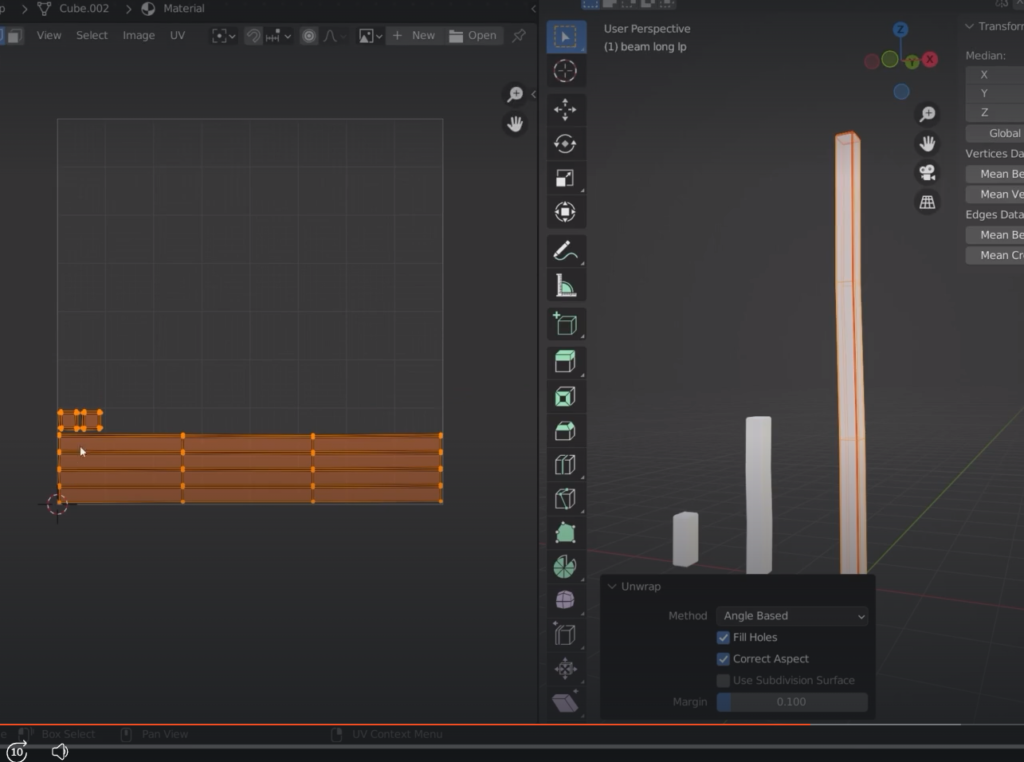
we need more seems
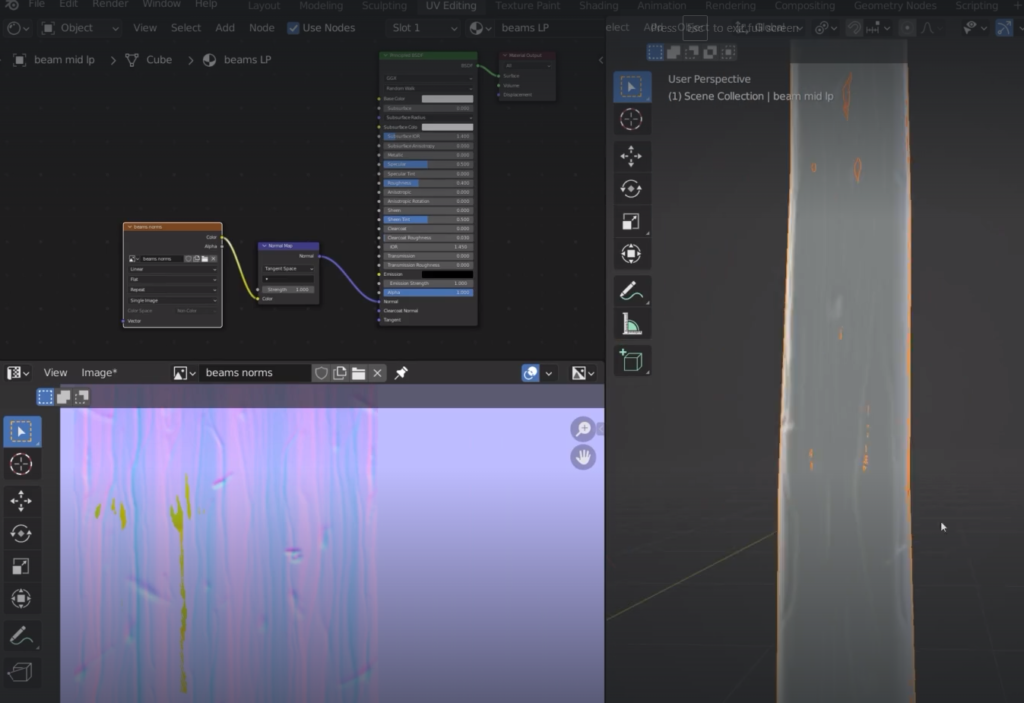
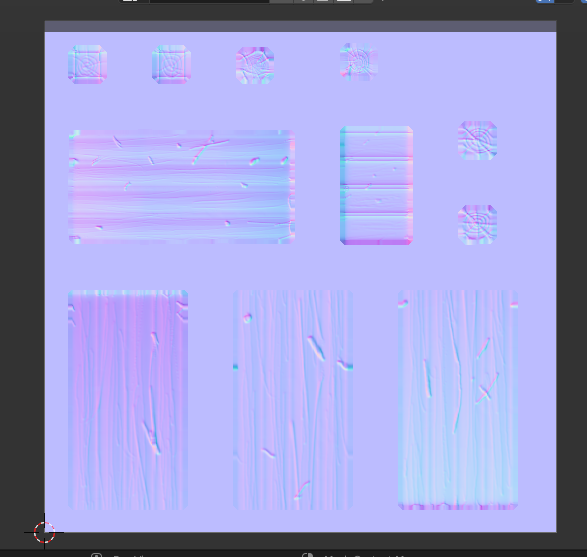
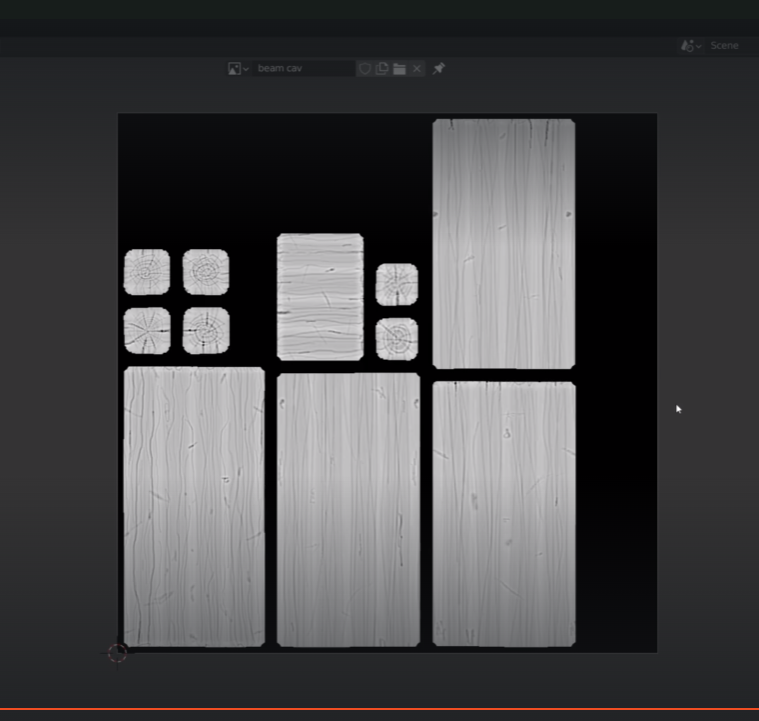
we now create a uv map atlas

add-on UV pack master
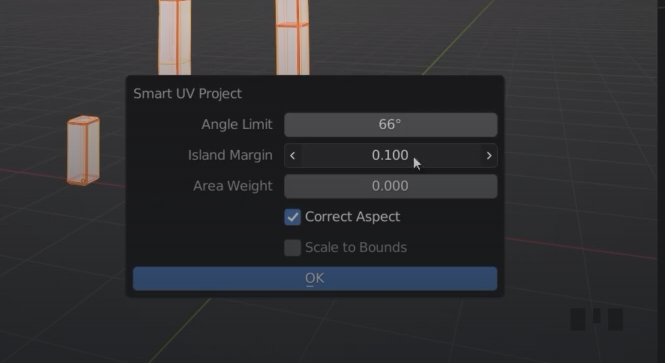
I could also use smart UV
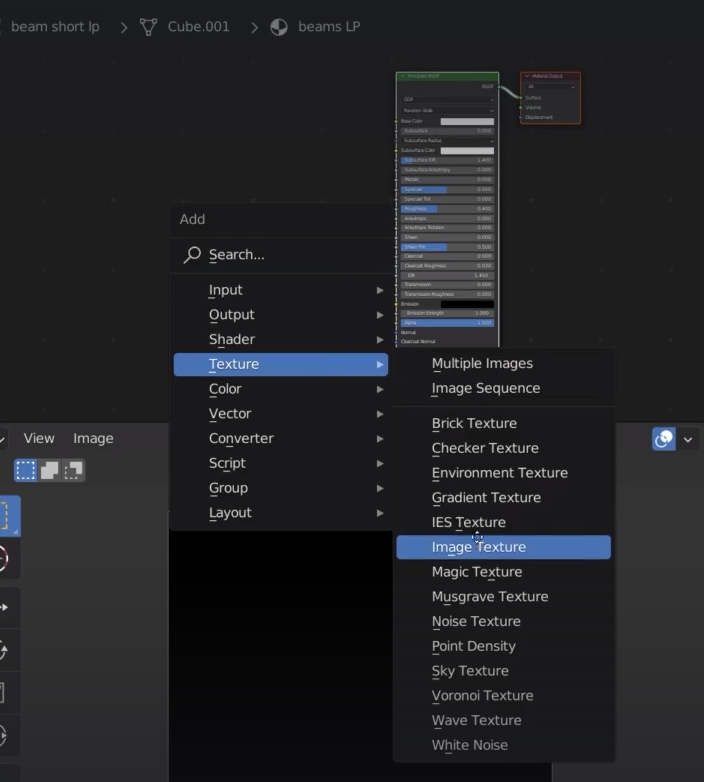
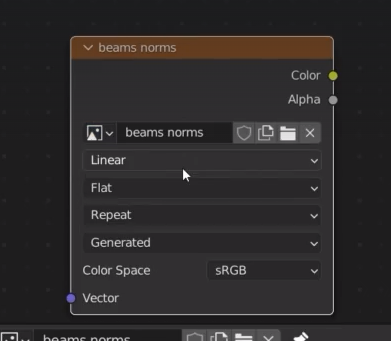
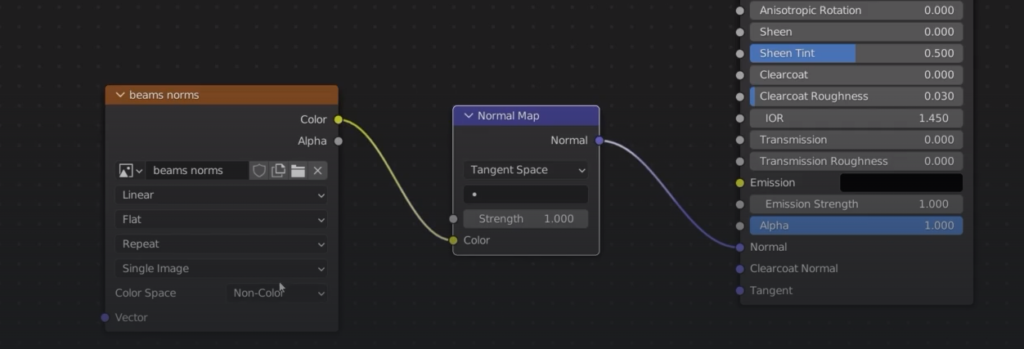
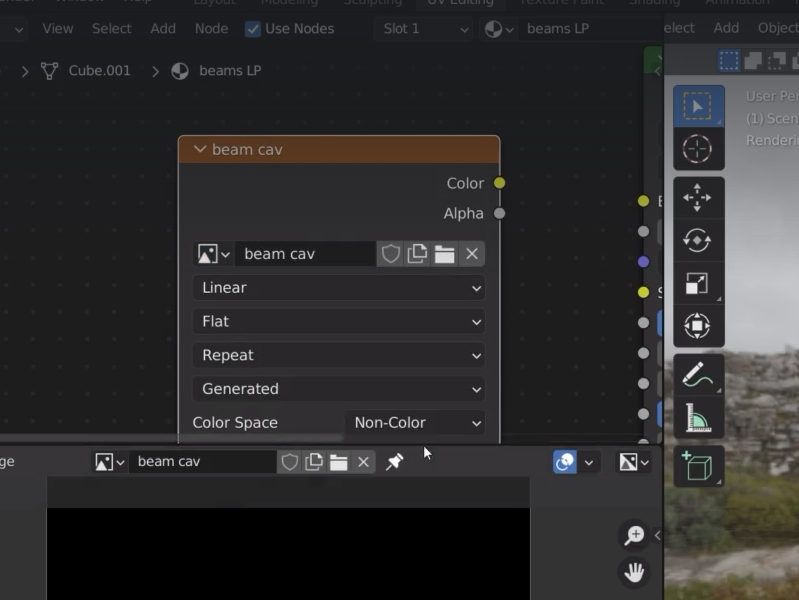
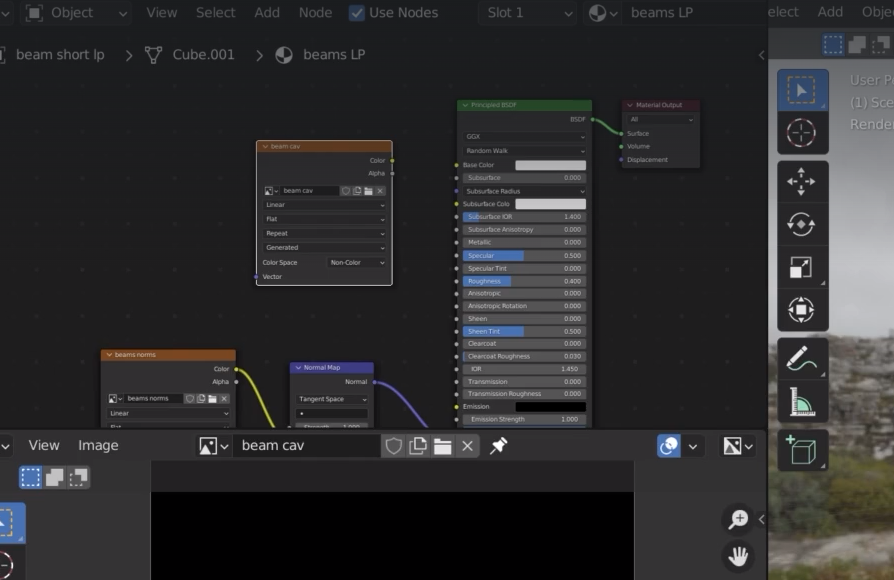
Let’s create a new material
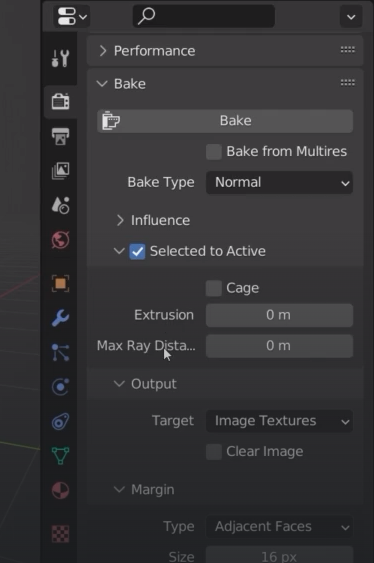
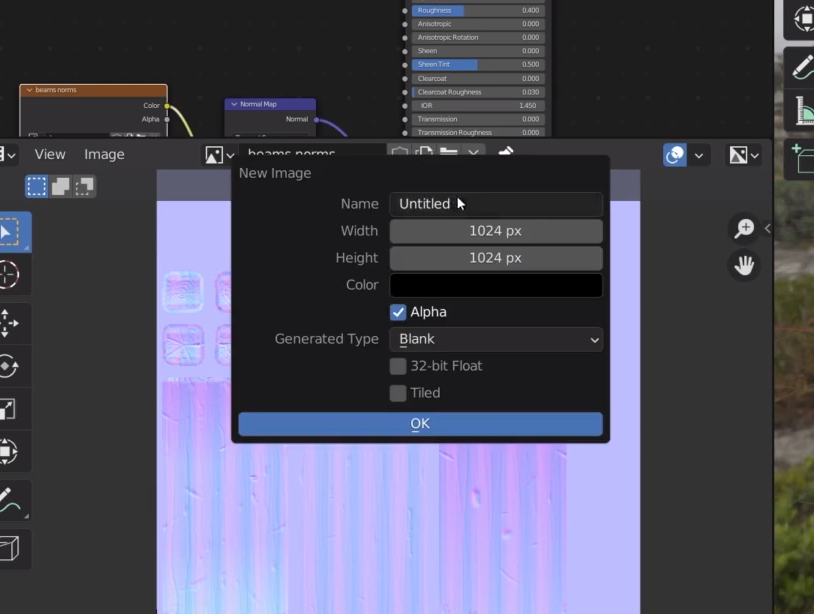
create a new image in the image editor
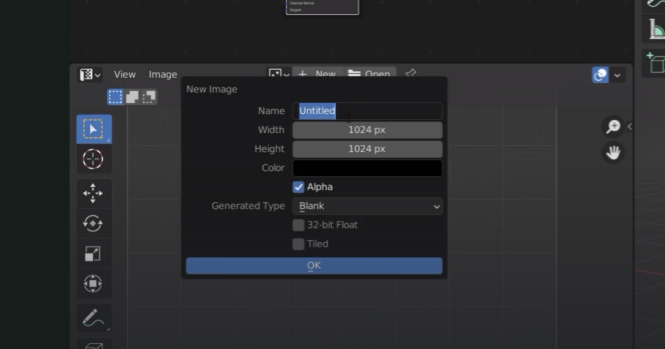
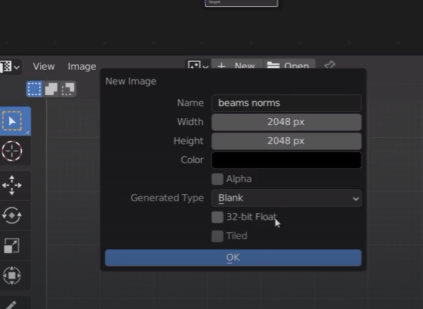
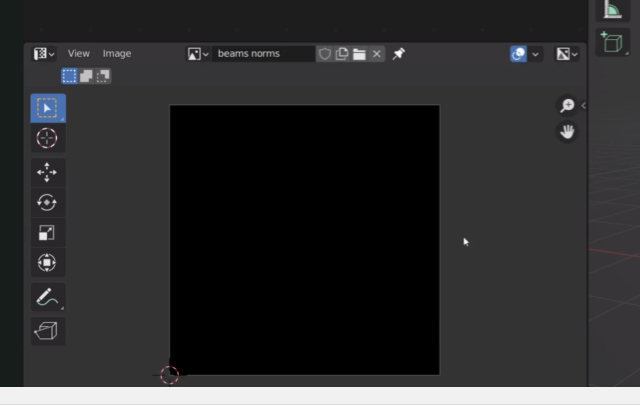
we want to bake our texture on that black square
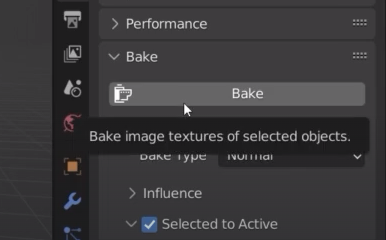
select the lp short beam and hp short beam. keep the lp as main selection

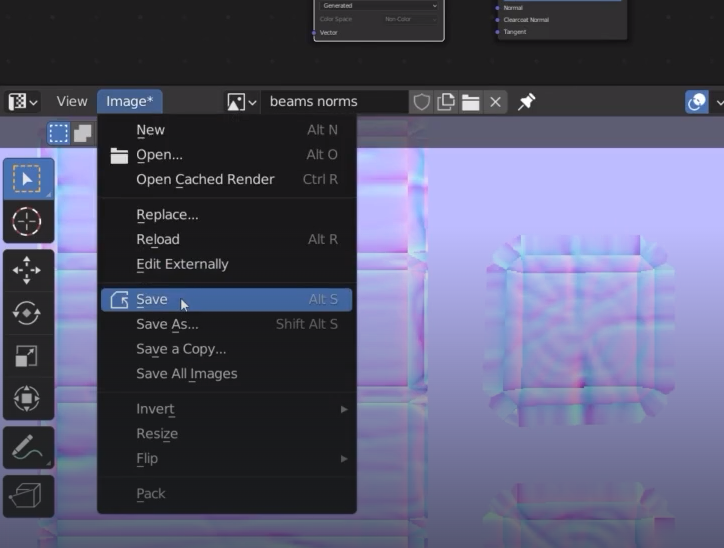
finally press “bake”
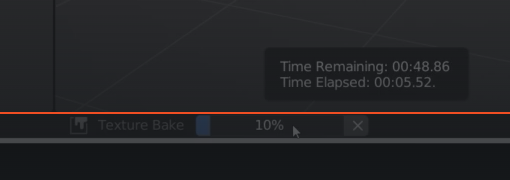
baking process starts
save the texture
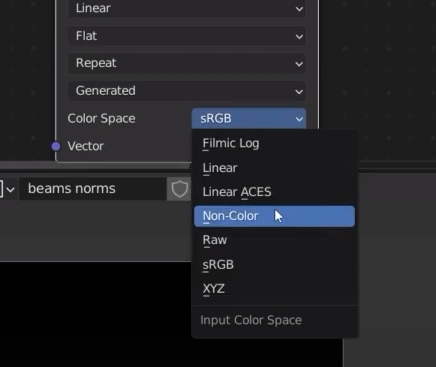
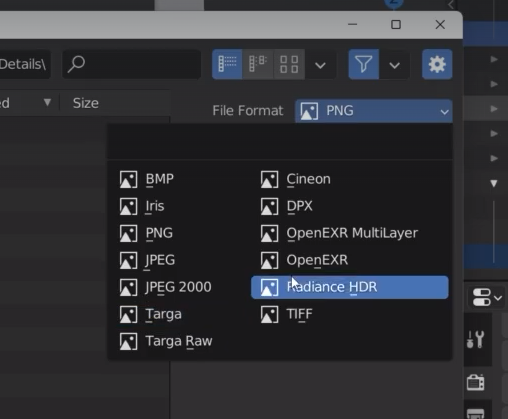
if we choosed 32bit texture we then need to select the file format to targa or openexr
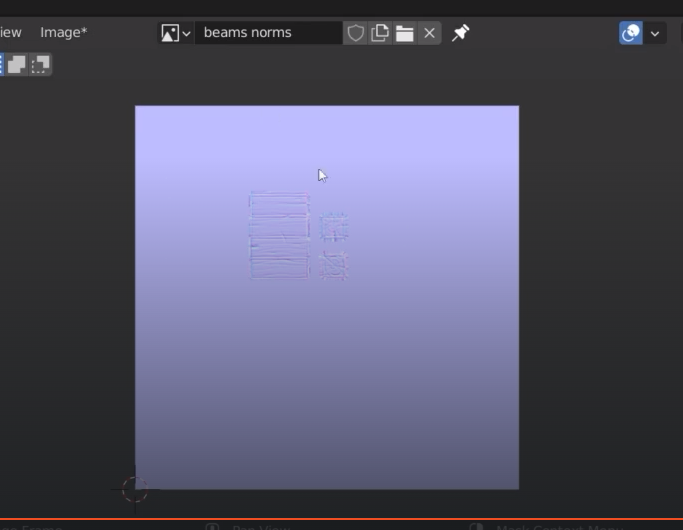
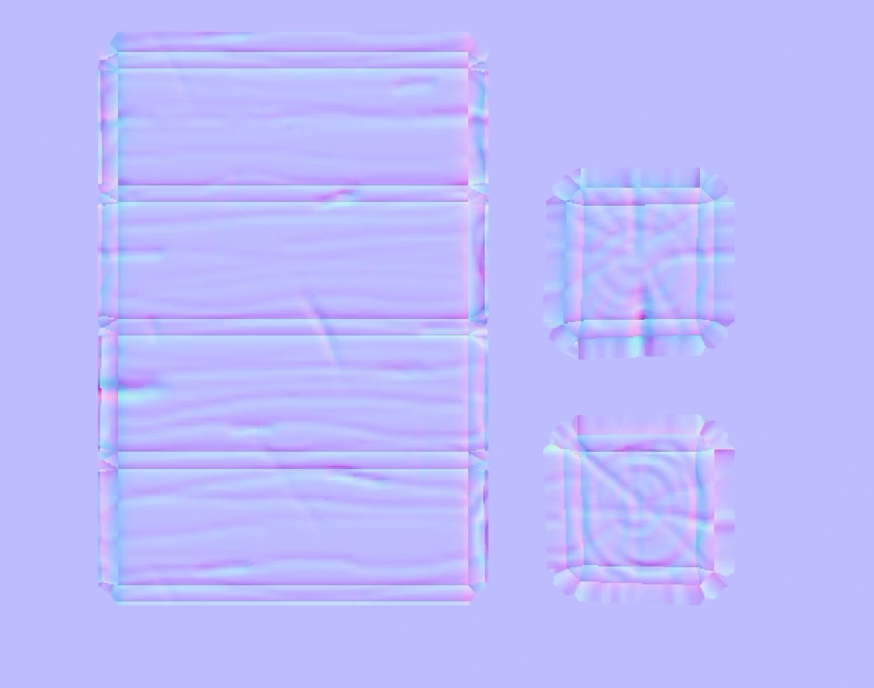
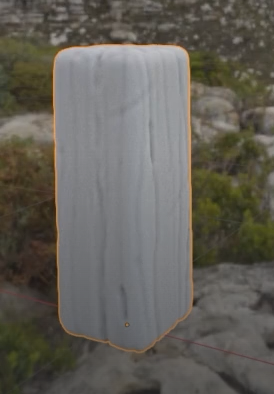
we have now got the hp texture baked onto the lop poly beam
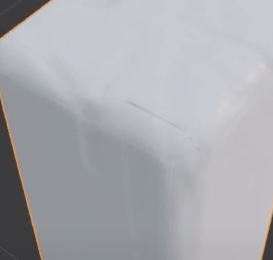
there are some sharp lines over the edges
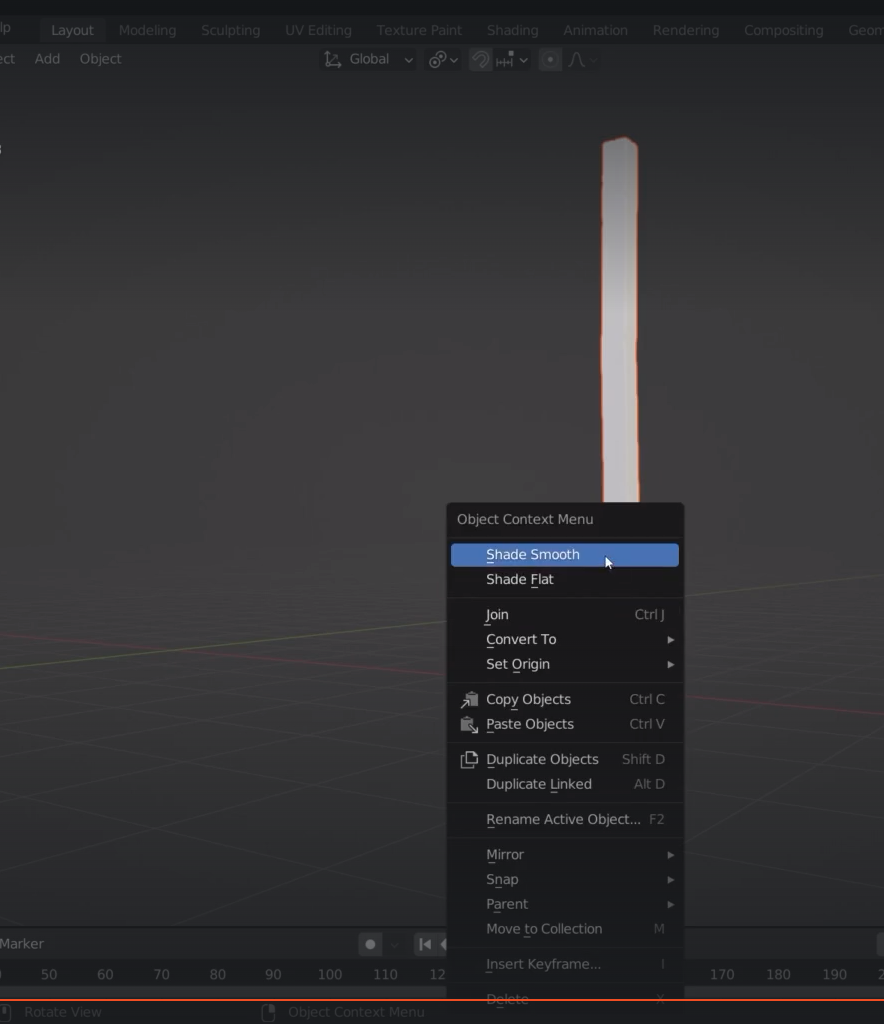
before baking we need to shade smooth both the low poly and high poly objects
when bakin the second texture of the atlas deselect clear image otherwise the system will delete the first baked beam
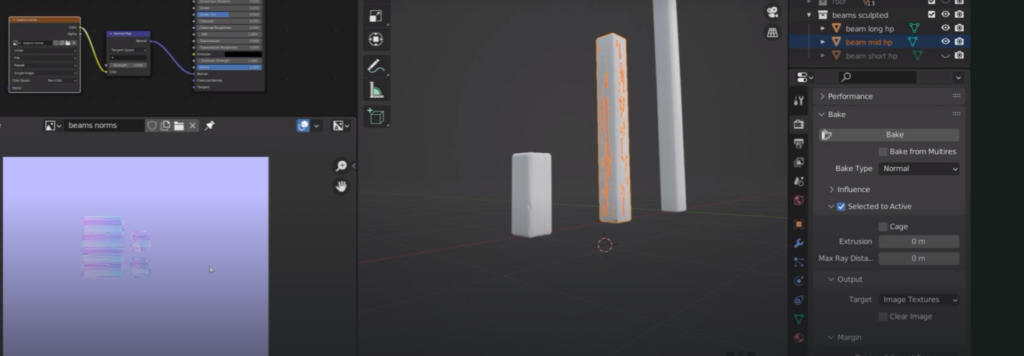
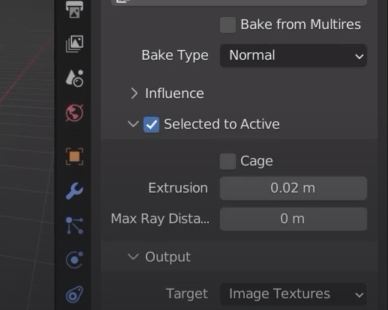
with the second beam we are getting some strange results
those green areas are where the hp beam is breaking through the lp beam
extrusion and max ray distance help to solve this problem
The low poly is casting rays to the hp to check the texture
extrusion 0.02m is fine in this case
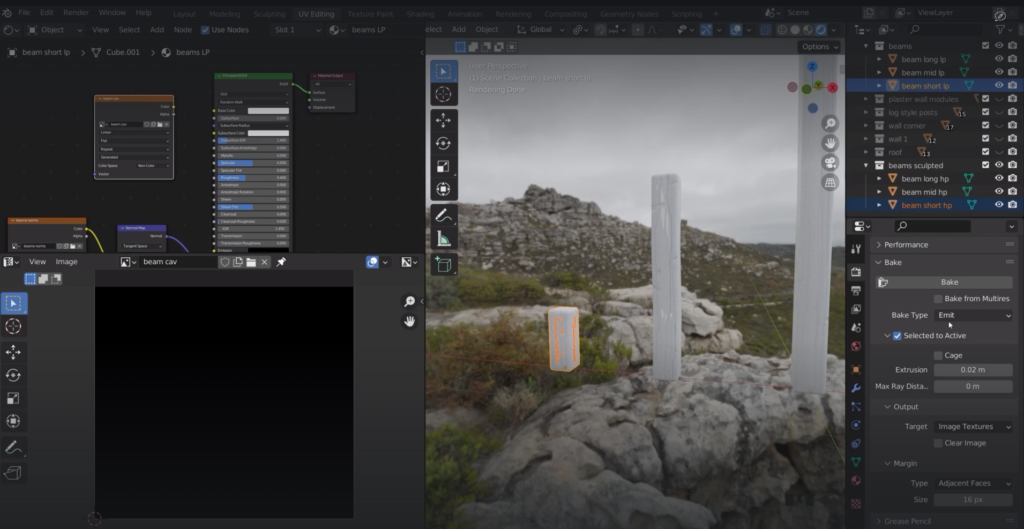
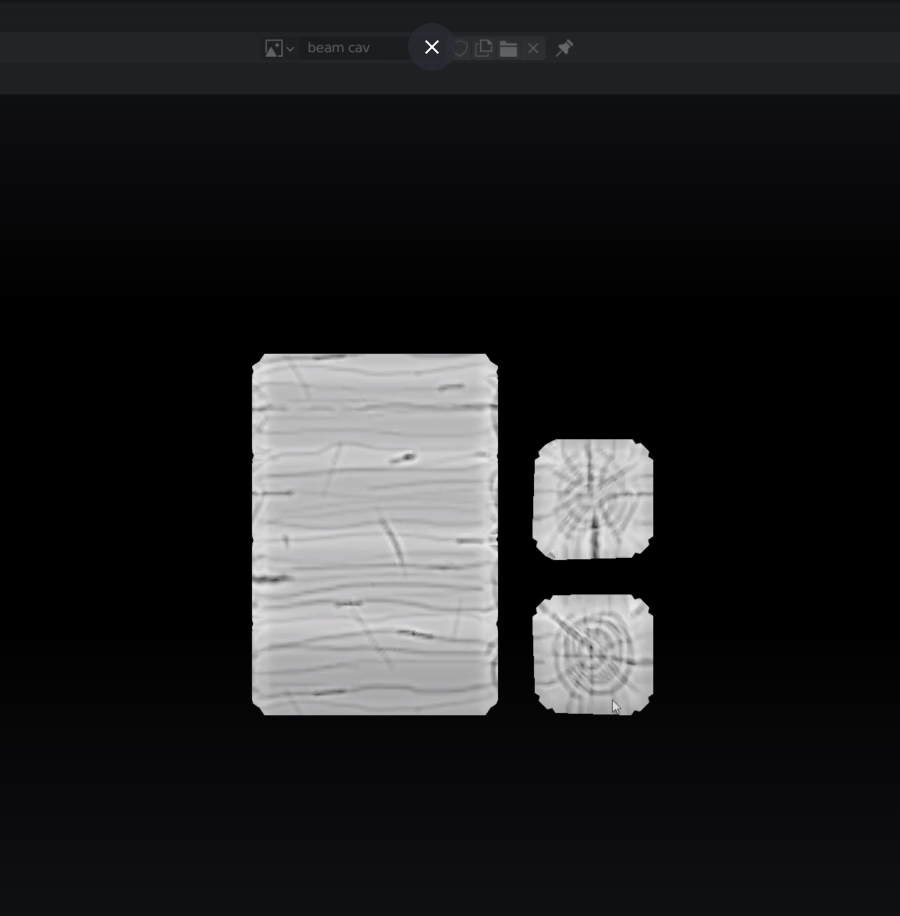
Now we bake a special texture for cavity
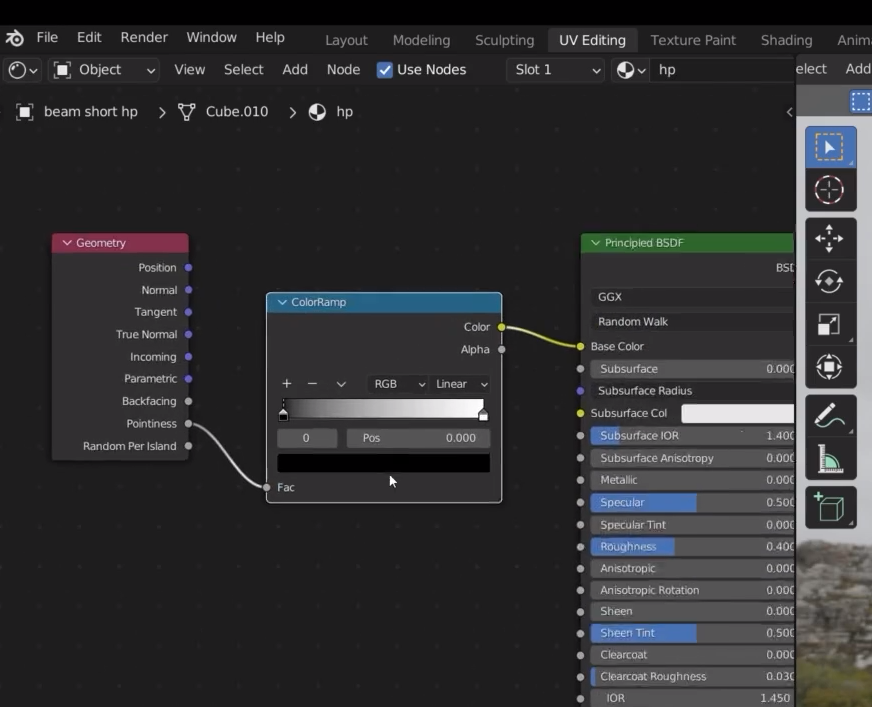
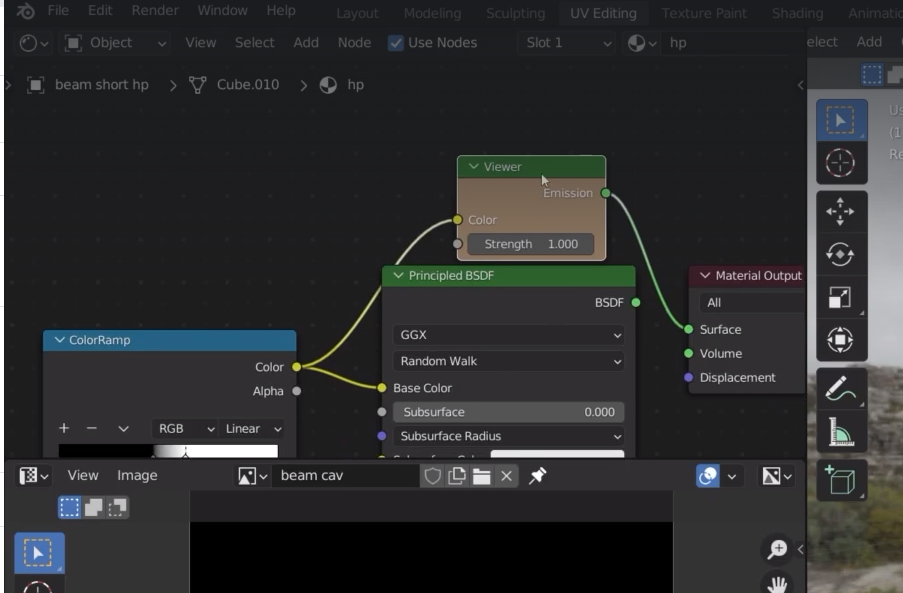
We select the hp beam and create a new material and a new node called geometry
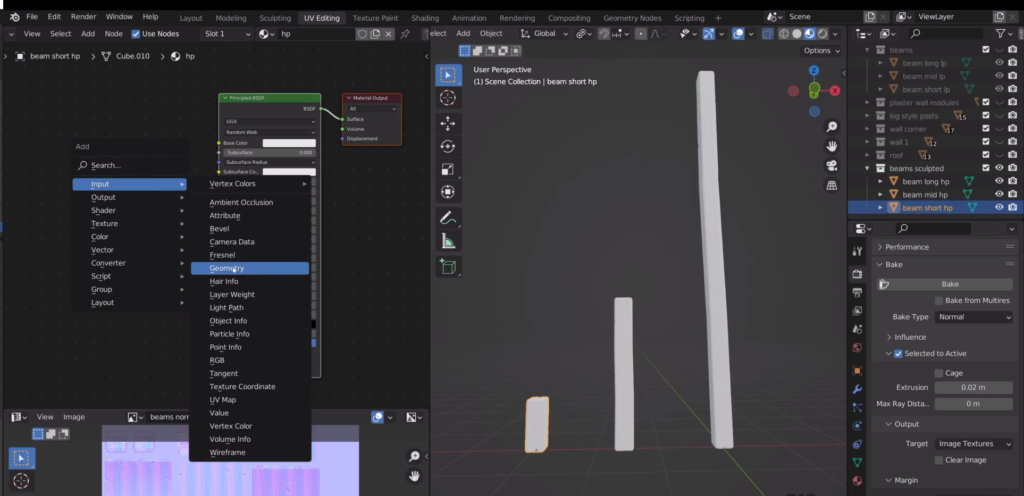
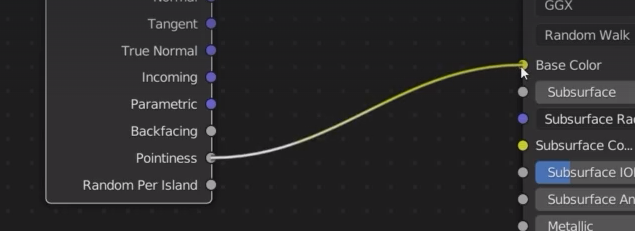
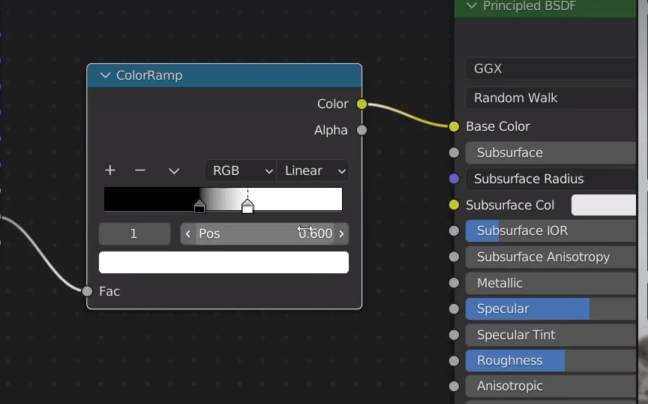
add a color ramp in the middle
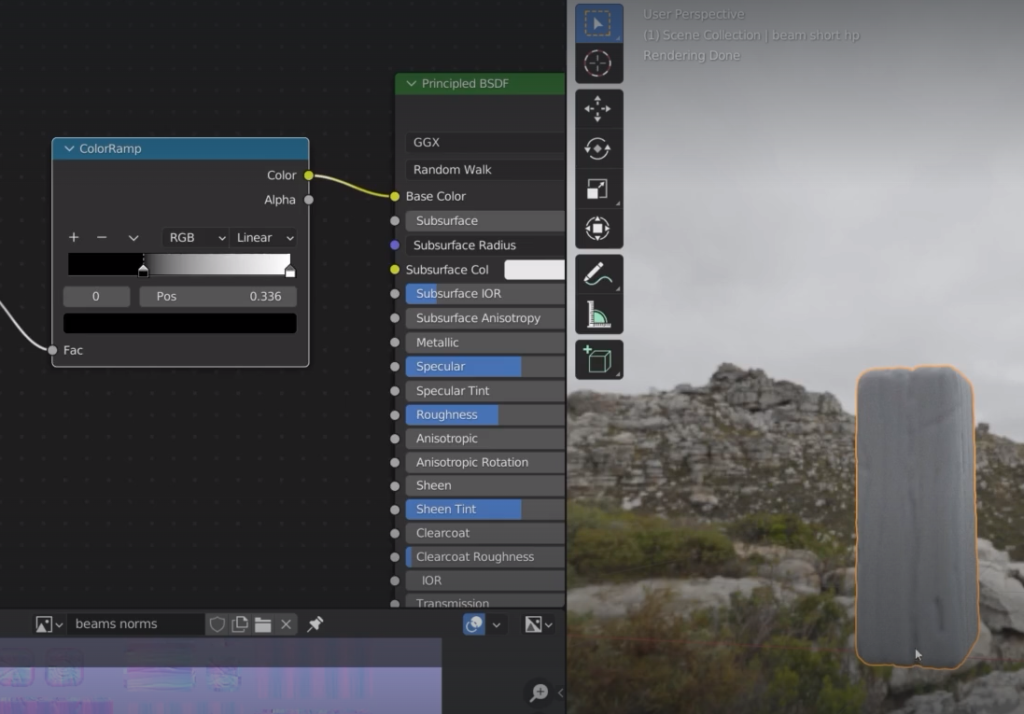
magic number
black = 0.4
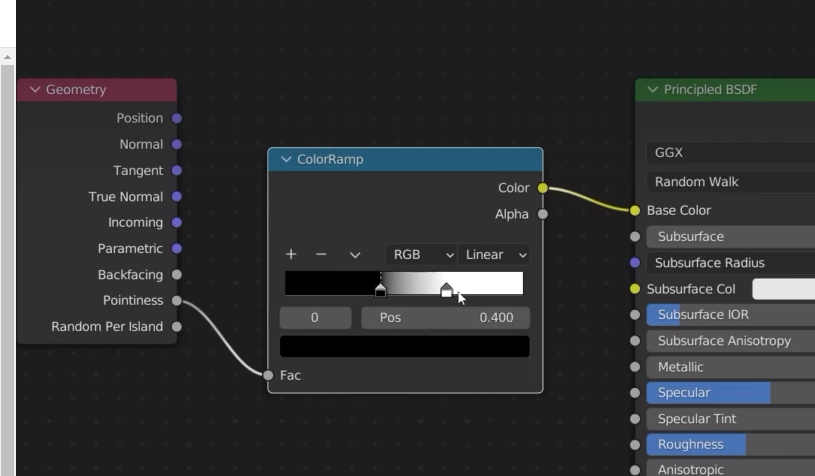
white = 0.6
to bake the cavity we need a new texture otherwise we would risk to bake on top of the normal texture

I need to add this texture to the low poly beam before baking
make sure that the node is selected before baking
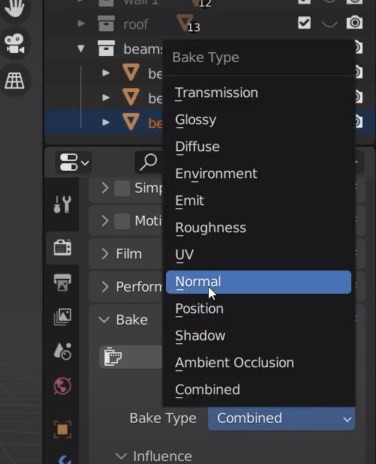
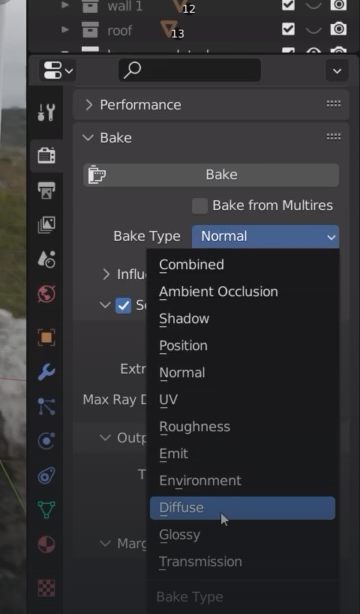
Bake type needs to change to diffuse
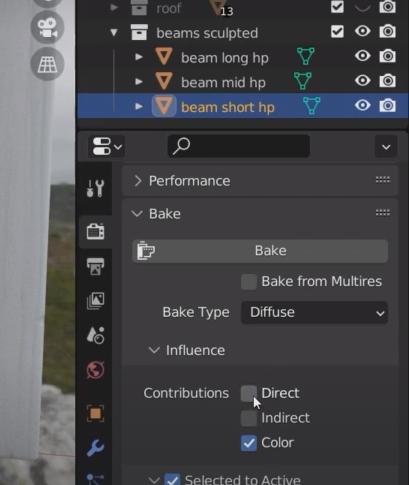
we go back to hp beam and deselect Direct and Indirect from the Influence option
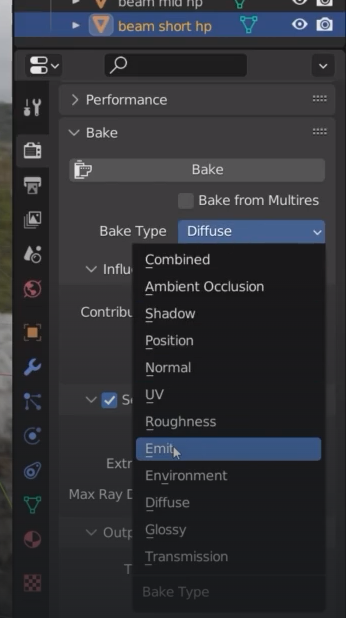
Instead of diffuse we can use the Emit option as baking type on the hp beam
Before baking we select the color ramp and Control + shit + click left
Now we can bake the cavity. Select the hp beam and the lp beam ( this one must be active) and be sure that the cavity texture is selected
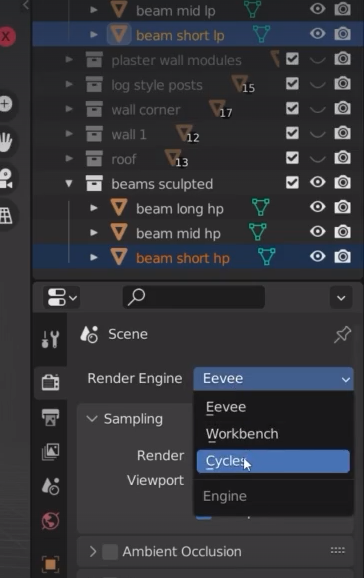
Once the normal and cavity textures are baked then I don’t need the sculpured beam anymore so I can hide them
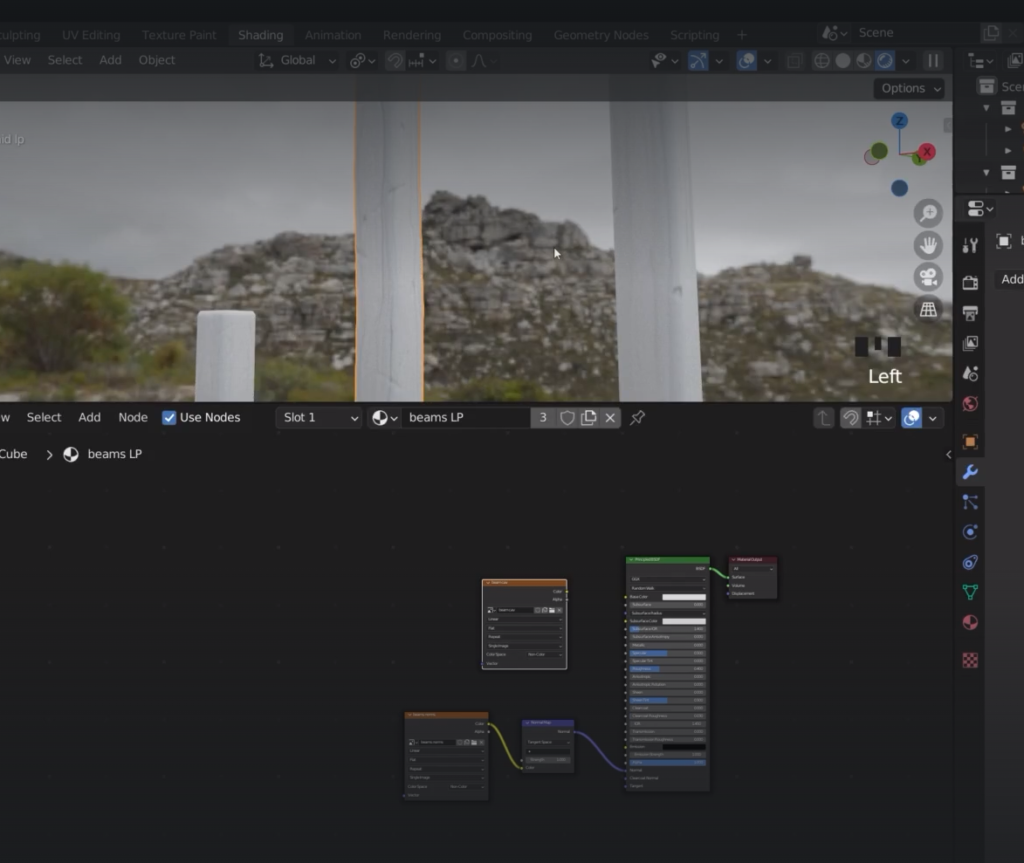
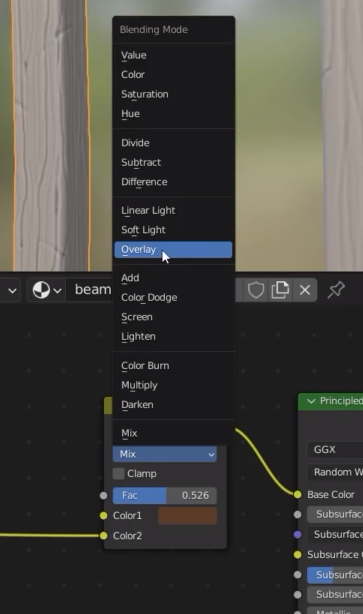
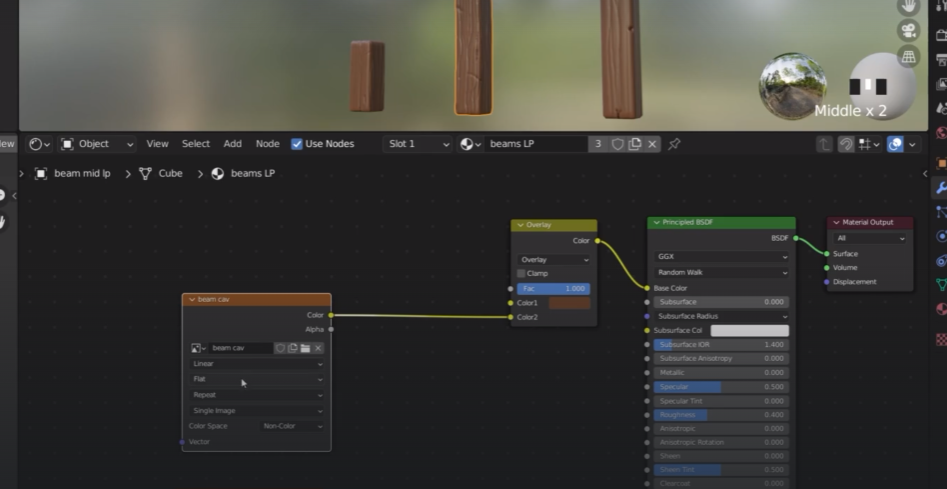
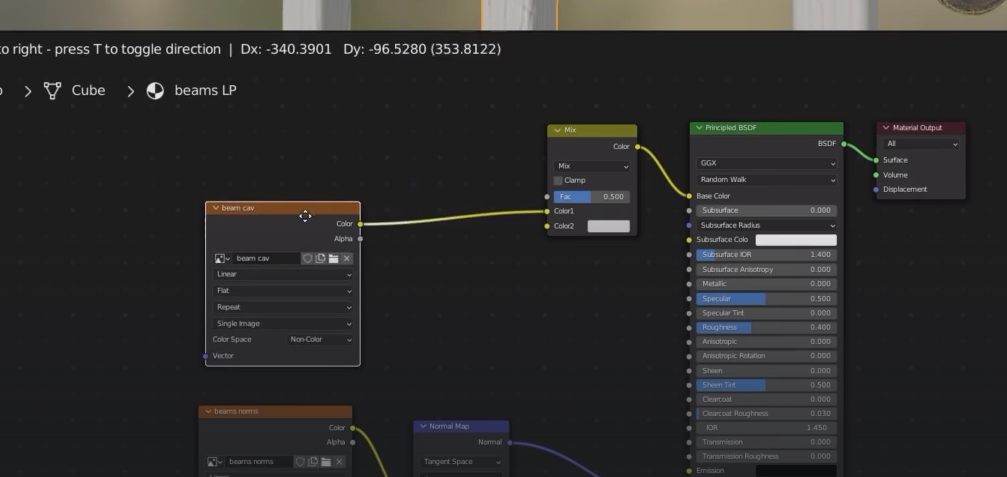
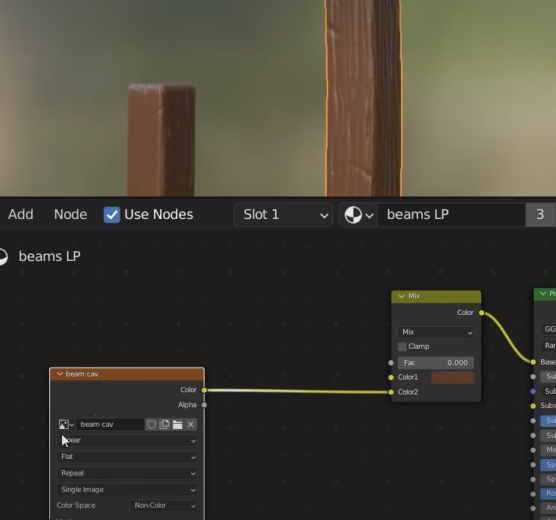
we add a mixRGB node
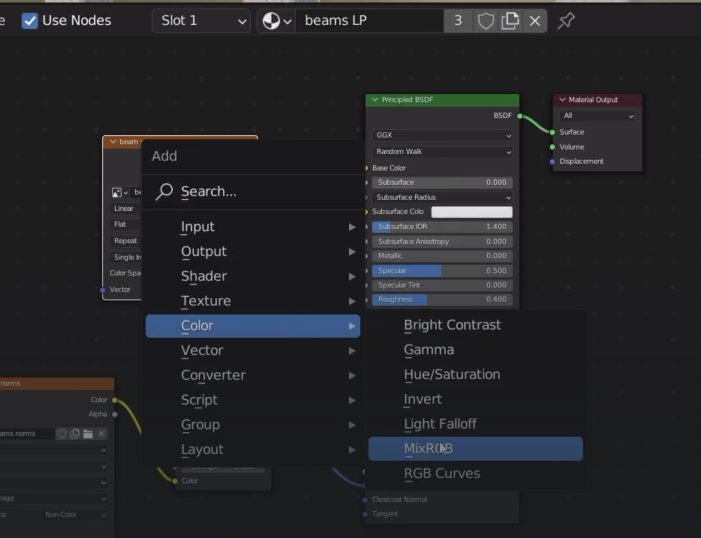
wood color plus set the factor to zero otherwise we won’t see the color
select Overlay mix