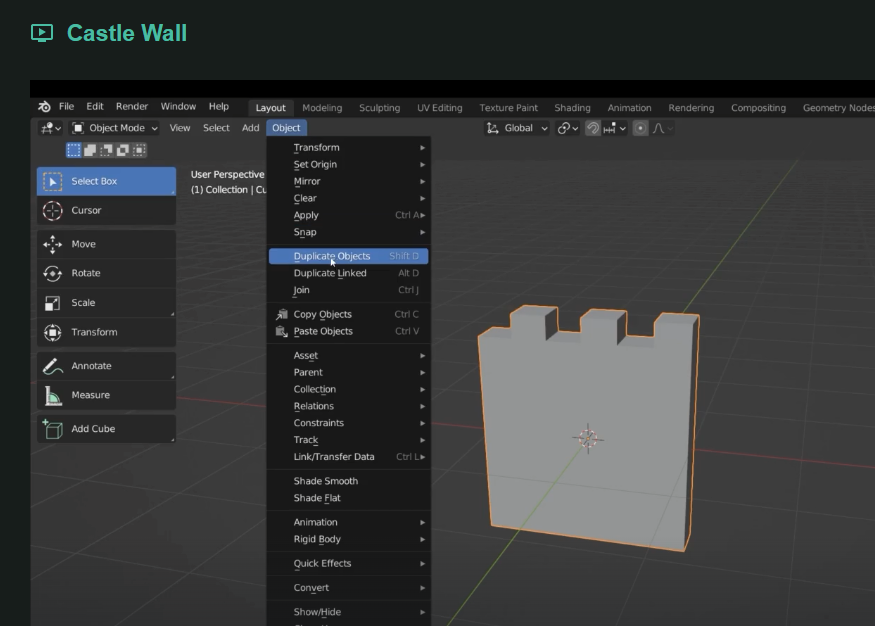
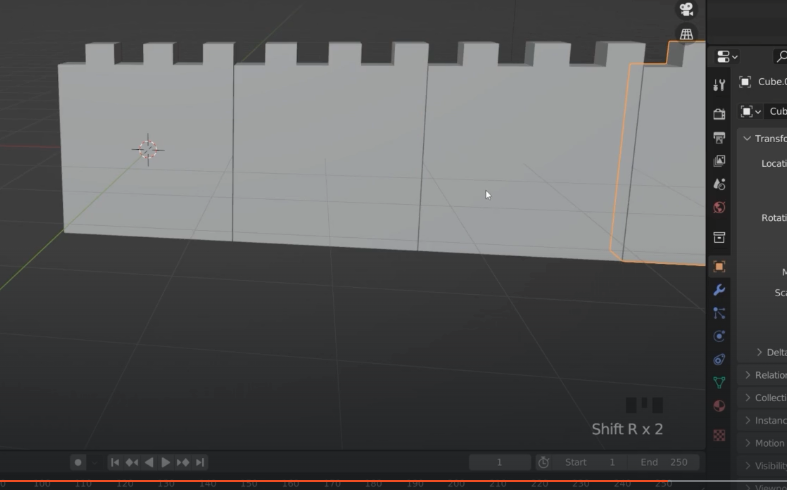
duplicate object
shift R to repeat the last command
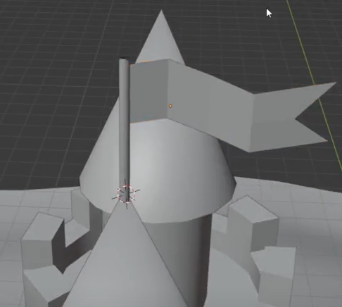
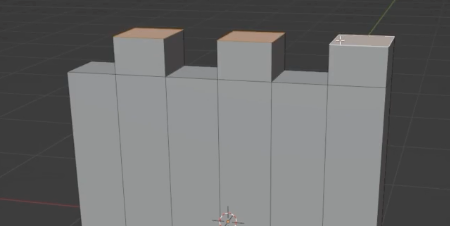
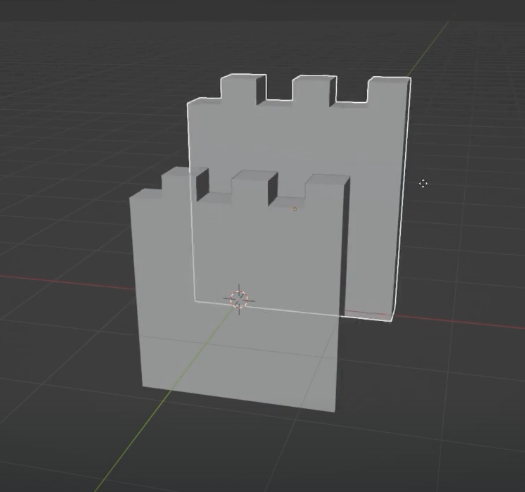
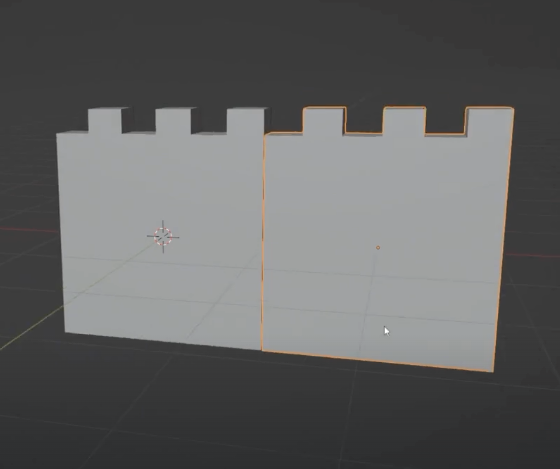
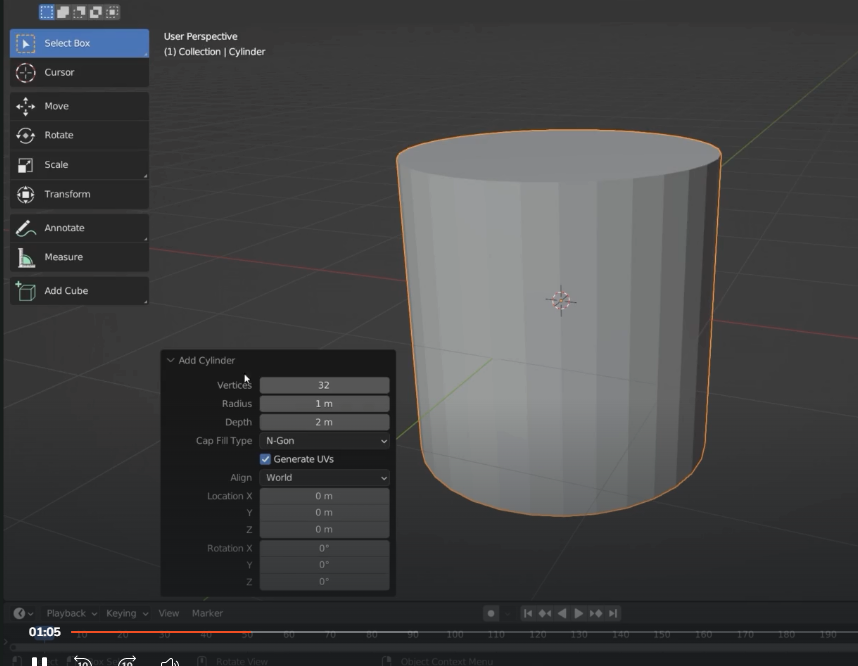
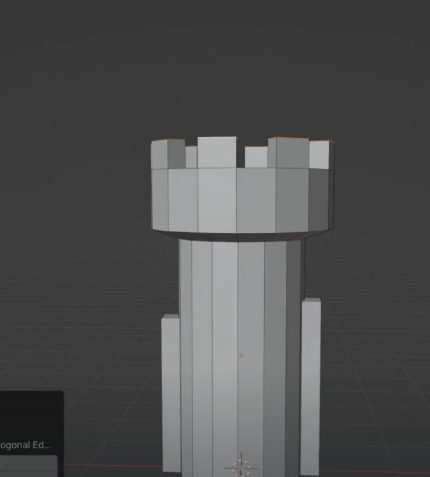
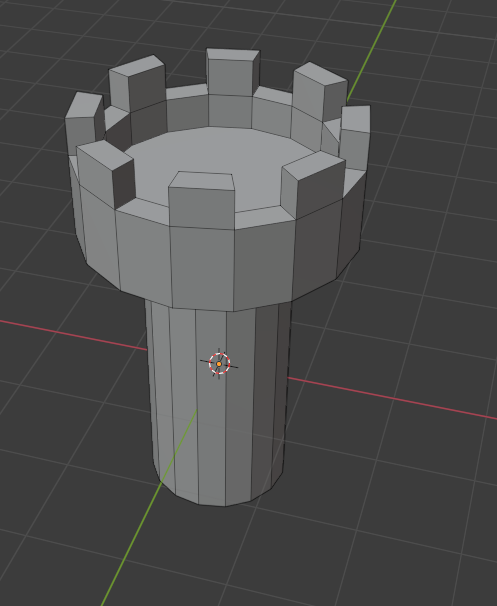
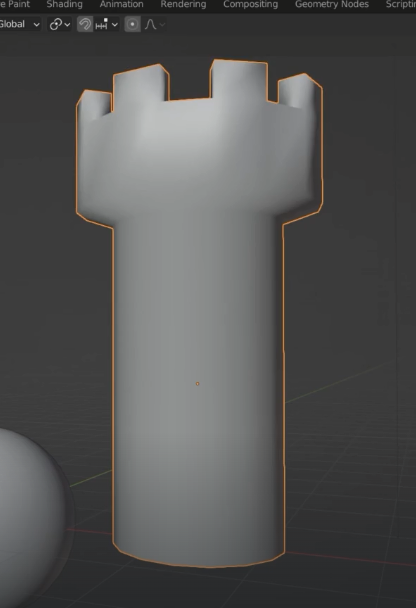
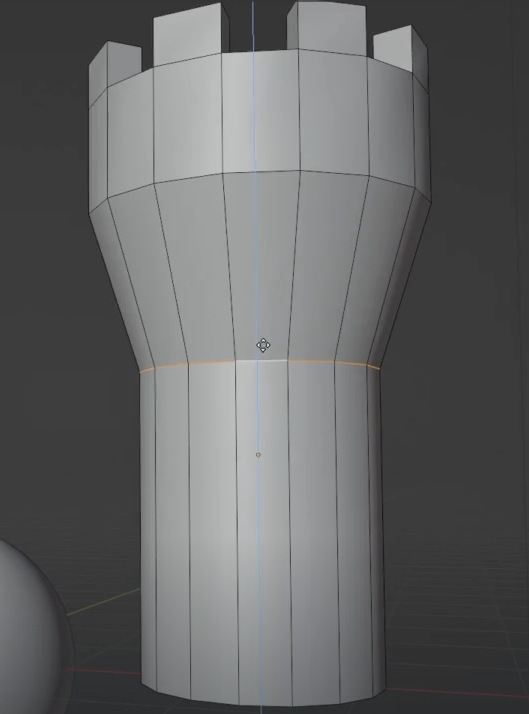
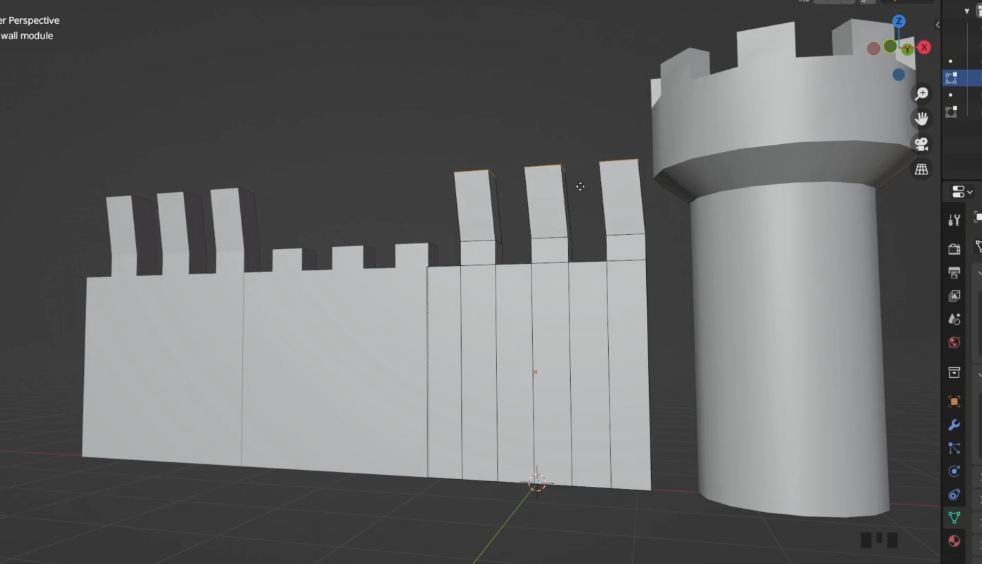
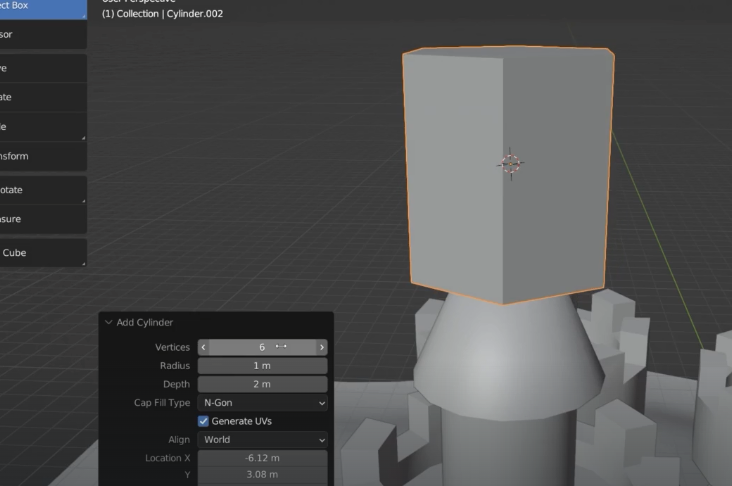
Tower section
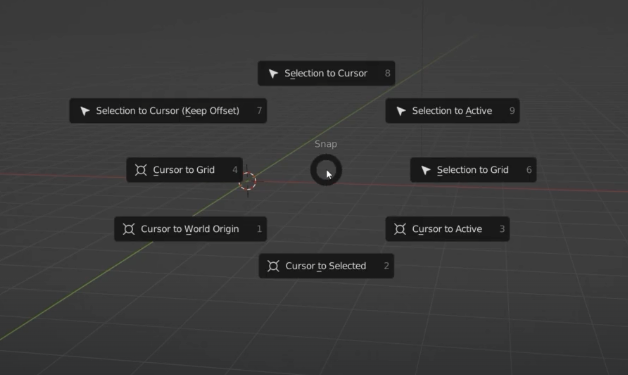
Shift S to bring the cursor back to origin
S and E or I directly
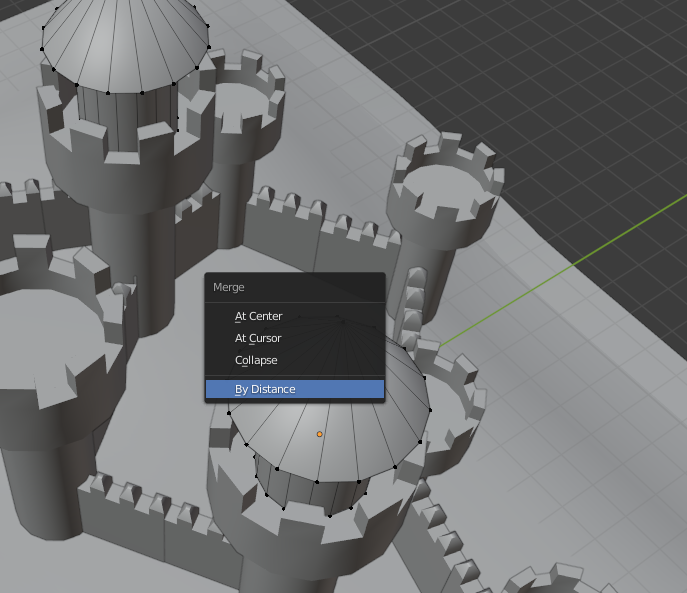
merge vertexes by distance press M

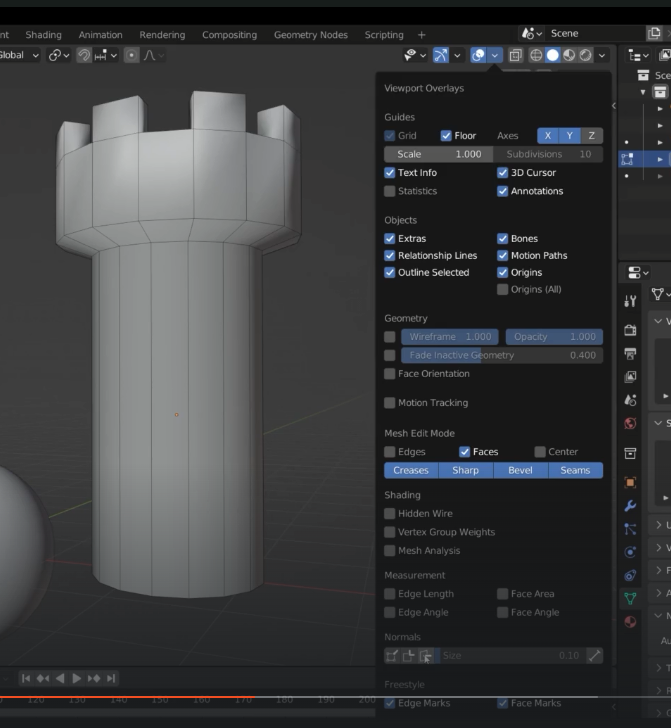
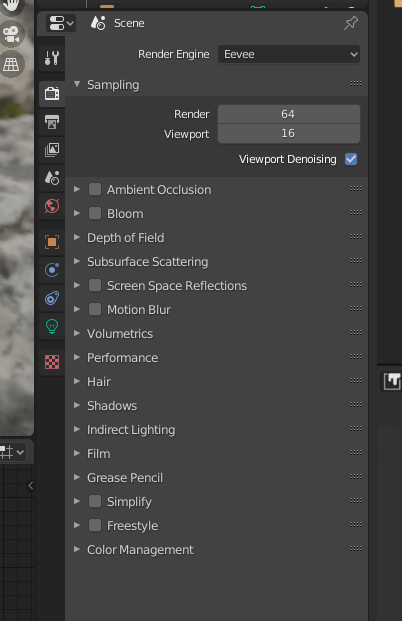
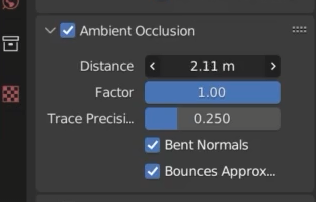
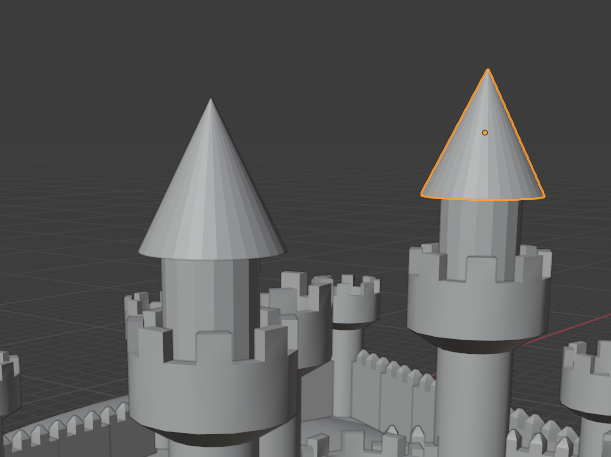
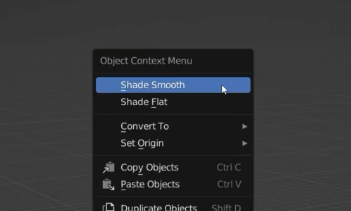
Smoothing
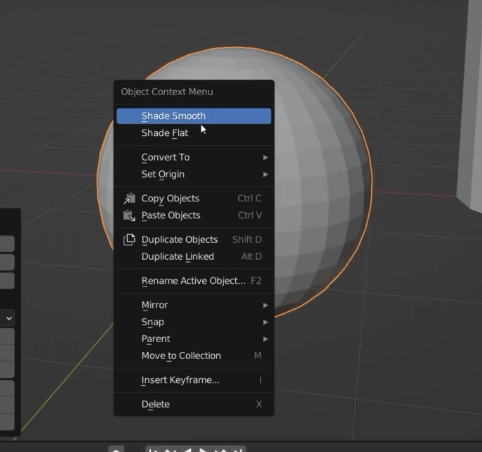
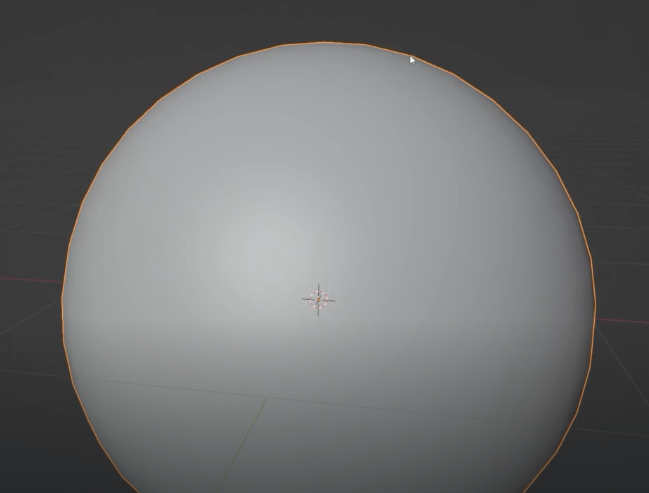
smooth shading it isn’t fool proof
scroll to Normals
Normals are the face direction
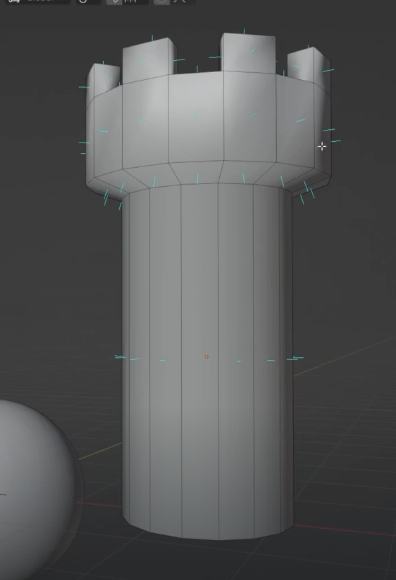
Edge direction
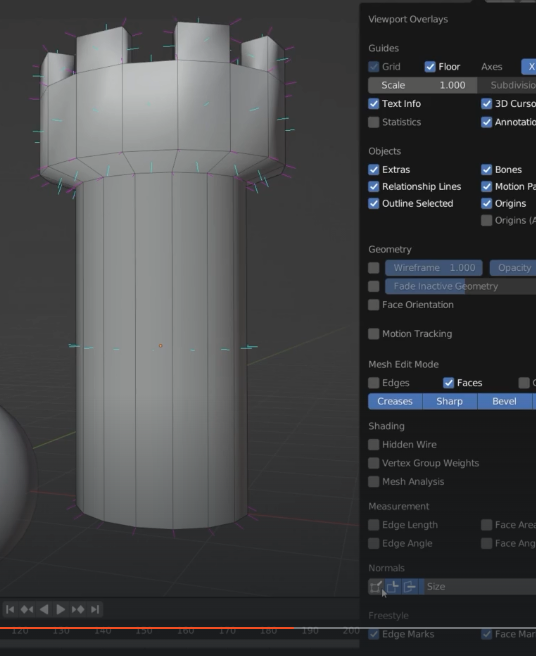
the auto smooth option takes all the edges with a certain angle 30deg and makes them sharp
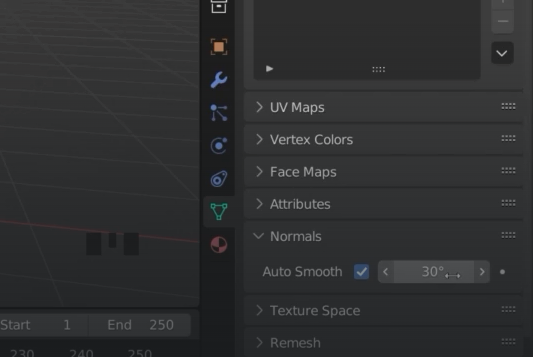
If I grab the edge under the tower and pull it down it will go smooth passing 30deg angle
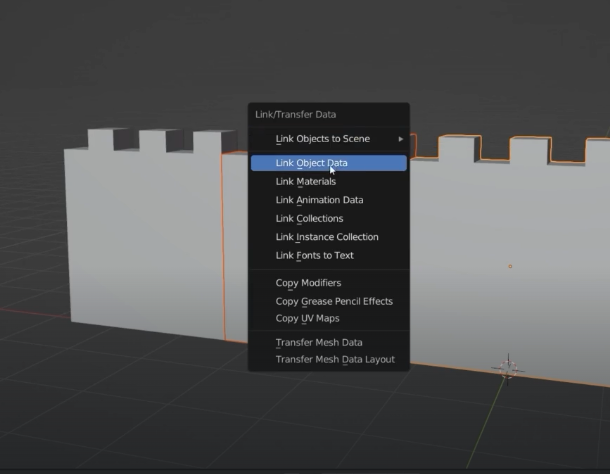
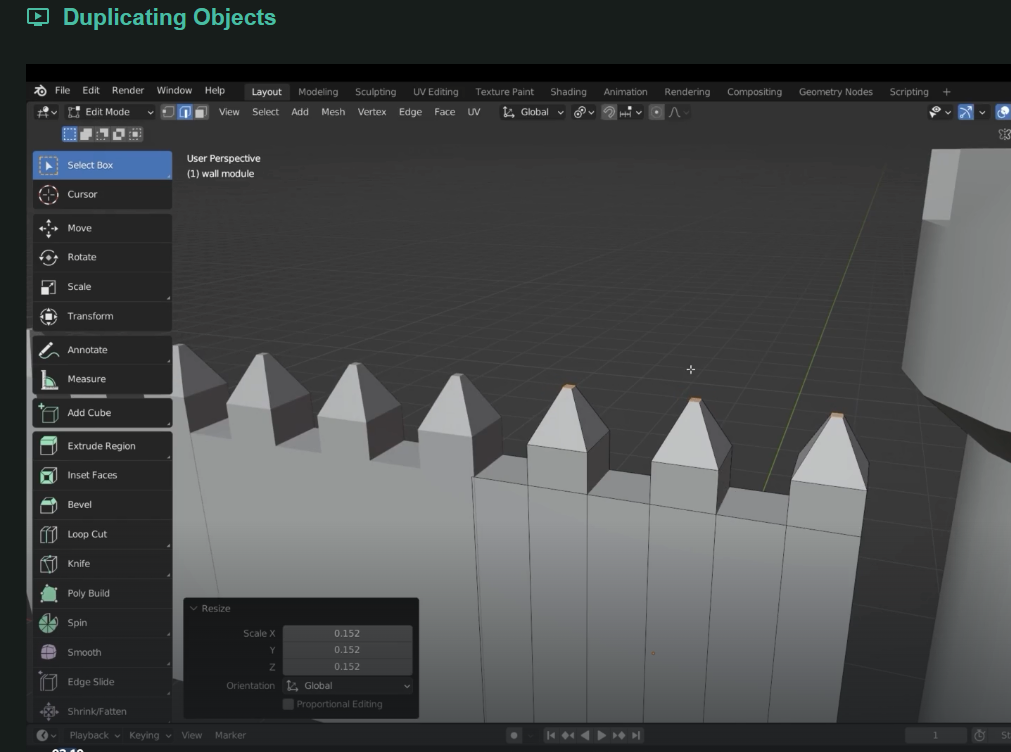
Duplication link duplication
Control + L to link object data
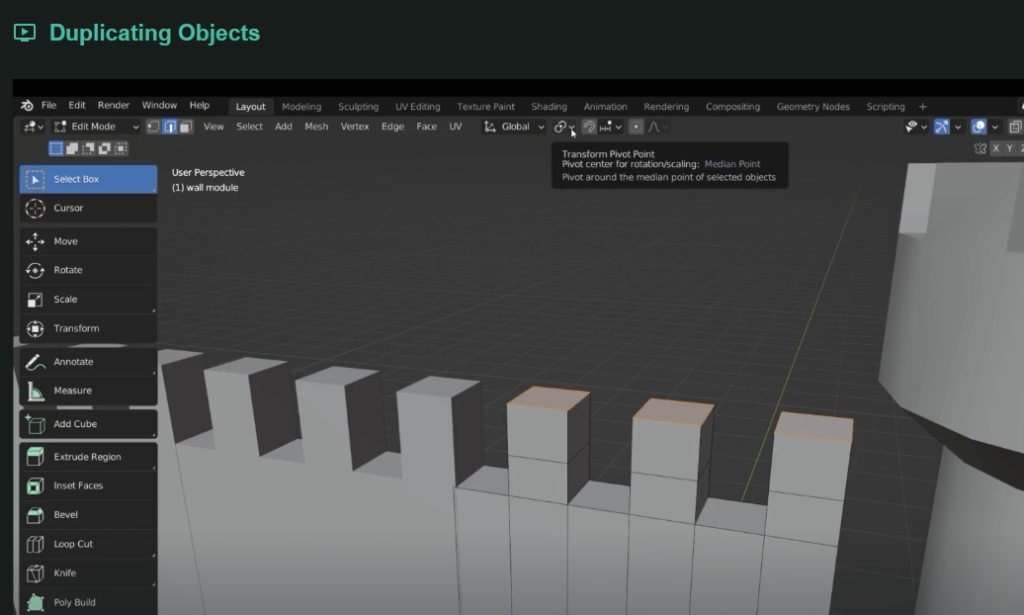
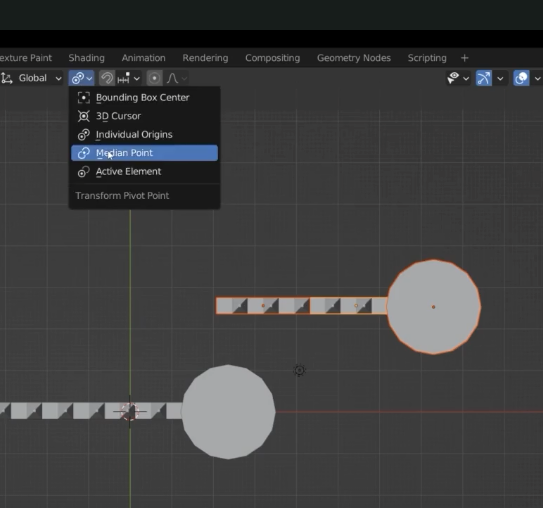
Median point is the default change it to individual originas. Change it back to median point when finished
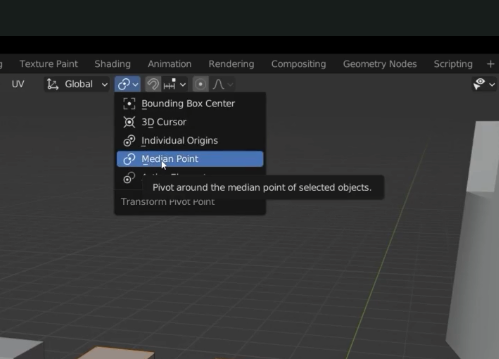
Now we need to duplicate parts so we need to set the media Port – transform pivot point
Use alt + D to copy duplicate
Control + F2 to batch rename
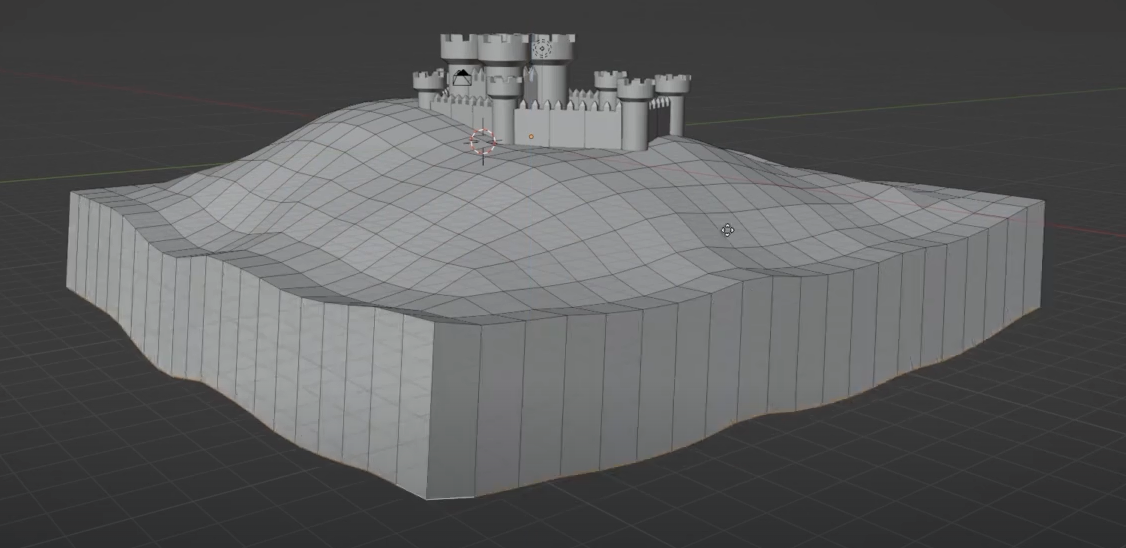
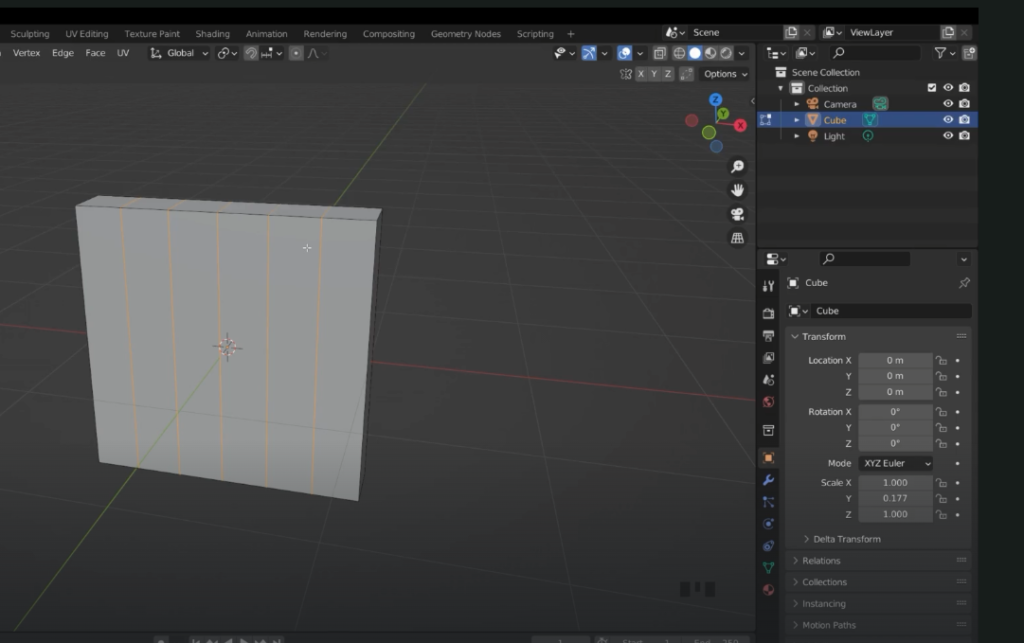
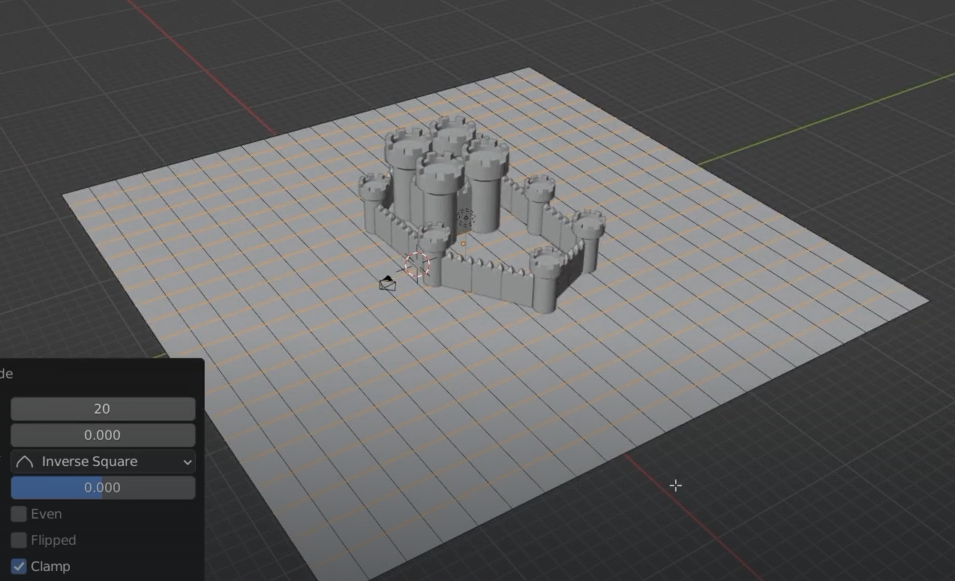
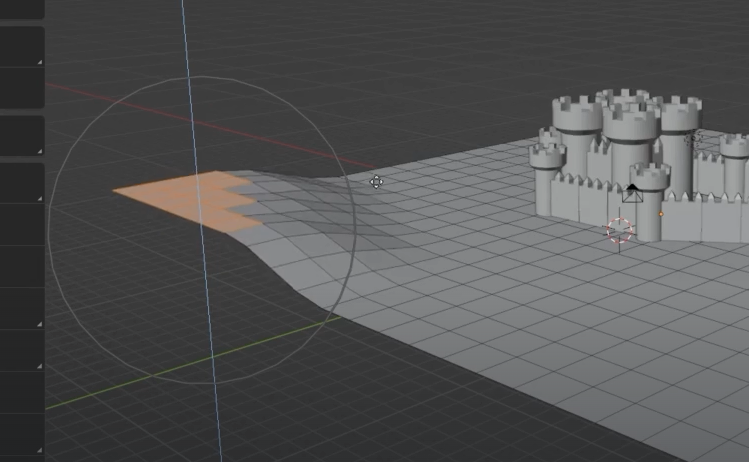
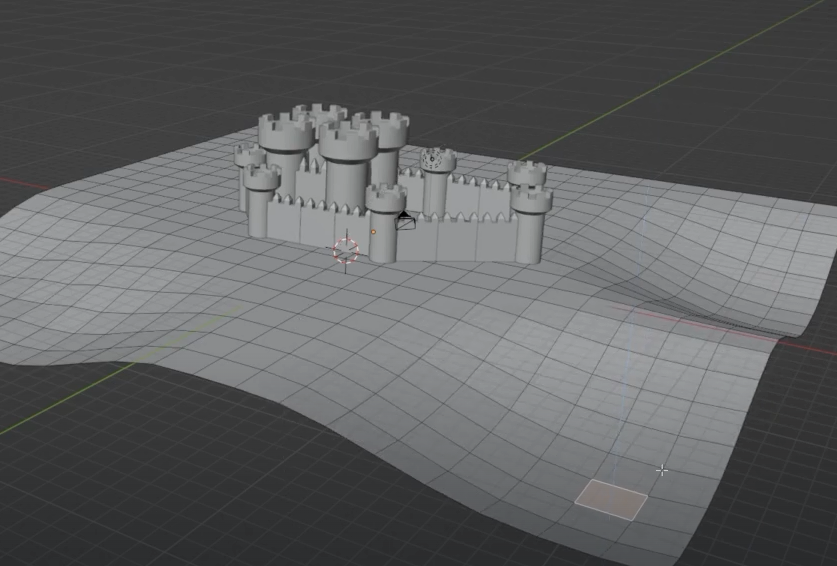
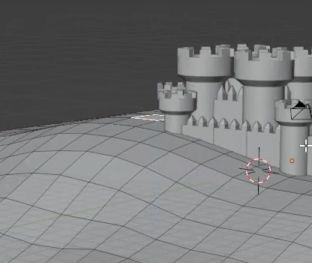
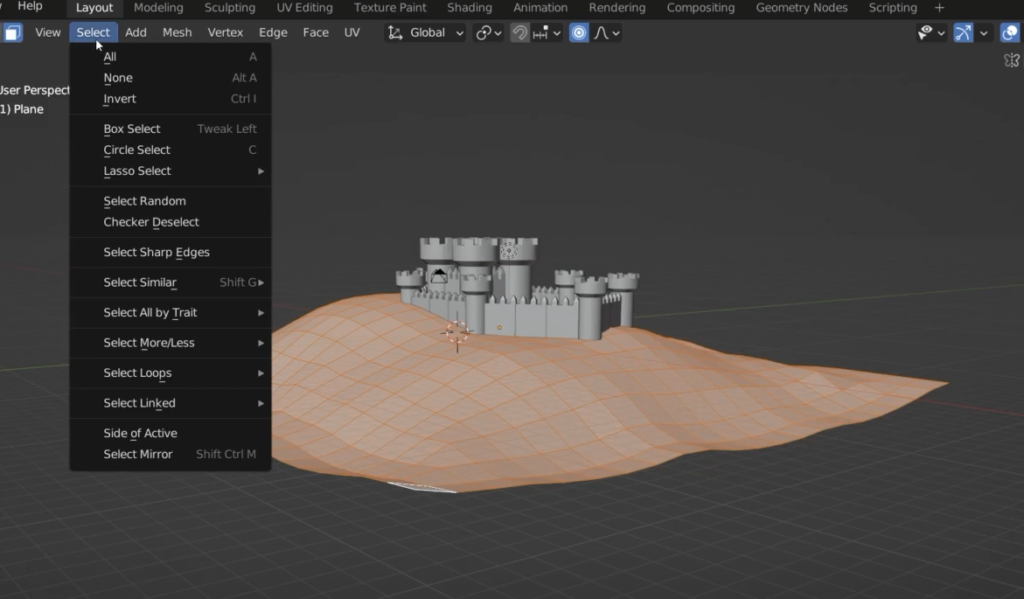
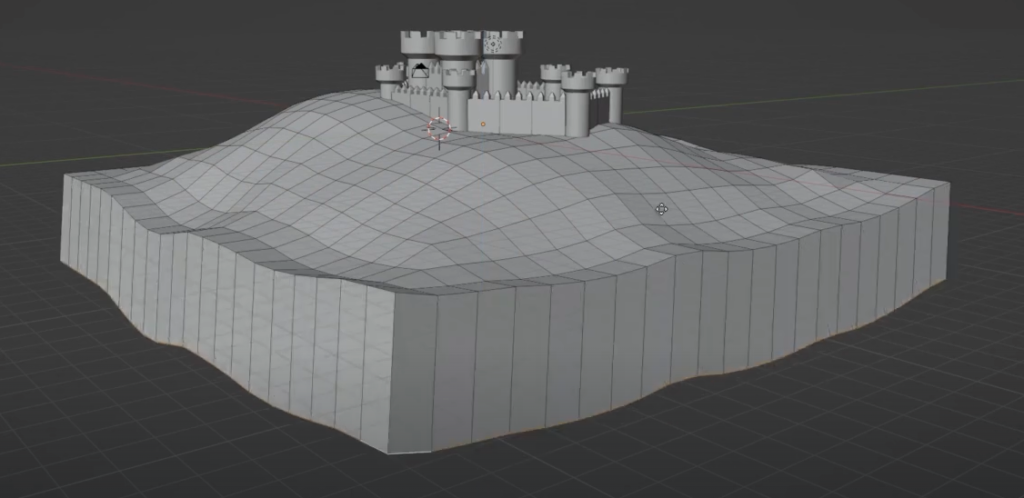
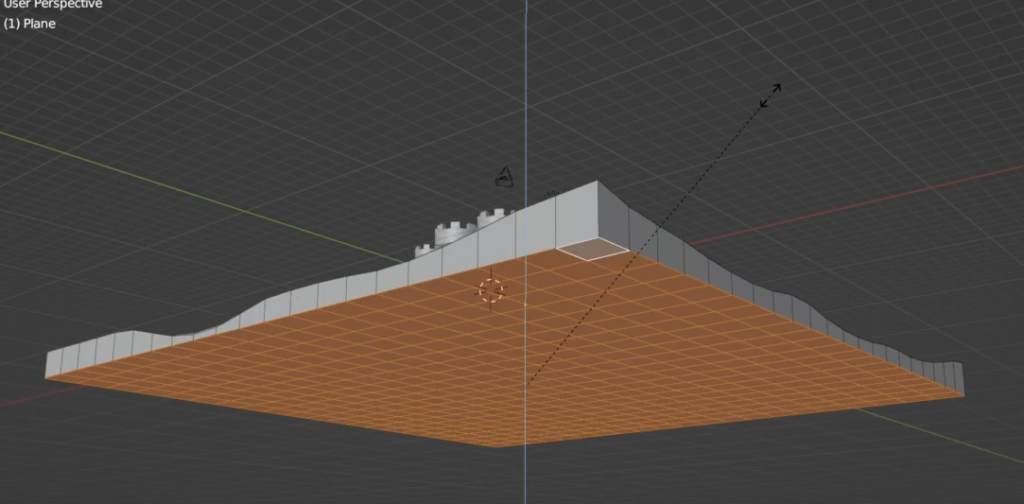
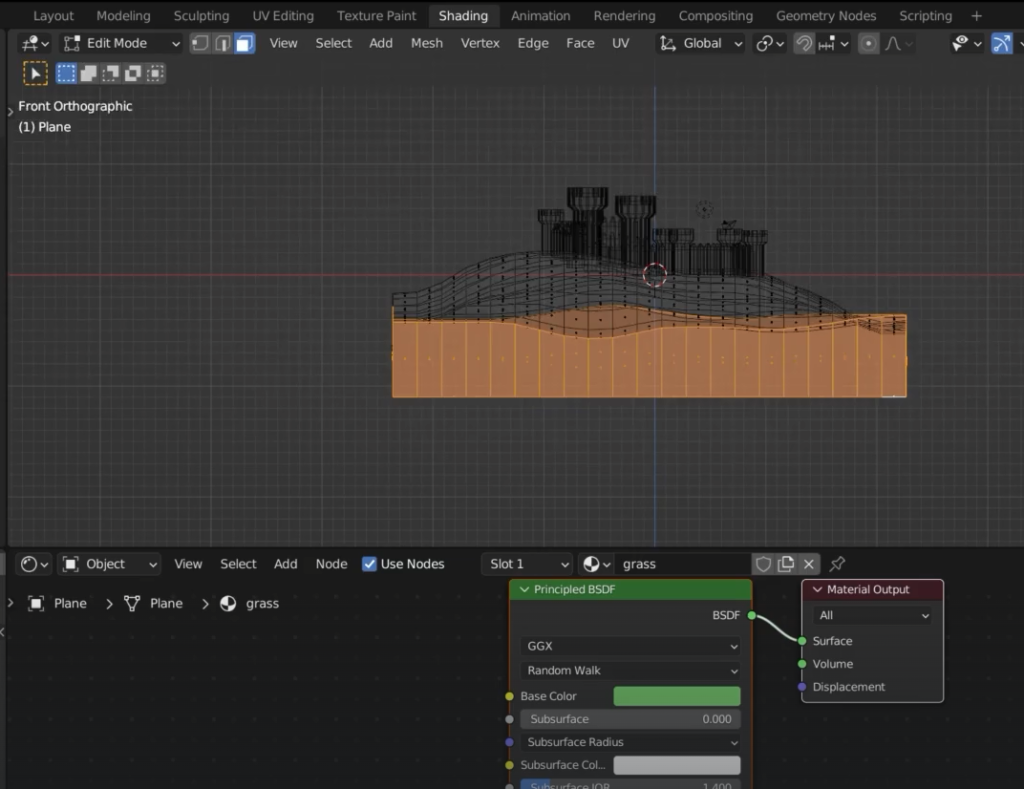
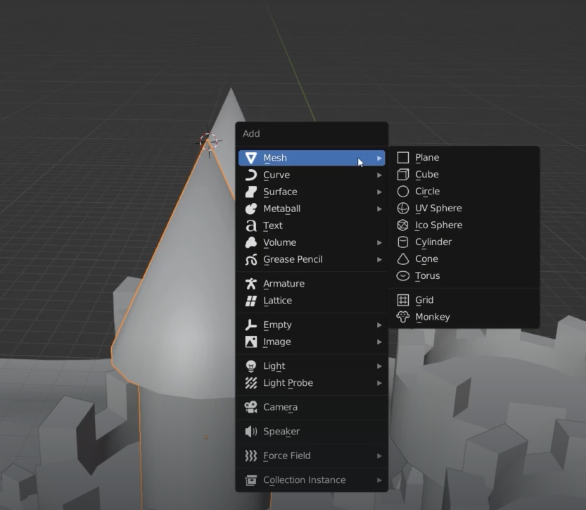
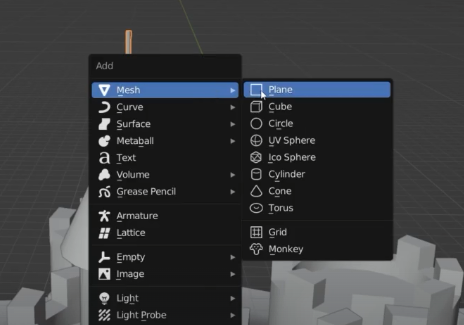
Create a plane

create 20 loop cuts on X and Y
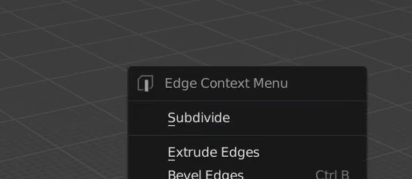
We can also do a submidive of the mesh
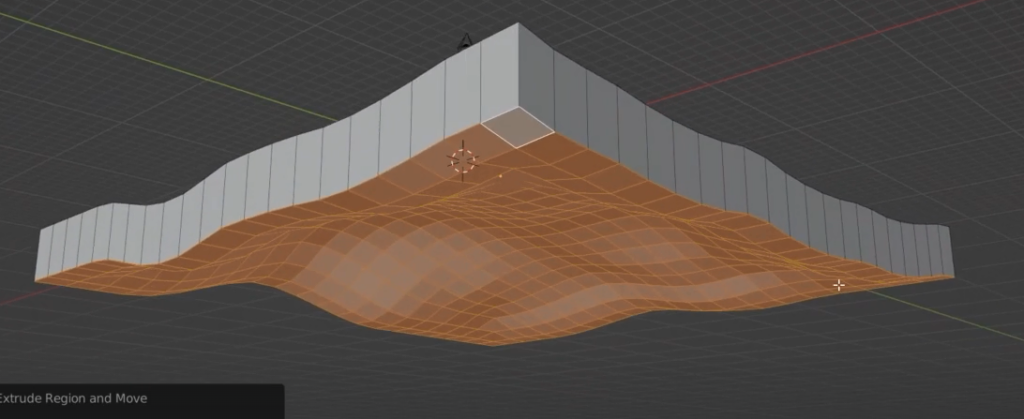
G grab
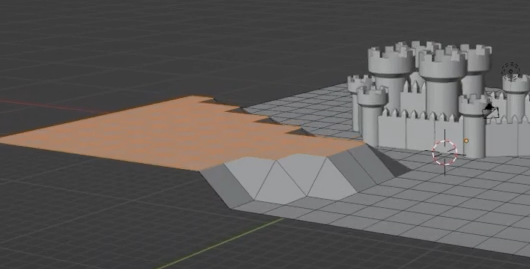
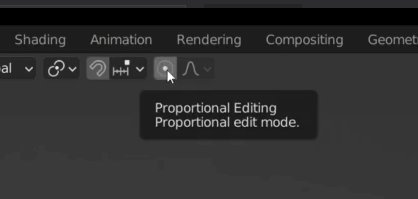
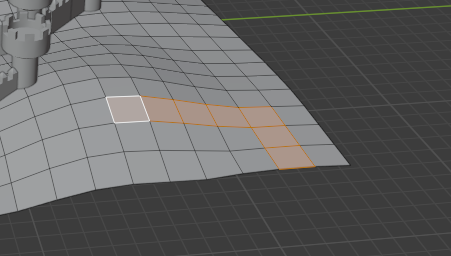
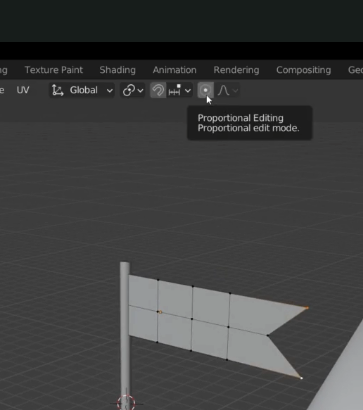
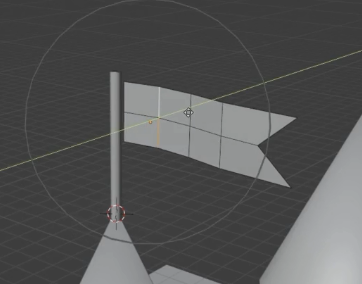
we will use the proportinal edit tool
use wheel mouse to increase the affected area select the faces
Control + G to select with optimal path tiles
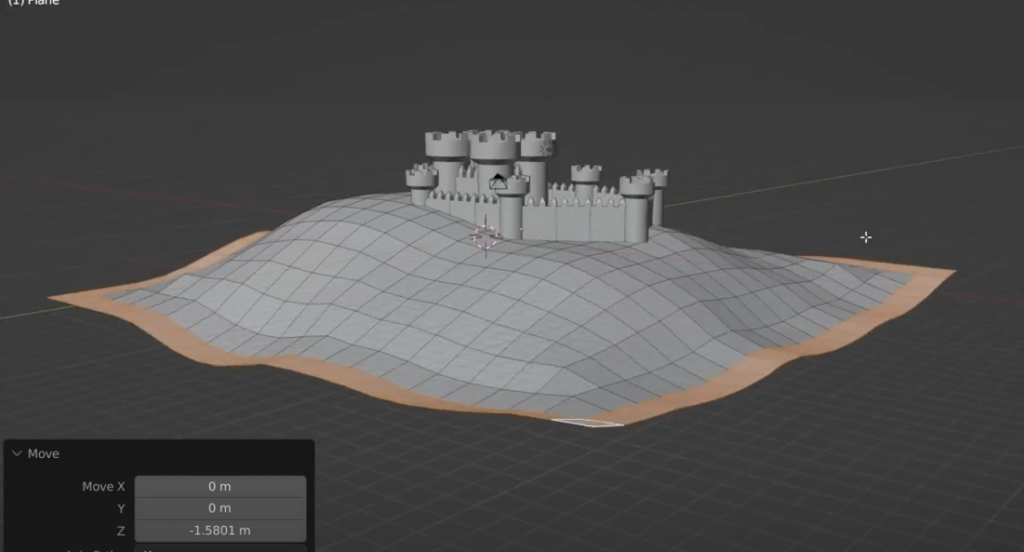
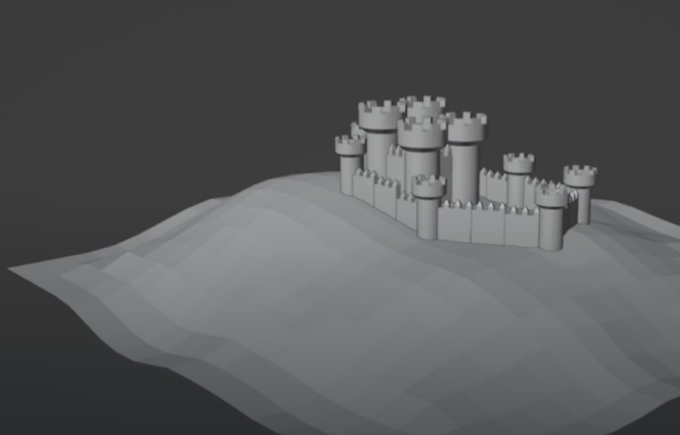
Diorama
turn off proportional edit
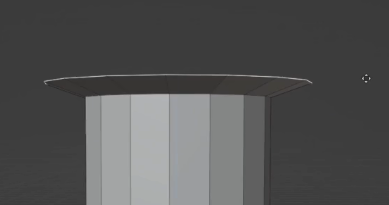
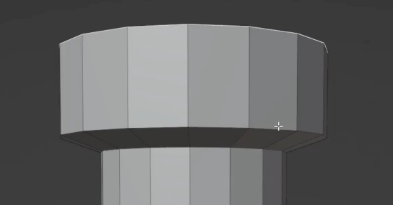
press scale and then Z and Zero on the keyboard to flat the bottom surface

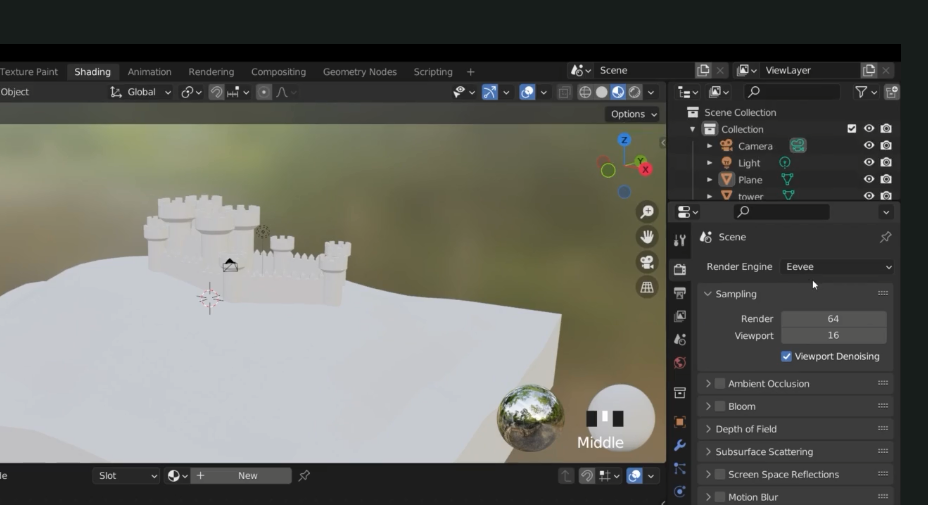
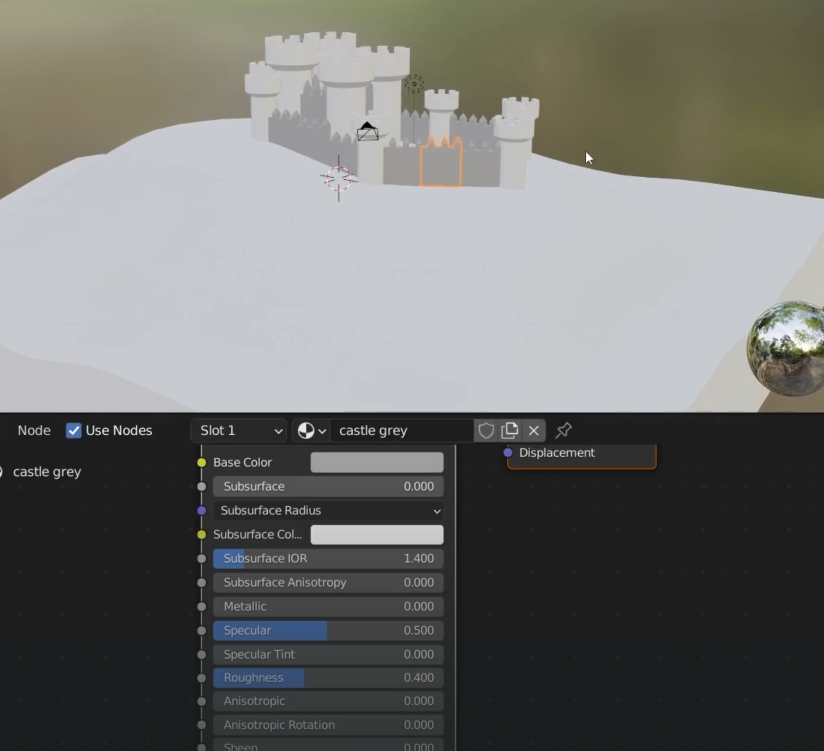
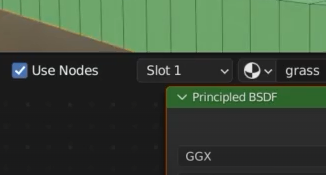
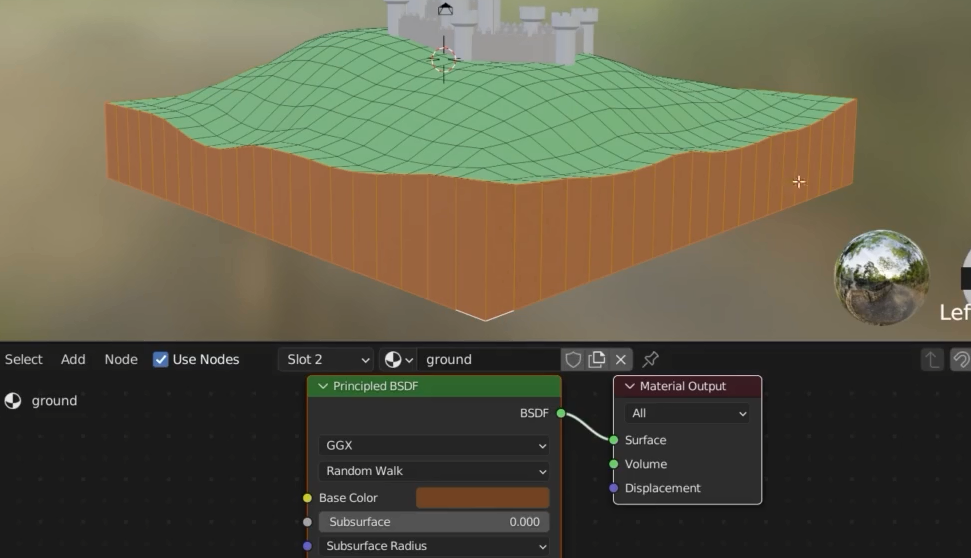
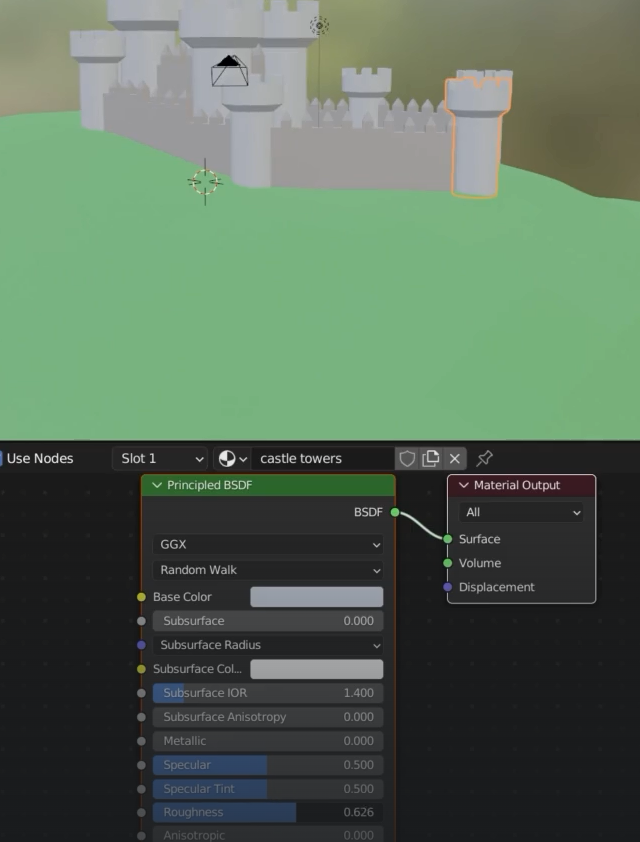
Materials
castle grey
If I forgot to link object duplictates

Towers
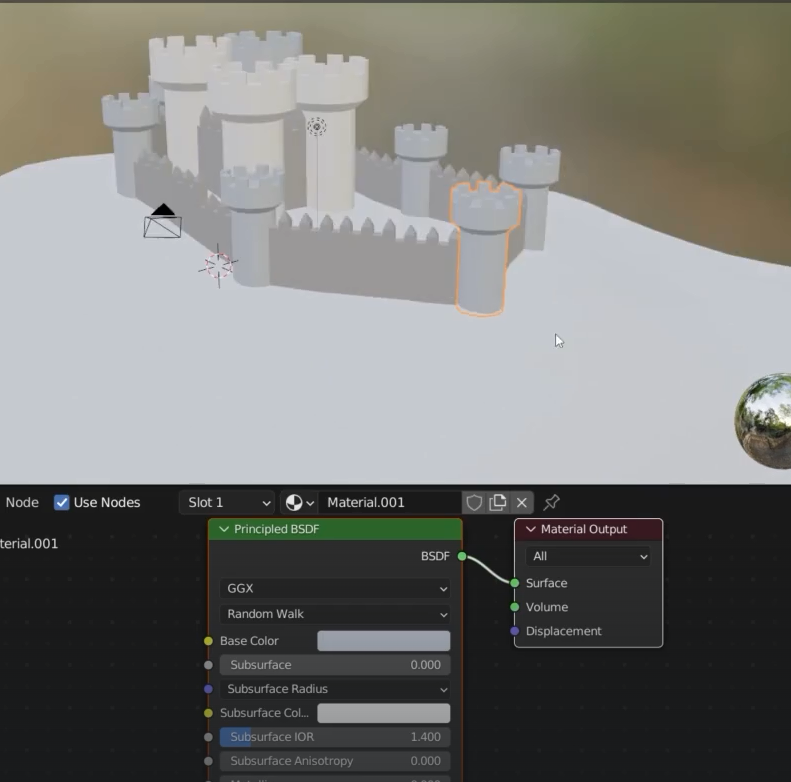
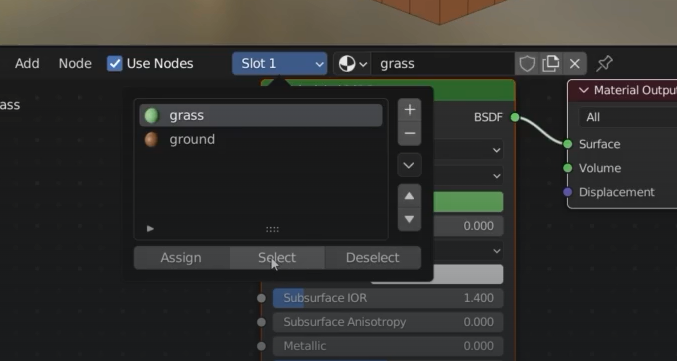
Material slots
Control + grow the selection nd control – decrases
select slot
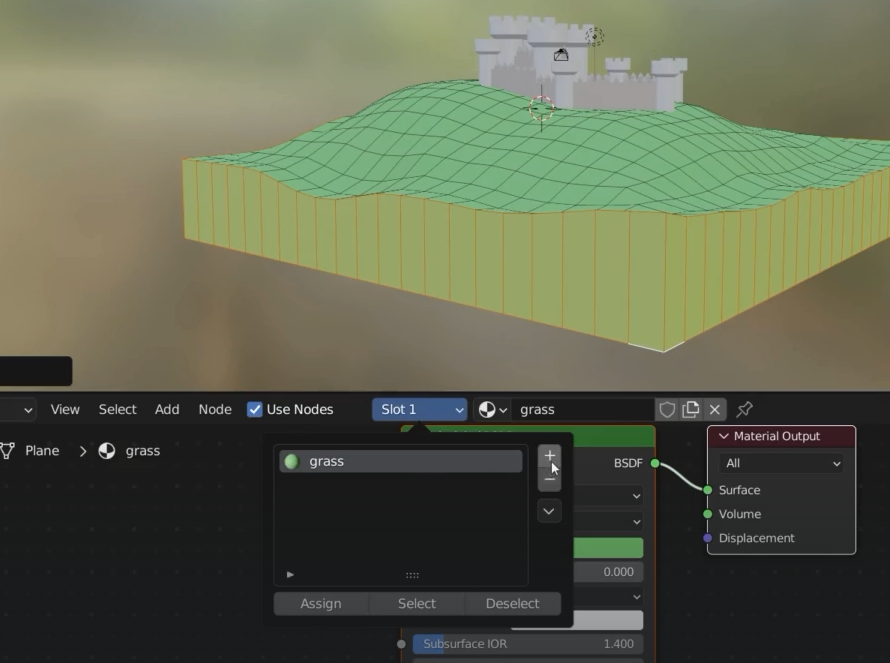

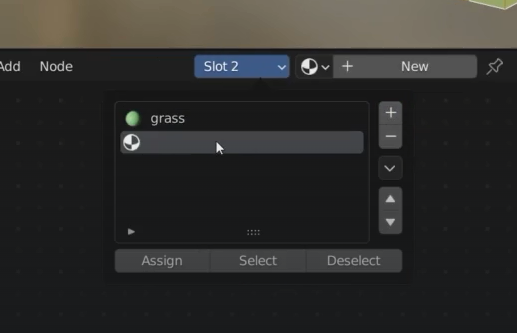
Then add new material to the slot
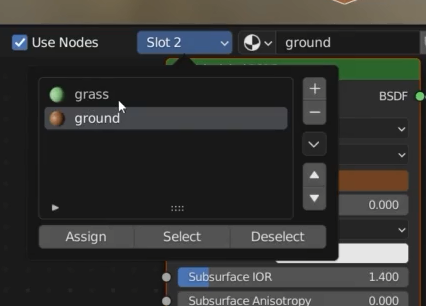
in this way I can selectively select the materials in a slot
change the roughness of the tower

add an HDRI
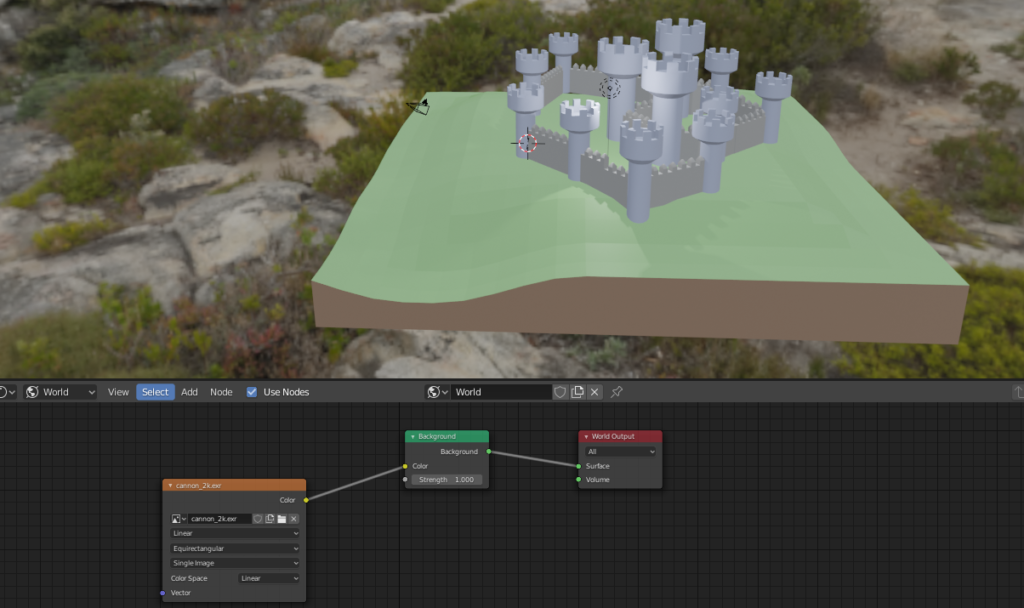
I can turn off the light in the scene


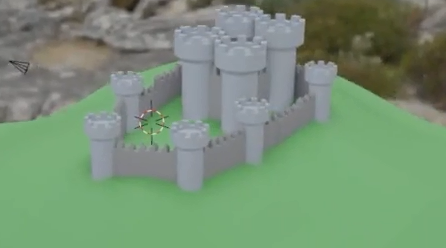
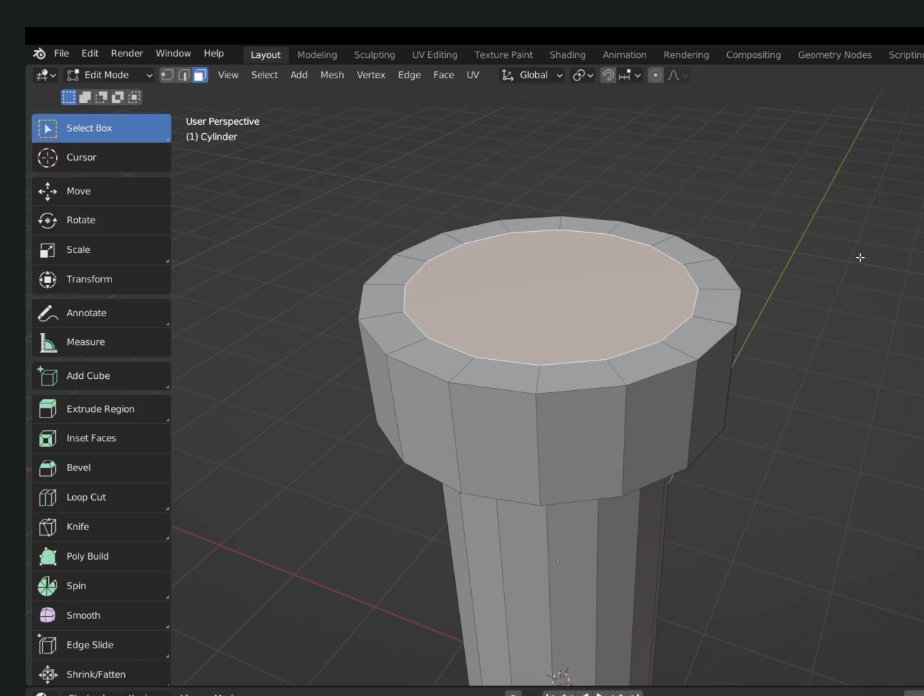
Create turrets and roof
Since we have created the roof by scaling at zero the cylider the vertexes need to be merged by distance, click M
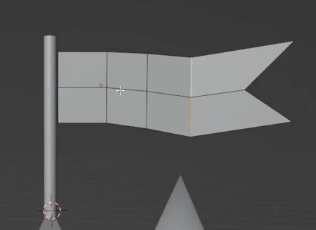
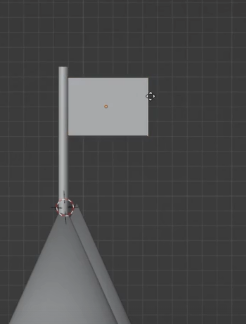
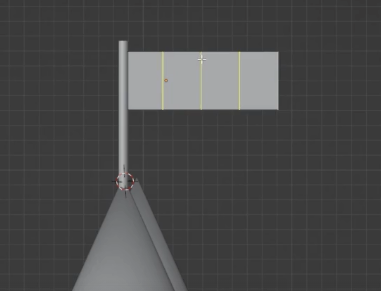
Flags
select the 3D cursor on top of the roof
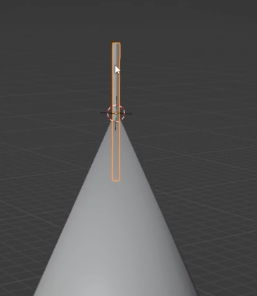

G X move the outer vertexes
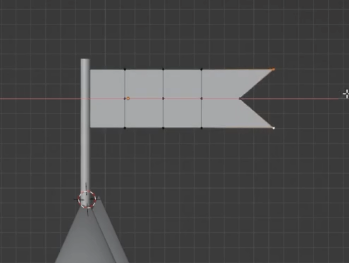
select the edges and G + Y and use the mouse wheel to reduce the sice
G+Z